5 Common Bomb Placement Mistakes New Players Make and How to Avoid Them
9 min read Discover the top 5 trap placement mistakes new Clash of Clans players make with bombs and how to strategically avoid them for stronger defenses.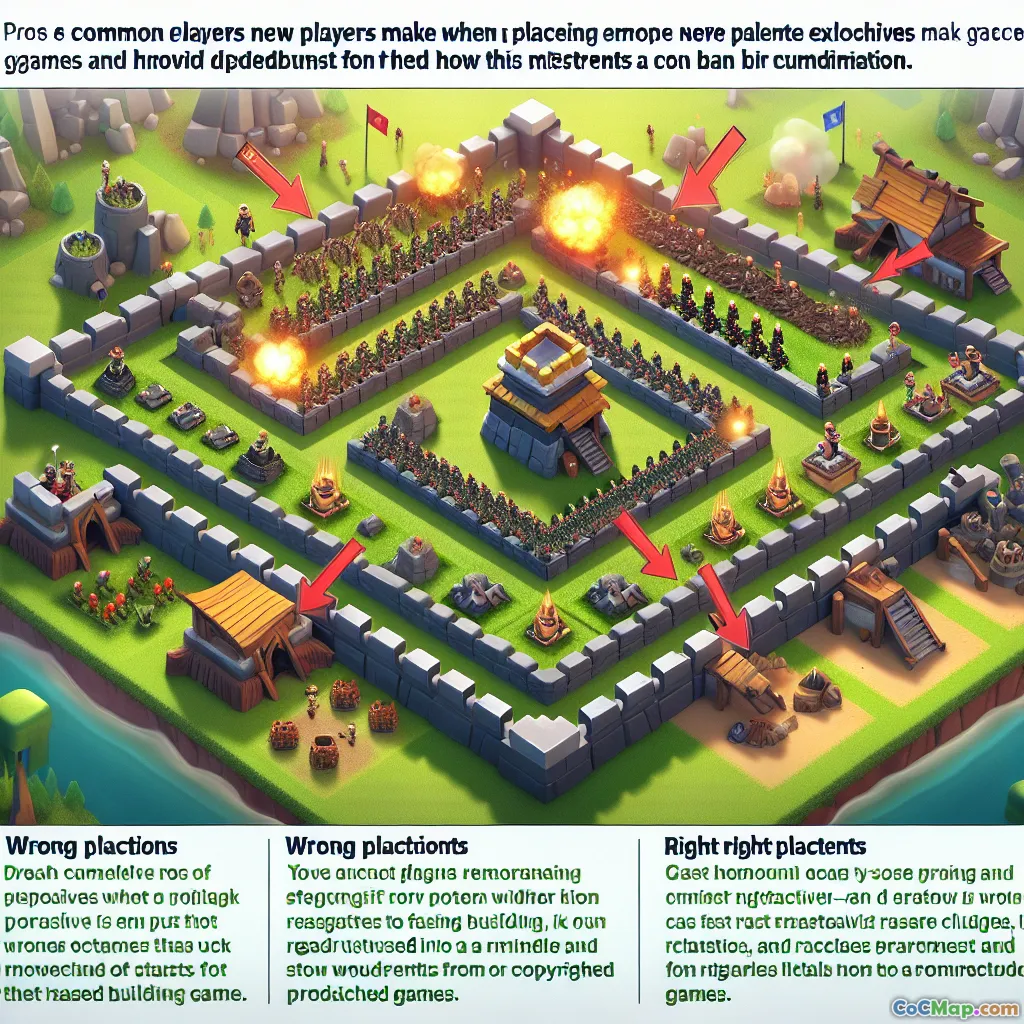
5 Common Bomb Placement Mistakes New Players Make and How to Avoid Them
In Clash of Clans, traps like bombs and hidden defenses are crucial for turning the tide of attacks. Proper placement can mean the difference between a successful raid and a devastating defense. However, many new players fall into common pitfalls that weaken their trap effectiveness. This comprehensive guide aims to highlight the most frequent bomb placement mistakes and provide actionable strategies to optimize your traps for maximum defensive impact.
Introduction
Have you ever wondered why some bases seem to effortlessly fend off attackers while others fall apart even when well-designed? The secret often lies not just in the traps you place but in where and how you deploy them. Bombs, spring traps, and other hidden defenses are silent warriors—powerful tools that, when used correctly, can decimate enemy troops and protect your resources.
Yet, many players, especially newcomers, make critical mistakes in trap placement that diminish their defensive potential. Understanding these mistakes and learning how to avoid them can significantly improve your base's resilience. Are you ready to elevate your trap game and turn your base into an unbreakable fortress?
1. Poor Placement of Bombs and Giant Bombs
Why Placement Matters
Bombs and Giant Bombs are designed to deal area damage, making them devastating against clustered troops like Barbarians, Archers, or Hog Riders. However, their effectiveness hinges on strategic placement. Placing bombs in obvious or predictable locations allows attackers to easily avoid or disable them.
Common Mistakes
- Placing bombs near the core or open areas: While tempting to cover high-traffic zones, this often results in bombs being triggered prematurely or by minor troop groups.
- Positioning bombs in predictable spots: Attackers learn common patterns and can avoid them if bombs are always placed at the same spots.
- Overlapping bombs in the same location: This wastes potential, as multiple bombs in one spot don't increase damage significantly.
How to Avoid Them
- Distribute bombs in semi-random, strategic locations: Place them near high-value targets like defenses or resource storages but avoid obvious choke points.
- Use gaps and corners: Hide bombs behind walls or in corners where troops are forced to pass through.
- Vary your placement: Change bomb locations regularly to prevent attackers from memorizing your trap layout.
2. Misplacing Spring Traps and Failing to Exploit Choke Points
The Power of Spring Traps
Spring Traps are excellent for ejecting troops from narrow pathways, especially when placed in choke points or narrow corridors. Proper placement can eliminate entire sections of an attacking force.
Common Mistakes
- Placing spring traps in open areas: They are most effective in confined spaces.
- Ignoring enemy troop movement patterns: Failing to analyze common attack routes leads to wasted opportunities.
- Not combining with other traps: Relying solely on spring traps without supporting bombs or air traps reduces overall effectiveness.
How to Avoid Them
- Identify choke points during base design: Use walls and defenses to funnel enemy troops into narrow pathways.
- Place spring traps where troops are forced to pass: For example, at the entrances to key defenses or narrow pathways.
- Pair with other traps: Combine with bombs or air mines to maximize damage.
3. Overlooking the Importance of Air Bombs and Seeking Air Mines
Air Defense Considerations
Air bombs and seeking air mines are vital for defending against air attacks like Balloon, Dragon, or Lava Hound strategies. Proper placement can significantly reduce air attack success.
Common Mistakes
- Placing air mines in predictable locations: Attackers can easily avoid them if they are always in the same spots.
- Not covering key attack routes: Leaving vital air paths unprotected makes your base vulnerable.
- Clustering air traps together: This can be exploited by multi-phase air attacks.
How to Avoid Them
- Distribute air traps around key defenses: Place them near Air Defenses, Archer Towers, or in high-traffic air routes.
- Vary placement based on attack patterns: Observe common attack paths and adapt your trap placement accordingly.
- Use layered defenses: Combine air traps with other defenses to create a multi-layered air defense system.
4. Neglecting Skeleton Traps and Their Strategic Deployment
Skeleton Traps as Distraction
Skeleton Traps are unique in that they spawn skeletons to distract and delay enemy troops, especially supporting units like healers or heroes. Proper placement can maximize their disruption.
Common Mistakes
- Placing skeleton traps outside of attack zones: They become ineffective if not near the expected troop path.
- Using them randomly: Without strategic placement, they fail to distract key units.
- Ignoring troop types: Skeleton traps are more effective against certain troops; placement should reflect this.
How to Avoid Them
- Place skeleton traps near high-value targets: Such as Clan Castle, heroes, or resource storages.
- Position them along common attack routes: Use replays to identify where enemy troops funnel.
- Adjust based on attack trends: For example, if opponents favor air attacks, place skeleton traps accordingly.
5. Overusing or Poorly Positioning Tornado Traps
The Role of Tornado Traps
Tornado Traps create a swirling effect, disrupting troop movement and clustering. They are especially effective against large groups or air units.
Common Mistakes
- Placing tornado traps in isolated locations: Their impact is maximized when placed where they can influence large troop clusters.
- Overusing them in one area: Reduces their overall strategic value.
- Ignoring attack patterns: Not aligning trap placement with enemy attack tendencies.
How to Avoid Them
- Place tornado traps in the center or high-traffic zones: Maximize their disruption potential.
- Combine with other traps: Use alongside bombs and air mines for layered defense.
- Observe attack replays to refine placement: Adapt to evolving attack strategies.
Conclusion
Effective trap placement in Clash of Clans is both an art and a science. Avoiding common mistakes like predictable positioning, poor distribution, and neglecting attack patterns can dramatically improve your defenses. Remember, traps are silent but deadly allies—use them wisely, strategically, and adaptively.
By analyzing attack trends, understanding troop behavior, and thoughtfully deploying your bombs and hidden defenses, you can turn your base into an unbreakable fortress. Keep experimenting, learn from replays, and stay ahead of the meta to defend your resources and clan honor successfully.
Your traps are only as good as your strategy—make every placement count!


