Archer Towers: The Secret to Balanced Defense Against Air and Ground Troops
10 min read Discover how Archer Towers provide unmatched versatility for defending against both air and ground troops.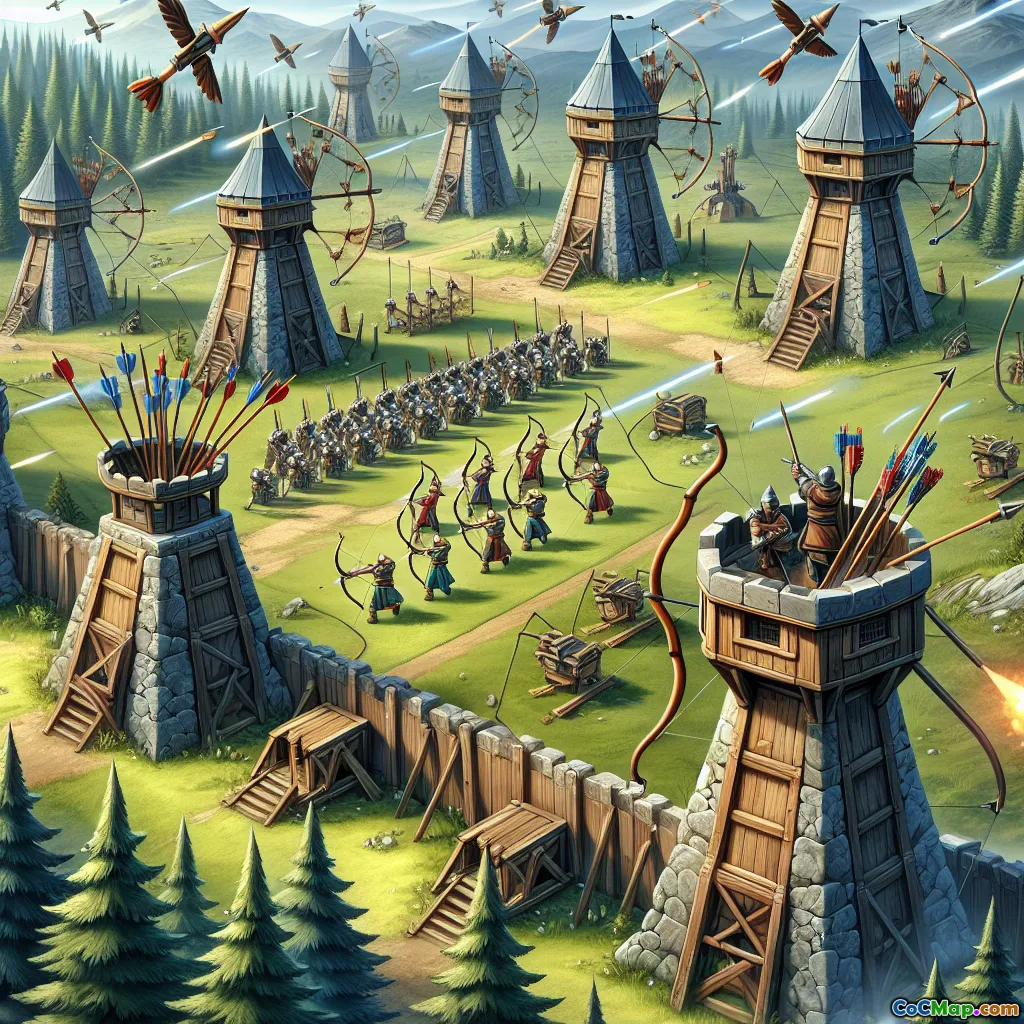
Archer Towers: The Secret to Balanced Defense Against Air and Ground Troops
Introduction
What if the secret to a truly resilient Clash of Clans base isn’t just about raw power, but about adaptability? Imagine a single defense that can seamlessly switch from picking off sneaky Goblins to swatting down menacing Dragons—all without missing a beat. Enter the Archer Tower: often underestimated, but quietly essential for any player serious about balanced defense. Why do top players prioritize these towers, and how can you leverage their unique strengths to outsmart attackers at every level? Let’s dive deep into the mechanics, strategies, and hidden potential of Archer Towers—the unsung heroes of base defense.
The Versatility of Archer Towers: Why They Matter
Archer Towers stand out in the Clash of Clans arsenal for one simple reason: true flexibility. Unlike Cannons, which can only hit ground units, or Air Defenses, which ignore ground troops entirely, Archer Towers target both air and ground enemies with equal efficiency. This dual-threat capability makes them indispensable for defending against the wide variety of attack strategies you’ll face as you climb through the Town Hall levels.
Dual Targeting: The Core Advantage
- Air & Ground Coverage: Archer Towers can attack Minions, Balloons, Dragons, and also handle Barbarians, Giants, and sneaky Goblins.
- Consistent DPS: While not the highest-damage defense, their steady rate of fire ensures they chip away at troops before they reach more vulnerable structures.
Range and Placement
- Long Range: Archer Towers boast one of the longest attack ranges in the game. At max level, their reach allows them to cover wide sections of your base, overlapping with other defenses for maximum synergy.
- Strategic Placement: Placing Archer Towers on the outer ring of your base ensures early engagement with enemy troops—buying time for splash defenses like Mortars and Wizard Towers to activate.
How Archer Towers Stack Up: In-Game Data and Comparisons
Understanding the numbers behind Archer Towers reveals why they’re a cornerstone of balanced defense.
Damage and Attack Speed
- Attack Speed: Archer Towers fire every 1 second (0.8 seconds at higher levels), making them reliable against swarms and single high-HP units alike.
- DPS: At Town Hall 15, a max-level Archer Tower deals 140 DPS—less than Cannons (160 DPS), but with the crucial ability to hit air units.
Range
- 13 Tiles: Their maximum range is 10-13 tiles, depending on the mode (see below), allowing early engagement with incoming threats.
Mode Switching: Long-Range vs. Fast Attack
- Standard Mode: Balanced range and fire rate; ideal for most situations.
- Fast Attack (Short Range): Unlocked at higher TH levels, this mode sacrifices range for increased fire speed—devastating against massed ground assaults.
Example Comparison
- Against Balloons: Archer Towers can whittle down Balloons as they approach, while Cannons are helpless.
- Against Hog Riders: While not as effective as Spring Traps or Bomb Towers, Archer Towers contribute steady damage and can finish off weakened units.
Strategic Placement: Maximizing Archer Tower Impact
Where you place your Archer Towers can make or break your defense. Here’s how to get the most out of every tower:
Perimeter Defense
- Outer Ring: Place Archer Towers on the outermost layer to intercept air and ground units early, especially against Queen Walks or LavaLoon attacks.
- Corner Coverage: Position at corners to prevent attackers from exploiting blind spots—especially important against Minions and Baby Dragons.
Overlap and Synergy
- With Air Defenses: Overlapping Archer Tower and Air Defense coverage creates a deadly anti-air zone. When Balloons or Dragons attempt to snipe Air Defenses, Archer Towers chip away at them from a distance.
- With Splash Defenses: Pair with Mortars or Wizard Towers to handle both single-target and swarm threats. Archer Towers pick off survivors after splash damage softens them up.
Protecting Weak Points
- Resource Storage Protection: Place Archer Towers near storages to prevent Goblin raids and Hog Rider rushes.
- Town Hall Defense: In hybrid bases, use Archer Towers to cover approaches to the Town Hall, ensuring attackers can’t simply snipe high-value targets with air troops.
Upgrade Priorities: When and Why to Level Up Archer Towers
Players often ask: “Should I upgrade Archer Towers before Cannons or Air Defenses?” Here’s what experienced players recommend:
Early Game (TH3–TH7)
- Priority: High. Upgrade Archer Towers early for maximum flexibility—especially when defending against mixed armies.
- Reason: You’ll face a wide variety of low-level air and ground troops; versatility is key.
Mid Game (TH8–TH11)
- Priority: Still high, but start focusing on specialized defenses (Air Defenses, X-Bows) as air attacks become more common.
- Tip: Don’t neglect Archer Towers—spread upgrades evenly to avoid weak spots.
Late Game (TH12+)
- Priority: Critical. With the introduction of powerful air units (Electro Dragons, LavaLoon) and advanced ground troops (Yetis, Bowlers), maxed Archer Towers are essential for holding your base together.
- Mode Switching: Experiment with Fast Attack mode on select towers for concentrated ground defense, especially in high-traffic areas.
Upgrade Timing
- Between Major Upgrades: Upgrade Archer Towers when you’re waiting for longer upgrades (like Heroes or X-Bows) to finish. They offer significant defense boosts for relatively short upgrade times.
Countering Popular Attack Strategies: Archer Towers in Action
Let’s break down how Archer Towers perform against the game’s most common offensive tactics.
1. Mass Minion or LavaLoon Attacks
- Role: First line of defense against swarms of Minions or Balloons.
- Tip: Spread out Archer Towers to prevent being overwhelmed by spells (Lightning, Freeze).
2. Queen Walks
- Role: Steady DPS against the Archer Queen and her Healers. While not a direct counter, every second counts in draining her health.
- Tip: Place Archer Towers near high-value targets to force the attacker to commit more spells or troops.
3. Hog Rider or Miner Rushes
- Role: Consistent chip damage as these fast-moving ground troops sweep through your base.
- Tip: Pair with Spring Traps and Bomb Towers for maximum effect.
4. Sneaky Goblins and Archer Snipes
- Role: Prevent easy snipes of exposed buildings by placing Archer Towers within range of likely entry points.
- Tip: Watch attack replays to identify and patch weak spots.
Pro Tips: Getting the Most Out of Archer Towers
- Stagger Heights: Place Archer Towers at varying distances from the core to create multiple layers of defense.
- Upgrade Evenly: Don’t leave one or two towers lagging behind; attackers will exploit the weakest link.
- Mix Modes: In higher Town Halls, alternate between standard and fast attack modes to cover different threat types.
- Synergize with Traps: Place Air Bombs or Seeking Air Mines near Archer Towers to catch attackers off guard.
Conclusion: Archer Towers—The Backbone of Balanced Defense
In the ever-evolving chess match of Clash of Clans, adaptability is the ultimate weapon. Archer Towers, with their dual targeting, impressive range, and reliable damage output, are the backbone of any well-rounded base. They bridge the gap between specialized defenses, patching holes and buying precious seconds against both air and ground threats. Whether you’re a new player or a seasoned veteran, investing in and strategically placing your Archer Towers will pay dividends in trophies, resources, and that all-important sense of security.
Ready to rethink your base design? Try experimenting with Archer Tower placement and upgrades—then watch as your defenses stand strong against even the trickiest attacks.


