Best Offensive Units for Clan War Battles
8 min read Discover the top offensive units in Clash of Clans for clan war battles, including strategies, troop compositions, and tips to maximize your attack potential.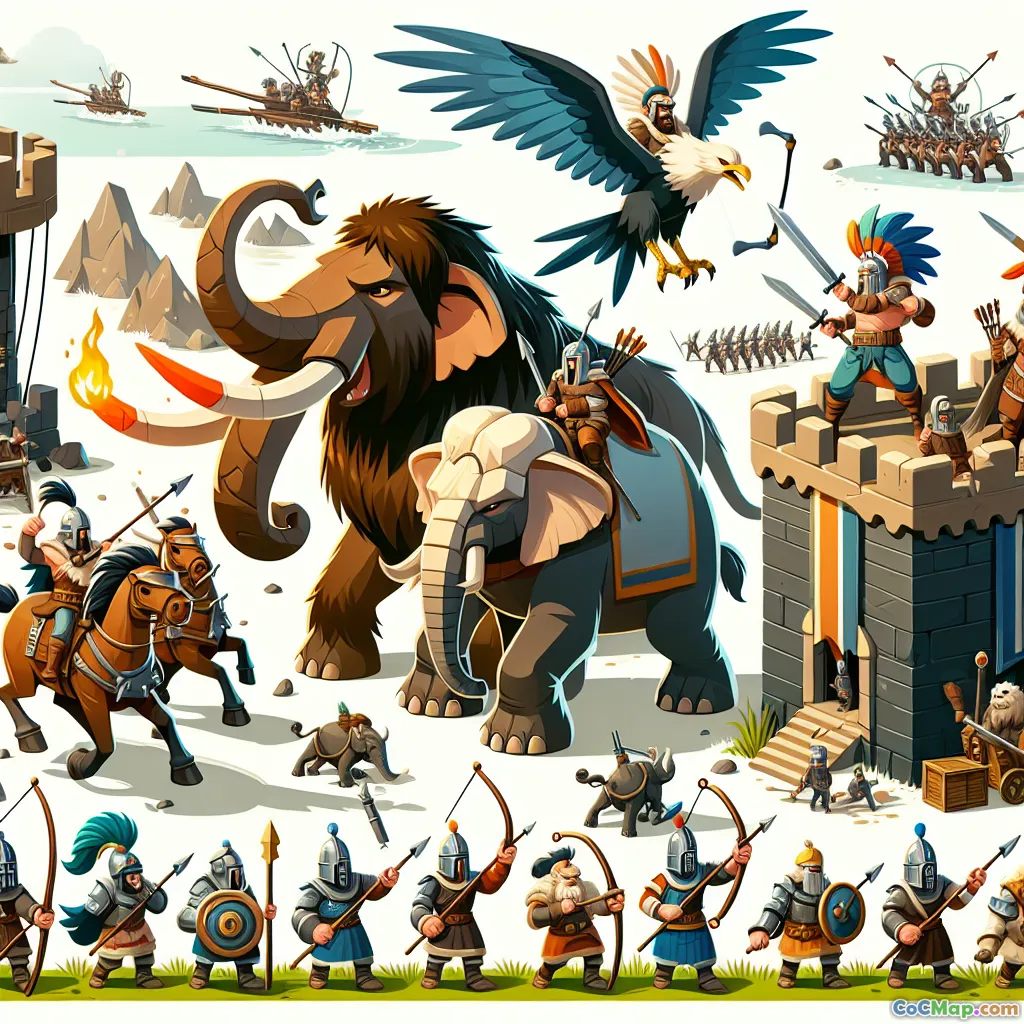
Best Offensive Units for Clan War Battles
Introduction
Are you looking to elevate your clan war performance and secure more victory stars? Did you know that selecting the right offensive units can dramatically influence the outcome of your attacks? In Clash of Clans, understanding which troops excel in different scenarios is essential for crafting effective attack strategies. This comprehensive guide dives deep into the best offensive units for clan war battles, explaining why they are powerful, how to deploy them, and how to combine them for maximum impact.
The Importance of Troop Selection in Clan Wars
Clan wars demand precision, adaptability, and strategic planning. Unlike farming or casual attacks, clan war raids often involve facing well-defended bases with layered defenses. Therefore, choosing the right troops isn't just about raw damage; it's about synergy, timing, and countering enemy defenses.
Effective troop selection can:
- Break through defenses efficiently
- Minimize troop losses
- Maximize damage output
- Adapt to various base layouts
Understanding each unit's strengths and weaknesses allows you to tailor your attack to exploit vulnerabilities.
Core Offensive Units and Their Strategic Roles
1. Barbarians
Role: Frontline distraction and early damage
Why they're effective: Cheap and quick to train, Barbarians serve as a screening force to distract defenses and set up the main attack. They are particularly useful in mass attacks or funneling strategies.
Deployment tips: Use in combination with other units to clear outer buildings and create a path for heavier troops.
2. Archers
Role: Ranged damage and perimeter clearing
Why they're effective: Archers excel at chipping away at defenses and clearing outer structures from a distance, especially when combined with tanks.
Deployment tips: Use in groups to maximize damage and avoid splash damage defenses.
3. Giants
Role: Tank units absorbing damage
Why they're effective: Giants are among the best tanks, soaking up hits to protect more fragile units like Wizards or Archers.
Deployment tips: Deploy Giants first to draw fire, then follow with damage dealers.
4. Goblins
Role: Looting and quick destruction of resource buildings
Why they're effective: Goblins are fast and excel at destroying resource structures, useful for quick damage or distraction.
Deployment tips: Use for quick strikes on exposed resource storages or to funnel troops.
5. Wall Breakers
Role: Breaking walls to access defenses
Why they're effective: Wall Breakers are essential for penetrating heavily fortified bases.
Deployment tips: Send them ahead of tanks to ensure they reach walls safely.
6. Balloons
Role: Air damage against defenses
Why they're effective: Balloons deal high damage to defenses and can be used to take out key targets like Air Defenses.
Deployment tips: Combine with spells like Rage or Haste for increased effectiveness.
7. Wizards
Role: High damage, splash damage units
Why they're effective: Wizards excel at clearing clustered structures and defenses, especially when protected.
Deployment tips: Use in groups behind tanks to maximize damage.
8. Healers
Role: Sustain and prolong troop life
Why they're effective: Healers keep your key units alive longer, especially valuable in Queen Walks or when supporting large groups.
Deployment tips: Pair with heroes or high-health units for maximum benefit.
9. Dragons
Role: Heavy air units with high damage
Why they're effective: Dragons are versatile, capable of attacking both air and ground, with splash damage potential.
Deployment tips: Use in groups with supporting spells to maximize damage output.
10. P.E.K.K.A
Role: Heavy melee damage
Why they're effective: P.E.K.K.A's high damage makes them excellent for taking down high-value defenses or heroes.
Deployment tips: Protect with tanks and use funneling to guide their path.
11. Baby Dragon
Role: Air damage with splash effect
Why they're effective: Baby Dragons are flexible, effective against both ground and air, and can be used for funneling.
Deployment tips: Use in clusters with support to clear paths.
12. Miners
Role: Underground attack, bypassing walls
Why they're effective: Miners can tunnel under walls and attack defenses directly, making them excellent for surprise attacks.
Deployment tips: Deploy behind tanks or in areas with clustered defenses.
13. Electro Dragon
Role: Chain lightning damage
Why they're effective: Their chain attack can hit multiple targets, making them powerful against clustered defenses.
Deployment tips: Pair with Rage spells to maximize chain damage.
14. Yeti
Role: High health, splash damage
Why they're effective: Yetis can absorb damage while dealing splash damage with their Yeti Smash ability.
Deployment tips: Use with support units to maximize their durability.
Combining Units for Effective Clan War Attacks
Successful attacks often rely on well-planned combinations:
- Golem + Wizards + Wall Breakers: Classic funneling and tanking
- Hog Riders + Heal Spells: Rapid ground assault
- Dragons + Rage Spells: Air attacks with high damage potential
- Queen Walk + Miners: Diversified approach for multi-layered offense
Understanding synergy is key. For example, deploying Wall Breakers to open walls before sending in Giants or Golems ensures your main force advances without delay.
Advanced Strategies and Tips
- Scout and Adapt: Always analyze the enemy base layout and adapt troop compositions accordingly.
- Spell Support: Use spells like Rage, Haste, Freeze, and Lightning to enhance troop effectiveness.
- Funneling: Proper funneling ensures your main troops head toward the core defenses.
- Troop Upgrades: Prioritize upgrading offensive troops to increase their damage, health, and overall effectiveness.
Conclusion
Choosing the right offensive units is crucial for success in clan war battles. From tanks like Giants and Golems to damage dealers like Wizards, Dragons, and P.E.K.K.A, each troop plays a vital role in the overall strategy. Mastering their deployment, understanding their strengths, and combining units effectively will elevate your clan's war performance. Keep experimenting, learn from each attack, and continually refine your troop compositions to stay ahead of the competition.
Ready to dominate your next clan war? Use this guide to craft powerful attack strategies and turn the tide in your favor!


