Bomb Tower Strategies to Disrupt Enemy Attacks
8 min read Discover advanced Bomb Tower strategies to effectively disrupt enemy attacks, optimize placement, and strengthen your Clash of Clans defenses.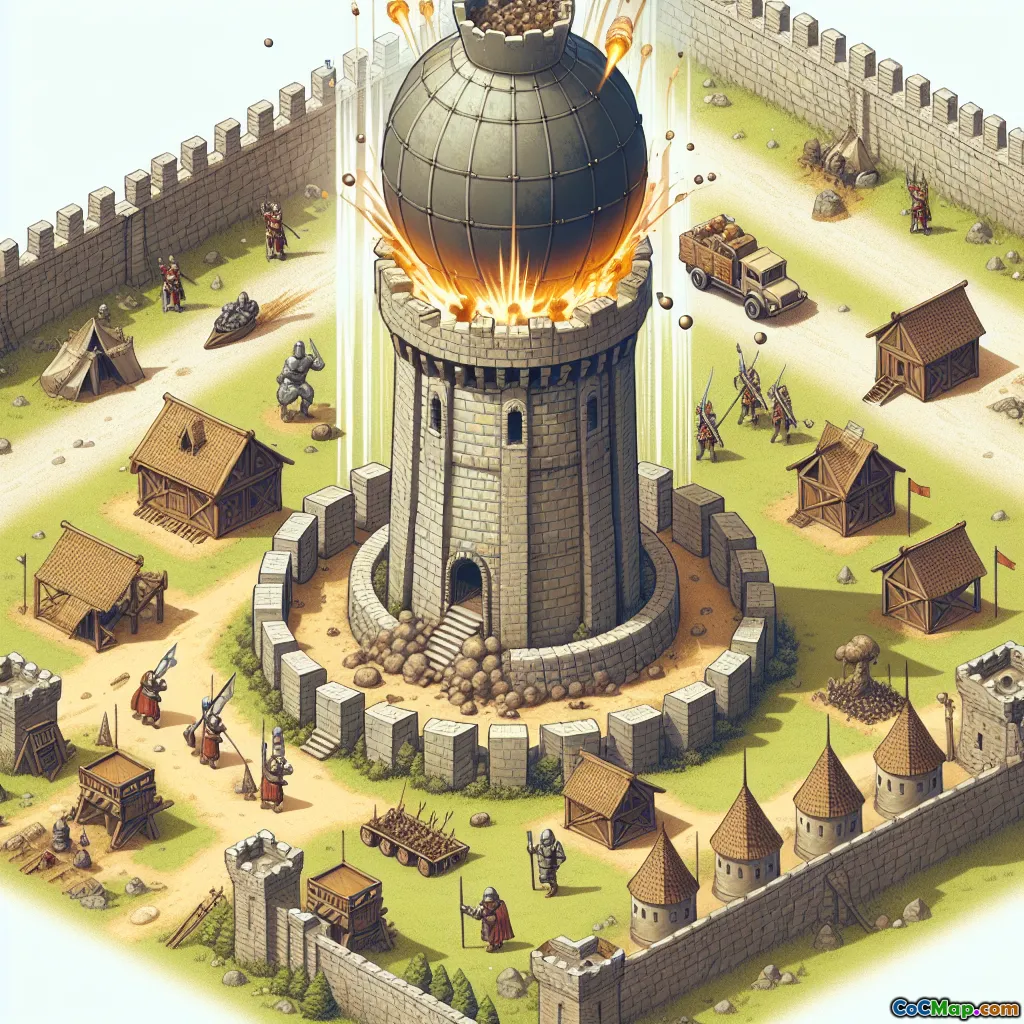
Bomb Tower Strategies to Disrupt Enemy Attacks
Introduction
In the ever-evolving landscape of Clash of Clans, defensive buildings play a pivotal role in safeguarding your base from relentless enemy assaults. Among these, the Bomb Tower often remains underappreciated despite its potential to dramatically alter attack outcomes. Have you ever wondered how a well-placed Bomb Tower can turn the tide of battle by disrupting enemy troop formations and delaying their progress? This article delves deep into strategic Bomb Tower deployment, revealing how to maximize its disruptive power and enhance your overall defense.
Understanding the Bomb Tower: Functionality and Impact
What Makes the Bomb Tower Unique?
The Bomb Tower is a defensive building that combines the explosive power of a bomb with a sturdy structure. When triggered—either by enemy troops entering its radius or via proximity detection—it unleashes a powerful explosion capable of damaging multiple units simultaneously. Unlike other splash defenses like the Wizard Tower or Mortar, the Bomb Tower's primary strength lies in its ability to deliver high-damage bursts directly to clustered troops, effectively halting or slowing their advance.
Damage Mechanics and Range
The Bomb Tower's explosion covers a moderate radius, typically around 2-3 tiles, but delivers significant damage—often enough to wipe out or severely weaken groups of troops such as Barch (Barbarians and Archers), Goblins, or even some air units if placed correctly. Its damage output scales with the Tower's level, making it increasingly formidable in higher Town Hall levels.
When to Use the Bomb Tower
Strategically, the Bomb Tower excels when placed to target choke points, high-traffic areas, or near key defenses. Its ability to disrupt troop movement and cause chain reactions makes it invaluable for delaying enemy pushes, especially when combined with other splash defenses.
Placement Strategies for Maximum Disruption
Choke Point Control
Placing the Bomb Tower at choke points—narrow pathways or entry points—forces attacking troops into its radius early, maximizing damage. For example, positioning near the Town Hall or core compartments ensures that enemies are weakened or eliminated before reaching critical structures.
Covering High-Value Targets
Position Bomb Towers to protect resource storages, Clan Castle, or the Eagle Artillery. By doing so, they serve as both damage dealers and psychological deterrents, discouraging enemies from deploying troops directly on these assets.
Layered Defense Approach
Integrate Bomb Towers with other defenses like Archer Towers and Cannons in layered setups. This configuration ensures that even if the Bomb Tower is bypassed or destroyed, other defenses continue to inflict damage, maintaining pressure on the attacking force.
Elevation and Obstacle Use
Utilize terrain features such as walls or obstacles to funnel enemy troops into the Bomb Tower's effective range. Proper layering and placement can create natural bottlenecks, increasing the likelihood of troop clustering and explosion efficiency.
Synergizing with Other Defensive Buildings
Combining Splash Defenses
Pair the Bomb Tower with Wizard Towers or Mortars to create overlapping splash damage zones. This synergy prevents enemy troops from escaping damage, especially when deploying mass units like Minions or Bats.
Supporting Air Defense
While Bomb Towers primarily target ground units, they can be effective against low-health air units like Minions or Balloons if placed near air defenses. Their explosions can weaken or eliminate groups before they reach critical structures.
Distraction and Delay Tactics
Use the Bomb Tower as a distraction, drawing enemy troops into its radius while other defenses weaken them from afar. This tactic is particularly effective against high-health units like Golems or Lava Hounds.
Upgrading and Maintaining Effectiveness
Prioritize Upgrades
Upgrading the Bomb Tower increases its damage, hitpoints, and explosion radius, directly enhancing its disruptive capacity. Focus on upgrading it alongside other key defenses for a balanced base.
Strategic Placement During Upgrades
During upgrades, consider repositioning Bomb Towers to reinforce newly vulnerable areas or to adapt to evolving attack strategies.
Repair and Maintenance
In Clan Wars or during continuous attacks, repairing damaged Bomb Towers promptly ensures they remain a formidable obstacle for enemies.
Real-World Examples and Player Insights
Pro-Level Base Designs
Many top-tier players incorporate Bomb Towers in their core or perimeter defenses, especially in hybrid and war bases. For instance, placing a Bomb Tower near the Town Hall can prevent early snipe attempts and buy crucial seconds.
Attack Disruption Case Studies
Players have reported that strategically placed Bomb Towers can eliminate entire clusters of Barch or Minion waves, forcing attackers to reroute or deploy more troops, thus wasting resources.
Common Mistakes to Avoid
Over-concentrating Bomb Towers in one area can create predictable attack paths. Distribute them thoughtfully, ensuring they complement other defenses without creating easy flanking routes.
Conclusion
The Bomb Tower, when used thoughtfully, is a powerful tool for disrupting enemy attacks and protecting your Clash of Clans base. Its ability to deliver high-impact explosions at critical junctures can slow down or eliminate key attacking units, giving your other defenses time to do their job. Remember, strategic placement, synergy with other defenses, and continuous upgrades are the keys to maximizing its potential. As you refine your defensive layout, consider how the Bomb Tower can serve as both a deterrent and a game-changer—making your base a nightmare for even the most seasoned attackers.
Take action today: experiment with different placements, observe attack patterns, and adapt your strategy. Your defenses—and your Clan's victories—will thank you.


