Cannon Placement Tactics: Maximizing Ground Defense Efficiency
8 min read Unlock expert cannon placement strategies to boost your ground defense and outsmart attackers.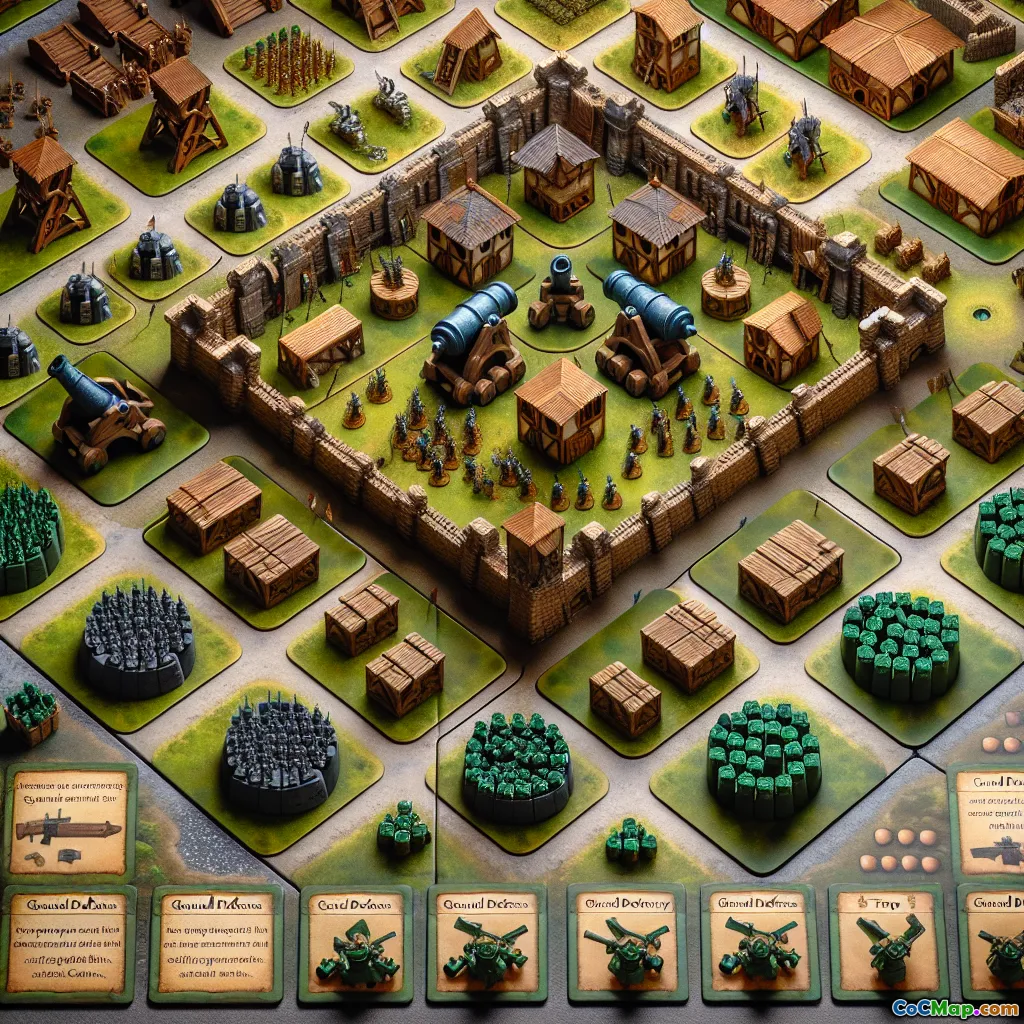
Cannon Placement Tactics: Maximizing Ground Defense Efficiency
Introduction
Did you know that a single cannon’s placement can decide the fate of your entire base? Whether you’re a new Chief or a seasoned war veteran, mastering the art of cannon positioning is one of the most overlooked—but most impactful—ways to fortify your village against ground assaults in Clash of Clans. What if you could turn your cannons from simple obstacles into the backbone of your ground defense? Let’s break down the science and strategy behind perfect cannon placement and see how you can elevate your base from easy loot to an impenetrable fortress.
Understanding Cannons: Strengths and Weaknesses
Before diving into placement tactics, it’s crucial to understand what cannons bring to your defensive lineup:
- Strengths:
- High rate of fire and decent damage per second (DPS) against ground units.
- Relatively low build and upgrade cost.
- Early unlock, allowing multiple cannons even at low Town Hall levels.
- Weaknesses:
- Cannot target air units.
- Moderate range compared to Archer Towers and X-Bows.
- Vulnerable to swarm units if unsupported.
Knowing these traits helps you decide not only where to place cannons, but also how to support them for maximum efficiency.
The Foundations: Core Principles of Cannon Placement
1. Coverage and Overlap
Cannon range is fixed and relatively short, so avoid leaving dead zones between them. Overlapping cannon ranges ensures that if one is destroyed, another can cover the gap. For example, at Town Hall 7, placing three cannons in a triangle around your core can provide overlapping coverage for your storages and Town Hall.
2. Layered Defense
Don’t line up all cannons on the outer ring! Instead, stagger them between the outer and inner layers of your base. This forces attackers to face sustained fire as they push deeper, rather than eliminating all cannons early on. Inner cannons also act as a last line of defense against units that breach your walls.
3. Protecting Key Structures
Cannons are excellent at defending resource storages and the Town Hall from ground troops. Place cannons so their range overlaps with these high-value targets, making it harder for attackers to snipe your loot or stars without a fight.
4. Spacing to Avoid Splash Damage
Don’t bunch up your cannons. Spacing them out reduces vulnerability to spells like Lightning or Earthquake, and to splash-damage troops like Bowlers or Balloons (if they’re paired with ground units).
Advanced Tactics: Adapting to Attacker Strategies
1. Anti-Giant and Hog Rider Placement
Giants and Hog Riders prioritize defenses, making cannon placement critical:
- Spring Trap Synergy: Place cannons just inside a wall gap with spring traps between them. Giants and Hog Riders will path between cannons, triggering the traps.
- Staggered Depth: Place one cannon closer to the wall and another a layer behind. This forces Giants to split, reducing their effectiveness and making them easier to pick off.
2. Funneling and Pathing Control
Smart cannon placement can shape the path attackers take:
- Corner Cannons: Place cannons near corners to deter funneling and force attackers to deploy more troops or spells.
- Offset Cannons: Slightly offset cannons from the main defensive line to bait troops into traps or into the firing range of splash defenses like Mortars.
3. Supporting with Other Defenses
Cannons work best when paired with:
- Archer Towers: Cover air and ground, filling in the cannon’s blind spots.
- Mortars and Bomb Towers: Handle swarms that cannons can’t thin out alone.
- Walls: Place cannons just behind walls to prevent melee units from reaching them easily.
Case Studies: Real-World Base Examples
Example 1: Farming Base at Town Hall 9
- Cannon Triangle: Three cannons form a triangle around storages, overlapping with Archer Towers and a Bomb Tower.
- Trap Integration: Spring traps and bombs are placed in likely attack paths between cannons.
- Result: Most Giant-based attacks are funneled into traps, and attackers struggle to reach storages.
Example 2: War Base at Town Hall 11
- Centralized Cannons: Two cannons are placed near the core, protected by multiple wall layers.
- Outer Cannons: Remaining cannons are staggered with Archer Towers along the perimeter.
- Result: Attackers who breach the outer layer face sustained cannon fire while being targeted by splash defenses.
Common Mistakes to Avoid
- Over-concentration: Placing all cannons together makes them easy targets for spells or concentrated attacks.
- Edge Placement: Cannons placed too close to the edge can be sniped by ranged troops like Archers or Bowlers.
- Neglecting Upgrades: Under-leveled cannons can’t keep up with stronger troops, making placement less impactful.
Pro Tips for Every Town Hall Level
- TH5-7: Focus on overlapping coverage and protecting storages.
- TH8-10: Integrate cannons with traps and splash defenses. Start staggering inner/outer placements.
- TH11+: Centralize at least one cannon for late-stage defense. Use cannons to bait and disrupt funneling for advanced attacks.
Conclusion
A well-placed cannon is more than just a static defense—it’s a strategic asset that can shape the entire flow of an attack. By understanding cannon strengths, leveraging coverage and overlap, integrating with traps and other defenses, and adapting to attacker strategies, you turn these humble turrets into the unsung heroes of your base. Next time you redesign your base, scrutinize every cannon’s position. Are you maximizing its potential—or leaving a weak spot for the enemy to exploit?
Start experimenting with these tactics, watch your defense logs, and tweak your placements. Over time, you’ll not only protect your loot but also frustrate your opponents and climb the ranks. Happy defending, Chief!


