Dragon Deployment Tips to Maximize Damage and Minimize Losses
10 min read Master dragon deployment in Clash of Clans! Learn expert strategies to maximize damage and reduce troop losses.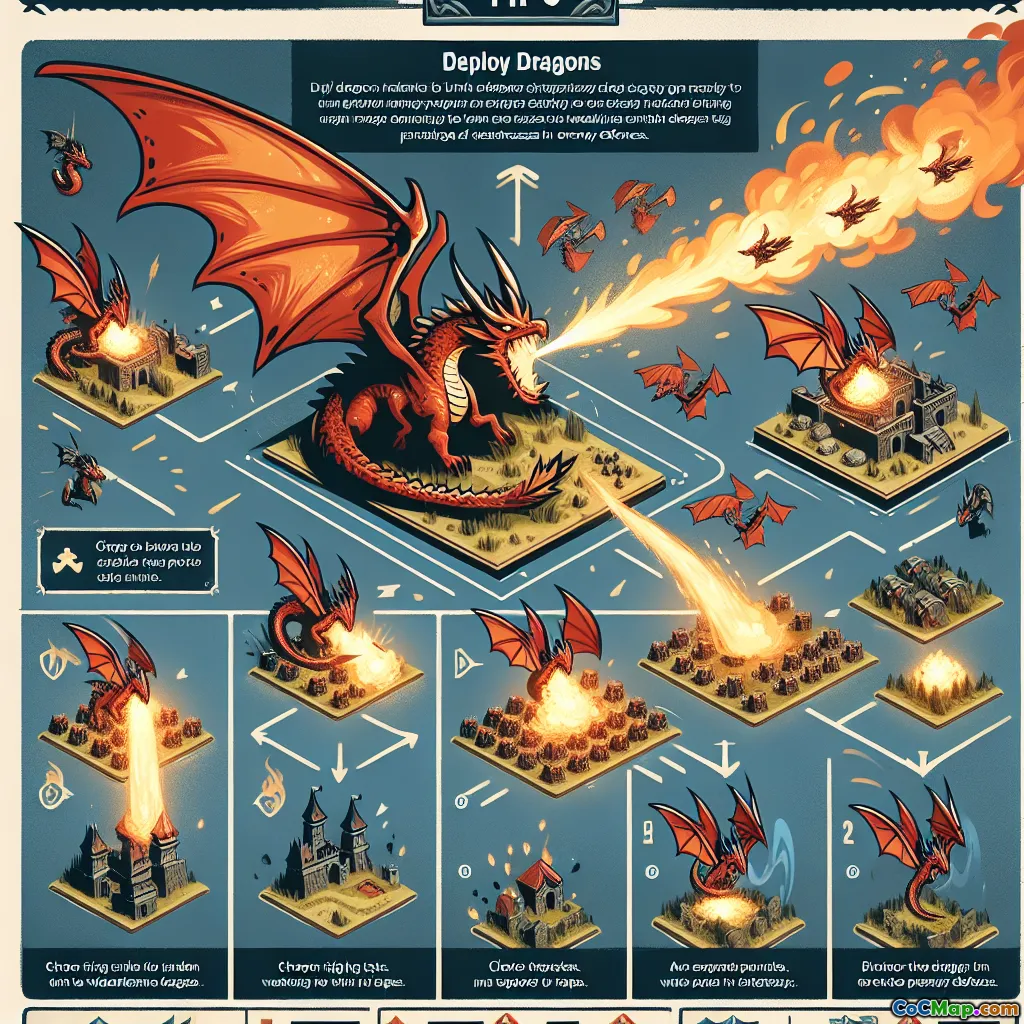
Dragon Deployment Tips to Maximize Damage and Minimize Losses
Introduction
Ever wondered why some Clash of Clans players seem to melt bases with their dragons while others watch their expensive air force fizzle out? The difference often comes down to deployment. Dragons are powerful, but misusing them can lead to costly failures. What if you could consistently unleash their full destructive potential while keeping your losses to a minimum? This guide dives deep into the art and science of dragon deployment, arming you with actionable insights to elevate your air attacks—whether you’re a casual raider or a war strategist.
Why Dragons? The Power and Pitfalls
Dragons are one of the most versatile and intimidating air units in Clash of Clans. Boasting high hitpoints and splash damage, they can clear out both defenses and clustered structures. However, their relatively slow movement, lack of targeting priorities, and susceptibility to air traps and air defenses can turn a promising attack into a disaster if not handled wisely.
Key Stats (Level 5 Dragon at Town Hall 9):
- Hitpoints: 3,200
- Damage per Second: 210
- Housing Space: 20
- Movement Speed: 16
Understanding these strengths and weaknesses is the first step to mastering dragon deployment.
Section 1: Scouting the Base – Know Your Enemy
Before you even select your dragons, analyze the target base. Look for:
- Air Defenses Placement: Are they centralized or exposed?
- Clan Castle Troops: Will you face air-targeting defenders like Archers or Minions?
- Sweeper Directions: Air Sweepers can drastically slow your dragons.
- Funnel Potential: Are there external structures that could distract your dragons?
Example: Against a base with air defenses grouped tightly in the core, a concentrated dragon push with Rage spells can be devastating. If air defenses are spread wide, consider a split deployment or supporting with Balloons.
Section 2: Funnel Creation – Controlling the Chaos
Dragons attack the nearest building, often resulting in them wandering along the base’s edge, missing the core. To prevent this, you must create a funnel:
- Step 1: Use a few dragons or supporting troops (like Balloons or Baby Dragons) to clear buildings on the flanks where you want your main force to enter.
- Step 2: Once the sides are clear, deploy your main group of dragons in a line or slight arc, ensuring they move toward the core.
Pro Tip: Don’t be afraid to invest 2-3 dragons for funneling. Losing a few dragons to ensure the rest hit the heart of the base is a worthy trade.
Section 3: Deployment Patterns – Line, Arc, or Surgical?
1. Line Deployment
Deploying dragons in a straight line across one side of the base can overwhelm defenses and ensure a broad initial spread. This is best for wide, rectangular bases.
2. Arc Deployment
Forming a slight arc helps concentrate dragons toward the core after initial buildings are cleared. This pattern is ideal for bases with a compact core and open sides.
3. Surgical Deployment
Dropping dragons one at a time to target specific defenses or create a micro-funnel. This is advanced but can be highly effective in asymmetric or anti-dragon bases.
Comparison:
- Line: Fast, simple, but risks dragons splitting.
- Arc: Balanced, guides dragons inward.
- Surgical: Precise, requires experience.
Section 4: Spell Support – Maximizing Impact
Dragons become exponentially deadlier when paired with the right spells. The most common spell combinations include:
- Rage Spell: Increases movement and attack speed. Place it where dragons will encounter heavy defenses (especially air defenses).
- Heal Spell: Less effective on dragons due to their high HP, but can be clutch when facing multiple air bombs.
- Freeze Spell: Temporarily disables air defenses or Inferno Towers. Time it right as dragons approach these threats.
- Lightning Spell: Used to eliminate air defenses before deploying dragons. At lower Town Hall levels, two or three Lightning Spells can remove a key air defense.
In-Game Example: At Town Hall 8, a classic strategy is to zap two air defenses with Lightning and Earthquake, then deploy dragons from the side with the remaining air defense, supported by Rage spells.
Section 5: Supporting Troops and Heroes
While dragons can operate solo, supporting them with the right troops and heroes can tip the scales:
- Balloons: Excellent for sniping defenses behind the dragon wave.
- Baby Dragons: Useful for funneling or picking off isolated structures.
- Heroes: The Barbarian King can clear ground trash, while the Archer Queen (at higher Town Halls) can snipe air defenses or sweepers.
- Clan Castle Troops: Request a high-level Balloon or Dragon for extra punch.
Player Insight: Top war clans often use a few Balloons to trigger seeking air mines ahead of the main dragon force, minimizing sudden losses.
Section 6: Timing and Patience – Don’t Rush!
A common mistake is dropping all dragons at once and hoping for the best. Instead:
- Stagger Deployments: Deploy funneling dragons first, wait for them to clear, then send in your main force.
- Spell Timing: Don’t pre-drop spells. Watch for when dragons bunch up or hit heavy resistance, then cast spells for maximum value.
- Hero Deployment: Wait until dragons have cleared most air-targeting threats before sending in heroes to maximize their lifespan.
Example: In a Clan War attack, a player waited until the first air defense was down before dropping the Barbarian King to clean up, ensuring no wasted hero power.
Section 7: Minimizing Losses – Anticipate Traps and Threats
Dragons are tough, but not invincible. To keep losses low:
- Scout for Traps: Look for likely locations of seeking air mines or air bombs (often near air defenses or high-value targets).
- Use Balloons as Bait: Deploy a Balloon ahead of dragons to trigger traps.
- Avoid Sweeper Zones: Deploy from the side opposite an Air Sweeper’s direction.
- Spell Management: Keep a Freeze or Heal spell in reserve for emergencies.
Section 8: Adapting to Base Designs – Flexibility is Key
No two bases are the same. Adapt your dragon attack based on:
- Anti-Dragon Bases: Look for offset air defenses and spread-out storages designed to split your dragons. Adjust your funnel and consider more surgical deployment.
- Ring Bases: These can cause dragons to circle endlessly. Strong funneling is crucial here.
- Compact Bases: Use Rage and Freeze to power through the core quickly.
Advanced Tip: Watch replays of your attacks and those of top players. Note how they adjust their deployment to different base styles.
Conclusion
Deploying dragons isn’t just about brute force—it’s about precision, timing, and adaptation. By scouting bases, creating effective funnels, choosing the right deployment patterns, supporting with spells and troops, and staying alert to traps, you can consistently maximize your dragons’ damage while keeping your losses to a minimum.
Next time you line up those majestic beasts, remember: every dragon counts. Practice these strategies, review your replays, and soon you’ll be the player others fear when they see your name in the war log. Good luck, Chief—may your skies always be filled with fire!


