Eagle Artillery Activation: How to Manipulate Its Timing for Strategic Advantage
10 min read Master Eagle Artillery activation in Clash of Clans: learn timing manipulation for game-changing strategies.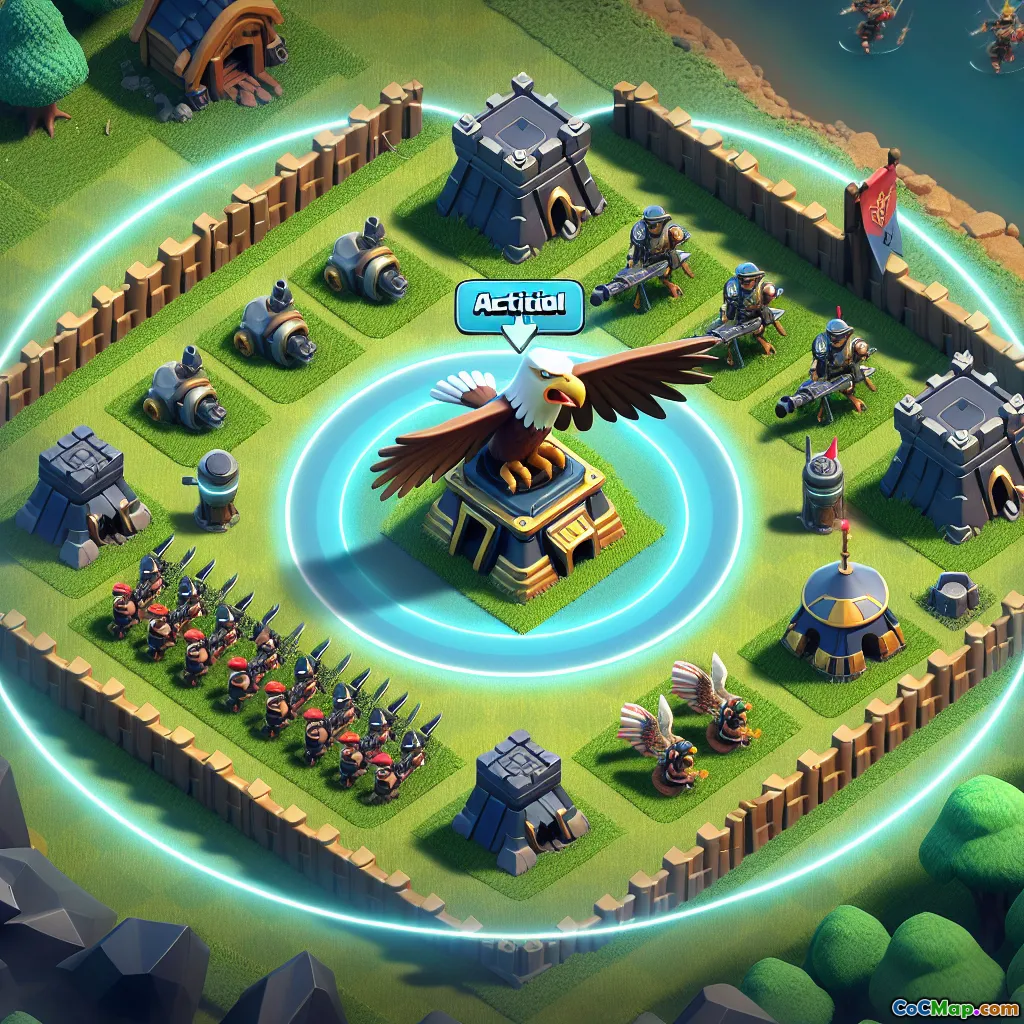
Eagle Artillery Activation: How to Manipulate Its Timing for Strategic Advantage
Introduction
What if you could control the most devastating weapon in a Clash of Clans base—not by owning it, but by dictating exactly when it wakes up? The Eagle Artillery is infamous for turning the tide of high-level battles, unleashing a barrage of destruction that can decimate even the most robust armies. But what many players overlook is that its power is not just in its raw damage—it's in when it activates. Mastering the art of Eagle Artillery activation timing can be the difference between a flawless three-star and a crushing defeat. Are you ready to outthink the Eagle?
Understanding Eagle Artillery: The Basics
Before diving into manipulation tactics, it’s crucial to understand how the Eagle Artillery functions and why its activation timing is so impactful.
What Is the Eagle Artillery?
Introduced at Town Hall 11, the Eagle Artillery is a long-range, high-damage defense that targets troops anywhere on the map. It charges up and launches powerful strikes at clustered units, making it a nightmare for mass-army strategies.
Activation Criteria
- Troop Housing Space Trigger: The Eagle Artillery remains dormant until a specific amount of troop housing space has been deployed by the attacker. The threshold is:
- 150 housing space at TH11
- 200 housing space at TH12 and above
- Once activated, it will continue firing until destroyed or the attack ends.
Why Timing Matters
The Eagle’s damage is most devastating when your army is grouped and vulnerable. Triggering it too early can shatter your main force before it reaches key objectives. Delaying activation, on the other hand, can let you dismantle much of the base before facing its wrath.
Manipulating Activation: Core Strategies
1. Calculating Your Deployment
Know Your Troop Housing Space
Every troop has a housing space value. For example:
- Archer: 1
- Balloon: 5
- Golem: 30
- Electro Dragon: 30
Example: Deploying 2 Golems (60), 10 Wizards (20), 4 Wall Breakers (8), and 2 Pekkas (50) totals 138. The Eagle at TH11 won’t activate until you deploy just one more Archer.
Pro Tip: Keep a running total as you deploy. Use low-housing-space troops to approach the threshold without crossing it.
2. Staggered Deployment
Instead of dropping your entire army at once, start with a small contingent to create a funnel or clear outer defenses. Only commit your main force once you’re ready to face the Eagle.
Tactical Example:
- Deploy 2 Baby Dragons (20), 6 Balloons (30), and 10 Archers (10) to clear corners (total: 60)
- Use Heroes to snipe key defenses (Heroes don’t count toward the Eagle’s activation)
- Hold back core troops until the funnel is complete, then launch your main push, triggering the Eagle only when your army is ready to absorb its shots.
3. Hero-First Approaches
Since Heroes do not count towards the Eagle’s activation, you can use them to eliminate high-value targets or create a path without waking the Eagle. This is especially effective in Queen Charge or Warden Walk strategies.
In-Game Insight:
- Start with a Warden Walk to clear a section of the base. Only deploy enough healers and support troops to stay under the activation threshold.
- Once the path is set, deploy your main army and trigger the Eagle at a time of your choosing.
4. Spell and Siege Machine Management
- Spells do not count toward activation, so use them freely to support funneling or weaken defenses before deploying major troops.
- Siege Machines: Their deployment does not count, but the troops inside do once released. Time the release with your main push to avoid premature activation.
5. Baiting and Distraction
Sometimes, you want the Eagle to activate early—especially if you can distract it with expendable troops.
Example:
- Deploy a wave of low-value troops (Barbarians, Minions) to soak up Eagle shots while your main force is still safe.
- This can be effective in attacks like Mass Miners, where the main force is underground and immune to Eagle blasts while the distraction is above ground.
6. Base Identification and Adaptation
Every base is different. Some have the Eagle deep in the core, others offset to one side. Analyze the base:
- Core-Centric Eagles: Consider delaying activation until you’ve opened a path to the core.
- Offset Eagles: Plan a side-entry to take it down early if it’s vulnerable.
Advanced Tip: Watch for traps and high-damage zones around the Eagle. Sometimes, the defender wants you to rush the Eagle and fall into a kill zone.
Advanced Tactics: Manipulating for Maximum Value
Combining Strategies for Pro-Level Attacks
- Queen Charge Lalo: Use the Queen and Healers to clear a section, staying under the threshold. Once the path is set, launch Balloons and Lava Hounds, triggering the Eagle at the moment your Balloons are spread out and least vulnerable.
- Hybrid Attacks (Miners & Hog Riders): Start with a Hero walk. Deploy Miners first (they go underground and avoid Eagle shots), then Hogs, triggering the Eagle only when your Miners are deep in the base.
Reading the Defender’s Intentions
High-level base designers often try to force you into early Eagle activation. Recognize bait traps and use staggered deployment or Hero-first approaches to counter them.
Timing with Spells
When the Eagle activates, anticipate where its shots will land. Use Freeze or Warden’s Eternal Tome ability to protect your troops at the critical moment.
Example:
- Deploy your main force, trigger the Eagle, and as the first volley lands, activate the Warden’s ability to render your army temporarily invulnerable.
Common Mistakes and How to Avoid Them
- Dumping the Army All at Once: This almost always triggers the Eagle immediately, exposing your entire force.
- Ignoring Housing Space Math: Miscounting can lead to accidental early activation.
- Wasting Hero Potential: Deploying Heroes alongside the main army wastes their ability to operate under the radar.
- Poor Spell Timing: Using the Warden’s ability too early or too late can leave troops exposed to Eagle shots.
Conclusion: Mastering the Eagle, Mastering the Game
The Eagle Artillery is not just a defensive building—it’s a psychological weapon. By understanding and manipulating its activation timing, you seize control of the battlefield’s deadliest force. Whether you’re a competitive war player or a casual attacker, integrating these tactics into your strategy will elevate your game, turning the Eagle from a nightmare into an opportunity.
Next time you face an Eagle Artillery, don’t just attack—outsmart it. Count your troops, plan your funnel, and dictate the moment the Eagle wakes. The difference between a two-star and a three-star could be just one perfectly timed deployment.
Ready to take your attacks to the next level? Practice these techniques, experiment with your favorite armies, and watch as the Eagle Artillery becomes a tool you control—not a threat you fear.


