Eagle Artillery Placement Strategies for Defensive Success
9 min read Unlock the secrets of Eagle Artillery placement to maximize your base's defensive power in Clash of Clans.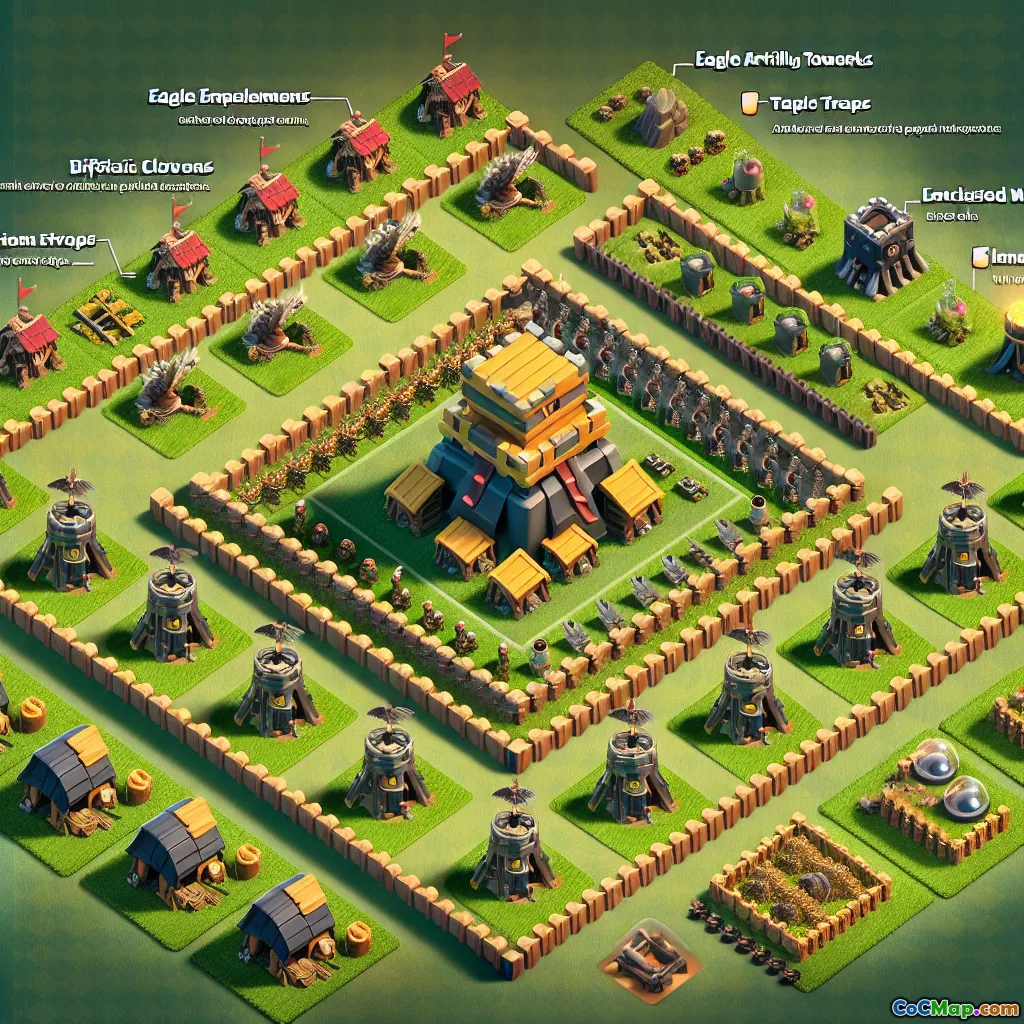
Eagle Artillery Placement Strategies for Defensive Success
Introduction
Have you ever wondered why some Clash of Clans bases seem nearly impossible to triple, even when attacked by the most skilled players? The answer often lies in the subtle art of defensive building placement—especially the Eagle Artillery. As the deadliest long-range defense unlocked at Town Hall 11, the Eagle Artillery can single-handedly turn the tide of a raid. But its true power is only unleashed when positioned with surgical precision.
What if you could make your base a nightmare for attackers, forcing them into costly mistakes and failed attacks? In this guide, we’ll dive deep into Eagle Artillery placement: why it matters, how top players approach it, and actionable strategies you can use to defend your loot—and your pride.
Why Eagle Artillery Placement Matters
The Eagle Artillery is not just another point-defense. Its unique mechanics—massive range, splash damage, and activation based on troop deployment—make its placement a cornerstone of advanced base design. Here’s why:
- Centrality = Survivability: The longer your Eagle survives, the more pressure it puts on attackers, forcing early spell usage and hasty decisions.
- Coverage: Its huge range can threaten almost any area of your base, but only if positioned wisely.
- Attack Path Manipulation: Where you place the Eagle can influence how and where opponents deploy their armies.
Let’s break down the main strategies and what separates a mediocre defense from a masterful one.
1. Core vs Offset: Centralizing the Eagle Artillery
The Core Placement
Placing the Eagle Artillery at the heart of your base is the classic approach. It maximizes protection, requiring attackers to penetrate deep before neutralizing it. This is especially effective against armies that rely on early Eagle takedowns (e.g., Queen Charge Hybrid or Electro Dragon spam).
Advantages:
- Forces attackers to commit significant resources to reach the Eagle.
- Synergizes with other core defenses (Infernos, Clan Castle, Scattershots at TH13+).
- Minimizes risk from long-range spells or heroes.
Disadvantages:
- Predictable for experienced attackers; may encourage strong funneling or siege machine usage.
- Vulnerable to symmetrical base designs, which are easier to plan against.
Offset Placement
Some base builders opt for a slightly off-center Eagle, protected by layers of storages and high HP buildings. This can disrupt standard attack paths and bait attackers into traps.
Advantages:
- Can lure attackers into dead zones or high-trap areas.
- Forces attackers to choose between Eagle and other key objectives (e.g., Town Hall, Scattershot).
Disadvantages:
- If too exposed, can be sniped by Warden Walks or Queen Charges.
- May leave parts of your base under-covered by Eagle fire.
Pro Tip: Use offset placement in asymmetric bases, especially in war layouts where unpredictability is key.
2. Layered Protection: Buffering the Eagle Artillery
A well-placed Eagle is only as strong as its surrounding defenses. Consider the following layers:
- Buffer Buildings: Storages, high-HP structures, and even the Town Hall can act as meat shields, buying your Eagle precious seconds.
- Trap Coverage: Place Giant Bombs, Seeking Air Mines, and Skeleton Traps near likely Eagle entry points to punish key troops.
- Splash Support: Pair the Eagle with splash defenses (Scattershots, Wizard Towers) to amplify punishment against mass troops.
Example: A popular TH12/13 base design surrounds the Eagle with storages and a Scattershot, with Giant Bombs in the gaps. This setup devastates Hog and Miner attacks while resisting Queen Charges.
3. Anti-Pathing: Manipulating Attack Strategies
Savvy attackers will try to path their troops away from the Eagle or reach it quickly. Your job is to make this as difficult as possible.
- Dead Zones: Create empty spaces or compartments that force troops to walk around the Eagle, not directly to it.
- Compartmentalization: Use walls to separate the Eagle from other high-value targets, requiring multiple wall breaks or jumps.
- Funneling Disruption: Place high-value targets (like the Town Hall or Clan Castle) away from the Eagle to split attacker focus.
Player Insight: Legend League bases often use offset Eagles in isolated compartments, with forced pathing that pushes troops into traps if attackers go for the Eagle early.
4. Spell and Siege Machine Counterplay
Modern attacks rely heavily on spells and siege machines. Your Eagle placement should anticipate and counter these tools.
- Warden Walk/Queen Charge Defense: Avoid placing the Eagle near outer walls or in areas easily reached by heroes with healers.
- Blimp/Siege Barracks Bait: If the Eagle is too close to a base edge, attackers may use a Battle Blimp or Siege Barracks to snipe it. Centralize or buffer with storages to prevent this.
- Freeze/Lightning Bait: Keep the Eagle separated from other key defenses to avoid multi-target spell value.
Example: At TH13, separating the Eagle from Scattershots and Infernos ensures attackers can’t neutralize multiple threats with a single spell drop.
5. Adapting to Meta Attacks
The best placement evolves with the meta. Here’s how to adapt:
- Against Queen Charge Hybrid: Place the Eagle deep, with layered traps and splash behind storages.
- Against E-Drags: Avoid clumping the Eagle with other high-value targets; spread splash defenses nearby.
- Against Yeti Smash: Use dead zones and stalling compartments to delay the Yetis’ advance to the Eagle.
Data Point: Top war clans frequently redesign their Eagle’s compartment every season, responding to the most common attack types in their league.
6. Common Placement Mistakes to Avoid
- Too Exposed: Eagles near the edge are easy pickings for Queen Walks or Blimps.
- Overcrowding: Placing the Eagle with too many other key defenses can make you vulnerable to spell-heavy attacks.
- Ignoring Traps: Neglecting trap coverage near the Eagle allows attackers to snipe it with minimal troop investment.
Conclusion: Building Your Defensive Legacy
Mastering Eagle Artillery placement is more than just dropping it in the middle and hoping for the best. It’s about reading the meta, anticipating attacker strategies, and layering your defenses for maximum punishment. Every base, clan, and war opponent is different, so don’t be afraid to experiment and adapt.
Key Takeaways:
- Centralize or offset the Eagle based on your base design and meta threats.
- Surround the Eagle with high-HP buffers and splash support.
- Manipulate pathing and anticipate spell/siege machine usage.
- Regularly review and adjust your placement as attack strategies evolve.
By applying these principles, you’ll transform your base from an easy target into a fortress—one that attackers will remember long after their failed raid. Now, it’s your turn: review your base, make those adjustments, and watch your defensive success soar!


