Effective Archer Deployment: Maximize Your Damage
7 min read Discover expert strategies to deploy Archers effectively in Clash of Clans, maximizing damage and improving attack efficiency with detailed tactics.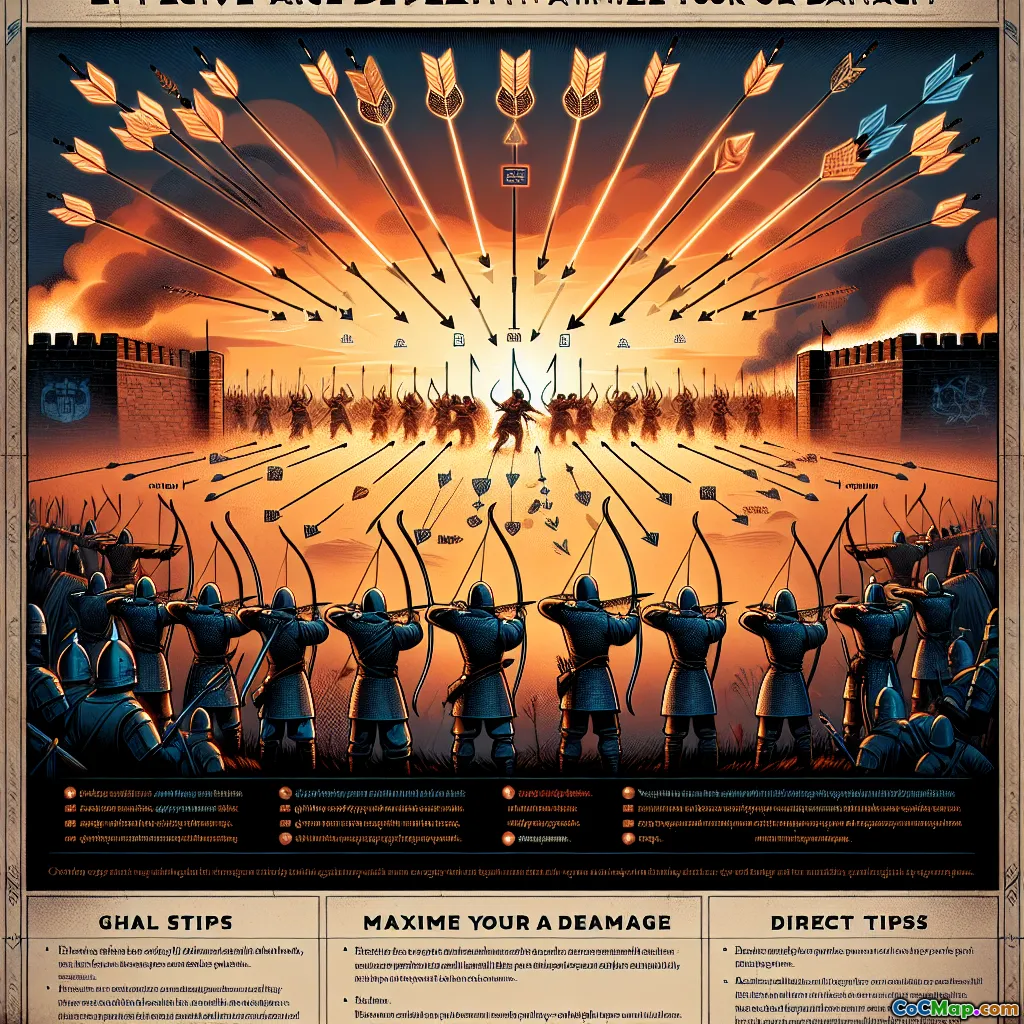
Effective Archer Deployment: Maximize Your Damage
Introduction
Have you ever wondered how some Clash of Clans players consistently rack up high damage scores using Archers? Despite their low health and cost, Archers can be devastating when deployed correctly. The secret lies not just in the troop itself but in how and where you deploy them. Mastering Archer deployment can turn a simple raid into a high-efficiency attack, saving you resources and time while maximizing damage output. This article delves deep into the art and science of deploying Archers effectively, providing you with actionable strategies that can be applied across different attack scenarios.
Understanding the Role of Archers in Clash of Clans
The Strengths and Weaknesses of Archers
Archers are versatile, low-cost, ranged troops capable of targeting both ground and air units. Their primary strength lies in their ability to deal consistent damage from a safe distance, making them ideal for cleanup, distraction, or chip damage during attacks.
However, their low health makes them vulnerable to splash damage from Wizard Towers, Bombs, and Air Bombs, as well as high-damage units like P.E.K.K.As or Dragons. Recognizing these strengths and weaknesses is crucial for deploying them effectively.
When to Use Archers
- Clean-up after main troops: Archers excel at finishing off remaining buildings or defending troops.
- Funneling: Proper placement can direct your main attack force along a desired path.
- Distracting defenses: Deploying Archers to lure out Clan Castle troops or distract point defenses.
- Supporting air attacks: When combined with air units, Archers can target air defenses or remaining structures.
Strategic Deployment Techniques
1. Positioning for Maximum Coverage
Proper placement is key. Spread Archers around the perimeter of your attack to cover multiple buildings, avoiding clustering which can lead to splash damage wiping out multiple units at once.
Example: During a raid, place Archers behind tanks or heavier units to protect them from splash damage while they absorb hits.
2. Utilizing Funneling and Pathing
Use Archers to create a funnel directing your main troops towards high-value targets like the Town Hall or Clan Castle. Deploy them at strategic points to clear outer buildings and create a clear path.
Tip: Deploy Archers slightly ahead of your main force to ensure the path is cleared without exposing your main troops to unnecessary fire.
3. Timing and Wave Deployment
Timing is crucial. Deploy Archers in waves to maximize damage while minimizing exposure. For example, send a small group to lure out Clan Castle troops or distract defenses, then follow with your main force.
Example: Use a few Archers to lure out enemy Clan Castle troops, then deploy your main attack once defenses are distracted.
4. Using Cover and Terrain
Deploy Archers behind walls or near structures that can provide some cover, reducing the risk from splash damage and defenses.
Tip: Avoid placing Archers directly in the open where they can be easily targeted by splash defenses.
Advanced Tactics for Maximizing Damage
1. Target Prioritization
Archers automatically target the closest building, but smart players manipulate this by positioning them near high-value targets. For example, placing Archers near air defenses to quickly eliminate threats to air units.
2. Synergy with Other Troops
Combine Archers with tanks like Giants or P.E.K.K.As to absorb damage while Archers deal damage from behind. This synergy allows for safer and more effective damage dealing.
Example: Use Giants to soak up damage, then deploy Archers behind them to pick off defenses.
3. Utilizing Spells and Boosts
Spells like Rage or Freeze can significantly boost Archer damage or protect them from splash damage. Deploy Rage spells when Archers are targeting high-value structures or when overwhelmed.
Tip: Use Freeze to disable splash defenses like Wizard Towers or Air Bombs while Archers do damage.
4. Timing in Multi-Phase Attacks
In complex attacks, deploy Archers at different stages to adapt to changing battlefield conditions. Early deployment can weaken outer defenses, while late deployment can clean up remaining structures.
Common Mistakes to Avoid
- Clustering Archers: Grouping them together makes them vulnerable to splash damage.
- Overcommitting: Deploying too many at once can lead to unnecessary losses.
- Ignoring Splash Defenses: Failing to account for Wizard Towers or Bombs can wipe out your Archers prematurely.
- Poor Timing: Deploying Archers too early or too late can reduce their effectiveness.
Conclusion
Mastering Archer deployment is a game-changer in Clash of Clans. By understanding their strengths and weaknesses, employing strategic positioning, timing, and synergy with other troops, you can maximize damage output and improve your attack success rate. Practice these techniques, analyze your attack replays, and refine your approach. Remember, in Clash of Clans, thoughtful troop deployment often makes the difference between a victory and a costly defeat. Keep experimenting, stay adaptable, and watch your Archer effectiveness soar.
Happy attacking!


