Effective Mortar Placement to Minimize Damage Gaps
8 min read Discover expert strategies for placing Mortars to minimize damage gaps, optimize coverage, and strengthen your Clash of Clans defenses.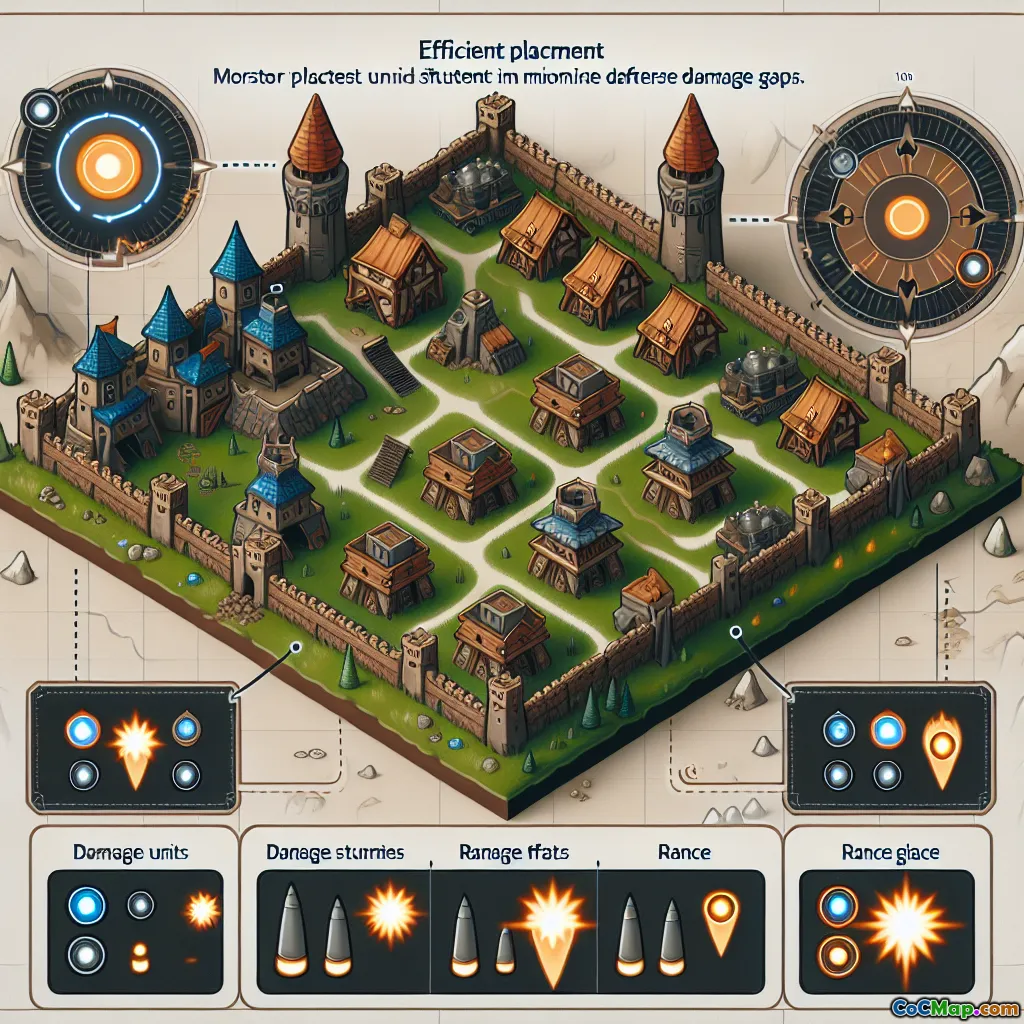
Effective Mortar Placement to Minimize Damage Gaps
Introduction
Have you ever wondered why some Clash of Clans bases withstand enemy attacks with surprising resilience, while others crumble quickly? A key factor often overlooked is the strategic placement of your Mortars. Despite their relatively low health compared to other defenses, Mortars can be game-changers when positioned correctly. The question is: How can you place your Mortars to minimize damage gaps and maximize their defensive potential? This article dives deep into the art and science of Mortar placement, revealing tactics that can elevate your defensive game and protect your resources more effectively.
Understanding Mortar Mechanics and Their Role in Defense
The Power and Limitations of Mortars
Mortars are long-range splash damage defenses designed to cover a broad area with minimal targeting complexity. They excel at dealing with clustered enemy troops, such as Barbarians, Archers, or Minions, especially during early attack phases.
However, their vulnerabilities include:
- Low health pool: Mortars are fragile and can be easily destroyed if exposed.
- Limited firing arc: Mortars cannot rotate 360°, which can create coverage blind spots.
- Damage gaps: Poor placement can leave certain areas unprotected, allowing enemy troops to slip through.
Understanding these mechanics helps in designing placements that maximize coverage while minimizing weaknesses.
The Importance of Damage Gaps
Damage gaps are unprotected zones within your defense layout where enemy troops can advance without facing fire from key defenses. For Mortars, gaps can occur due to:
- Overlapping coverage areas that leave some regions uncovered
- Placement near walls or other buildings that block splash damage
- Clustering of defenses that create voids
Minimizing these gaps is crucial because they can be exploited by skilled attackers using strategic troop deployment or air units.
Principles of Effective Mortar Placement
1. Centralized Positioning for Maximum Coverage
The most fundamental principle is to place your Mortar near the center of your base. This ensures:
- Optimal range utilization: Mortars have a long attack radius, so central placement allows them to cover the entire base.
- Protection from early destruction: Being centrally located makes it harder for enemies to reach and destroy your Mortar early in the attack.
2. Overlapping Splash Damage Coverage
Design your layout so that your Mortars' splash damage areas overlap with other key defenses like Archer Towers or Cannons. This overlapping coverage:
- Ensures no area is left vulnerable.
- Creates a layered defense system that can damage multiple troop types simultaneously.
- Helps in reducing damage gaps by covering blind spots.
3. Positioning Relative to Walls and Other Buildings
Avoid placing Mortars directly behind walls or within tight clusters of buildings. Instead:
- Place them slightly outside the core, but within range of other defenses.
- Use open spaces to maximize their firing arc.
- Ensure they are not easily accessible for ground troops to snipe.
4. Consider Enemy Attack Patterns
Anticipate common attack strategies:
- Queen Walks and Funnel Attacks: Place Mortars where they can cover potential entry points.
- Ground and Air Mix: Position Mortars to cover both ground troop paths and potential air attack routes.
5. Protect Your Mortars with Other Defenses
Mortars are vulnerable to air bombs, spells, and direct attacks. To mitigate this:
- Surround them with splash damage defenses like Wizard Towers.
- Use walls or traps to delay enemy ground troops.
- Place them away from potential spell drop zones to avoid early destruction.
Practical Placement Strategies and Examples
Example 1: Centralized Placement with Overlap
Position your Mortar near the core of your base, surrounded by Archer Towers and Cannons. Ensure its splash radius overlaps with these defenses, creating a protective shield. This setup covers most attack angles and reduces damage gaps.
Example 2: Corner Placement for Specific Defense
In some cases, placing Mortars towards the corners can prevent enemy troops from funneling directly into the core, forcing attackers to engage multiple layers of defense. However, be cautious to ensure coverage overlaps with other defenses to avoid creating blind spots.
Example 3: Multi-layered Defense Approach
Combine central placement with strategic positioning of other splash defenses. For example, place Mortars slightly offset from the center, with Wizard Towers nearby, to cover wider areas and prevent damage gaps during multi-pronged attacks.
Advanced Tips for Minimizing Damage Gaps
- Use of Shielding: Combine Mortars with hidden traps or walls to create choke points, forcing enemy troops into areas where Mortars can deal maximum splash damage.
- Adjust Based on Attack Patterns: Regularly analyze attack replays to identify weak spots and adjust Mortar positions accordingly.
- Balance Between Coverage and Safety: While central placement is ideal for coverage, ensure they are not so exposed that they can be easily destroyed early.
- Upgrade Strategically: Upgrading Mortars increases their damage and durability, making their placement more impactful.
Conclusion
Effective Mortar placement is a subtle art that balances coverage, protection, and strategic foresight. By positioning Mortars centrally, overlapping their splash damage with other defenses, and considering enemy attack patterns, you can significantly reduce damage gaps and bolster your base's resilience. Remember, a well-placed Mortar not only deals damage but also acts as a deterrent, forcing attackers to adapt their strategies. Take the time to analyze your base layout, experiment with different placements, and continually refine your defense setup. Your Clash of Clans success depends on smart, strategic defense design—starting with your Mortars.
Call to Action
Review your current base layout today. Identify potential damage gaps and test new Mortar placements. With practice and strategic planning, you'll turn your defenses into an unbreakable fortress!


