Freeze Spell Tactics: Disabling Inferno Towers and Eagle Artillery Like a Pro
9 min read Master Freeze Spell tactics to neutralize Inferno Towers and Eagle Artillery for smarter Clash attacks.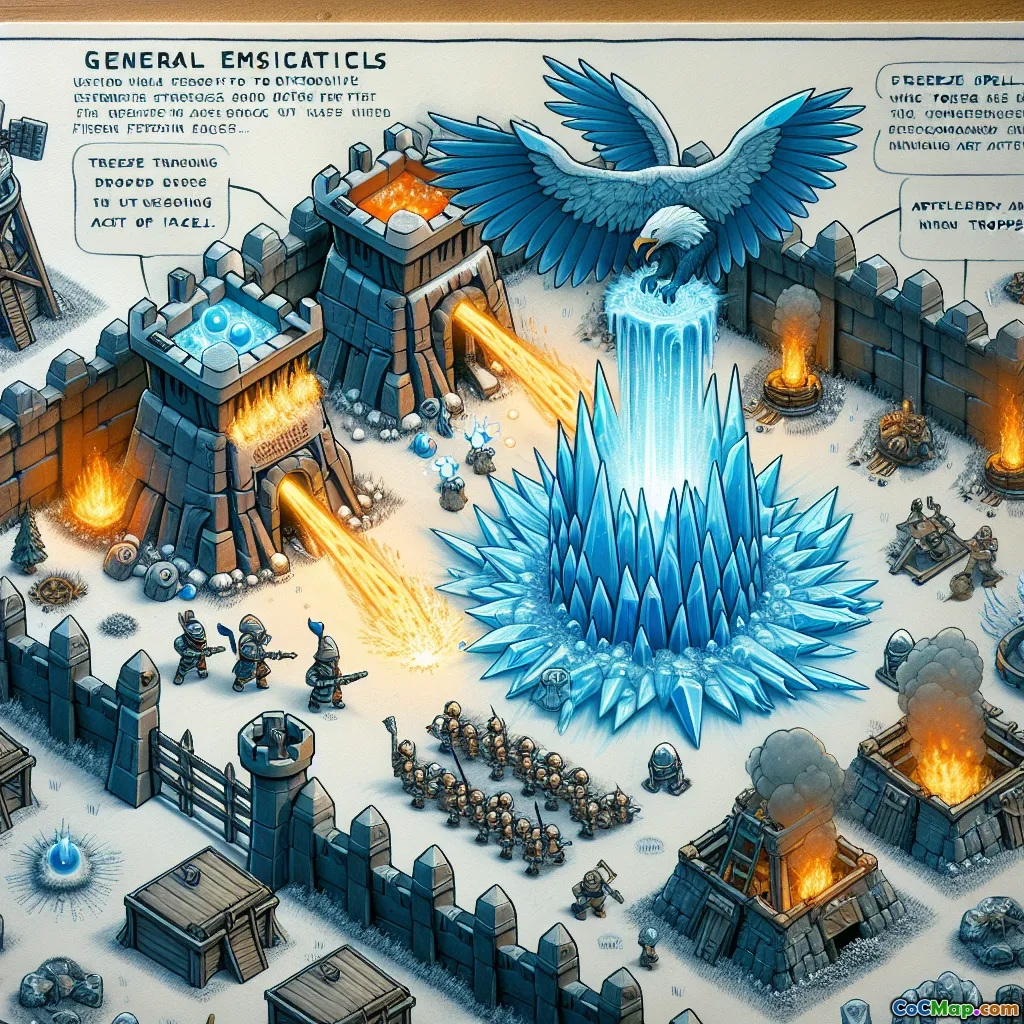
Freeze Spell Tactics: Disabling Inferno Towers and Eagle Artillery Like a Pro
Introduction
Ever watched your attack fizzle out as your strongest troops melt away under the relentless beams of an Inferno Tower or the explosive barrages of an Eagle Artillery? What if you could turn the tide with a single, perfectly timed Freeze Spell? In the high-stakes world of Clash of Clans, knowing exactly when and where to deploy your Freeze Spell can mean the difference between a crushing defeat and a glorious three-star victory. Let’s dive deep into the art of freezing—disabling the deadliest defenses with surgical precision.
The Freeze Spell: Mechanics and Strategic Value
What Does the Freeze Spell Do?
The Freeze Spell halts enemy defenses and traps in its radius for a short duration, rendering them completely inactive. At max level, it can freeze targets for up to 5.5 seconds—a lifetime in the heat of battle. But with limited spell space and a small freeze radius, every cast must count.
Why Focus on Inferno Towers and Eagle Artillery?
- Inferno Towers: Single-target mode can instantly vaporize heroes or tanks; multi-target mode shreds swarms of troops.
- Eagle Artillery: Its high-damage, long-range shots devastate clustered armies, especially in the late attack stages.
These defenses are the backbone of high-level bases. Neutralizing them, even briefly, opens windows for your troops to survive, push deeper, and secure objectives.
Mastering Freeze Spell Timing
The High Cost of Misuse
Dropping a Freeze Spell too early or too late often wastes its potential. For example, freezing an Inferno Tower before it locks onto your Archer Queen leaves her vulnerable later. Or, missing the Eagle’s shot by a split second can cost you dozens of troops.
Pro Tip: Watch for Activation Cues
- Inferno Tower: Wait until it locks onto a key target (e.g., Grand Warden, Queen, Golem) and its beam is ramping up.
- Eagle Artillery: Freeze as the shells are about to land, ideally catching other defenses in the radius.
Example: In a Queen Walk, freeze the Inferno only once it’s targeting your Queen and her ability is unavailable. In a mass Hog or Balloon attack, time the freeze to coincide with the Eagle’s first or second salvo.
Chain-Freezing: Stacking Value
Top players often carry multiple Freeze Spells, chaining them to keep an Inferno or Eagle disabled for 8-11 seconds. This is especially effective during the final push, when your troops are most vulnerable.
Targeting Inferno Towers: Single vs. Multi-Target
Single-Target Inferno
- Threat: Melts high-HP units and heroes in seconds.
- Freeze Tactic: Wait for the beam to ramp up on your tankiest troop, then freeze. This interrupts the damage ramp, buying crucial seconds for healers or support troops.
- Combo Play: Pair with Rage or Healing Spells to maximize survivability during the freeze window.
Multi-Target Inferno
- Threat: Destroys swarms (e.g., Balloons, Miners, Bats).
- Freeze Tactic: Time the freeze as your group enters the radius, especially if combined with other splash defenses like Wizard Towers.
- Example: In Bat-heavy strategies (e.g., BatSlap), freezing a multi-Inferno and adjacent Wizard Tower lets your bats clear massive sections of the base.
Disabling Eagle Artillery: The Ultimate Equalizer
Understanding Eagle Artillery Mechanics
- Activation: Fires after a set number of troop housing spaces are deployed (usually 180+).
- Attack Pattern: Delivers three massive shots targeting the highest concentration of troops.
Optimal Freeze Timing
- First Salvo: Anticipate the first round and freeze the Eagle just as the shells are about to launch.
- Max Value: Try to catch other defenses (e.g., X-Bows, Scattershots) in the freeze radius for multi-purpose disruption.
Example: Queen-Charge Hybrid
In Queen-Charge Hybrid attacks, freezing the Eagle as your Miners and Hogs enter its range prevents catastrophic losses and allows your Queen to continue clearing defenses.
Advanced Techniques: Stacking, Overlapping, and Combo Spells
Stacking Freezes
If you have multiple Freeze Spells, overlap them slightly to ensure continuous coverage. This is crucial against high-level Infernos or when your army is bunched up.
Combo with Other Spells
- Rage + Freeze: Rage your Queen or Balloons while freezing the defense, maximizing damage and survivability.
- Heal + Freeze: Use Heal on Hogs/Miners in the freeze window to rapidly restore HP while defenses are down.
- Freeze + Bat Spell: Freeze splash defenses so bats can sweep unhindered.
Siege Machine Synergy
- Wall Wrecker: Freeze defenses ahead of the Wrecker to ensure it reaches the core.
- Battle Blimp: Freeze key defenses as the Blimp approaches so it can drop its payload safely.
Common Mistakes and How to Avoid Them
Over-Freezing Low-Value Targets
Don’t waste a Freeze on a single Archer Tower or Cannon. Always aim for maximum value—catching multiple high-threat defenses in one spell is ideal.
Poor Spell Placement
The Freeze radius is small. Practice precise placement to ensure you cover all intended targets, especially when Inferno Towers and Eagle Artillery are close together.
Ignoring Traps
Freezing can also disable traps (e.g., Tornado Trap, Skeleton Traps) if timed perfectly. This can save your Queen or Balloons during critical moments.
Real-World Examples: Pro-Level Freeze Usage
Example 1: TH12 War Attack
A pro attacker Queen Charges into the base, holding two Freeze Spells. As the Queen approaches a single-target Inferno and the Eagle Artillery, the attacker times the first Freeze to catch both defenses, then chains a second Freeze as the Queen’s health dips. The result? The Queen survives, the core collapses, and the attacker secures a triple.
Example 2: BatSlap at TH13
A BatSlap player uses Freeze Spells to simultaneously disable a multi-Inferno and two Wizard Towers. This allows the bats to sweep the base, untouched, while the main army tanks damage elsewhere.
Conclusion
Mastering the Freeze Spell isn’t just about stopping defenses—it’s about creating opportunities. Every second you buy for your troops can be the difference between a failed raid and a three-star win. By understanding the unique mechanics of Inferno Towers and Eagle Artillery, practicing precise timing, and combining Freeze with other spells and siege machines, you’ll elevate your attacks to a new level.
Next time you build your army, don’t just bring a Freeze Spell—bring a plan. Practice, review your replays, and learn from the pros. Soon, you’ll be the one others look to for game-changing Freeze Spell tactics.


