Healing Spells in Clash of Clans: Essential Tips for Survivability
10 min read Master Healing Spells in Clash of Clans with expert tips on timing, placement, and synergy for ultimate survivability.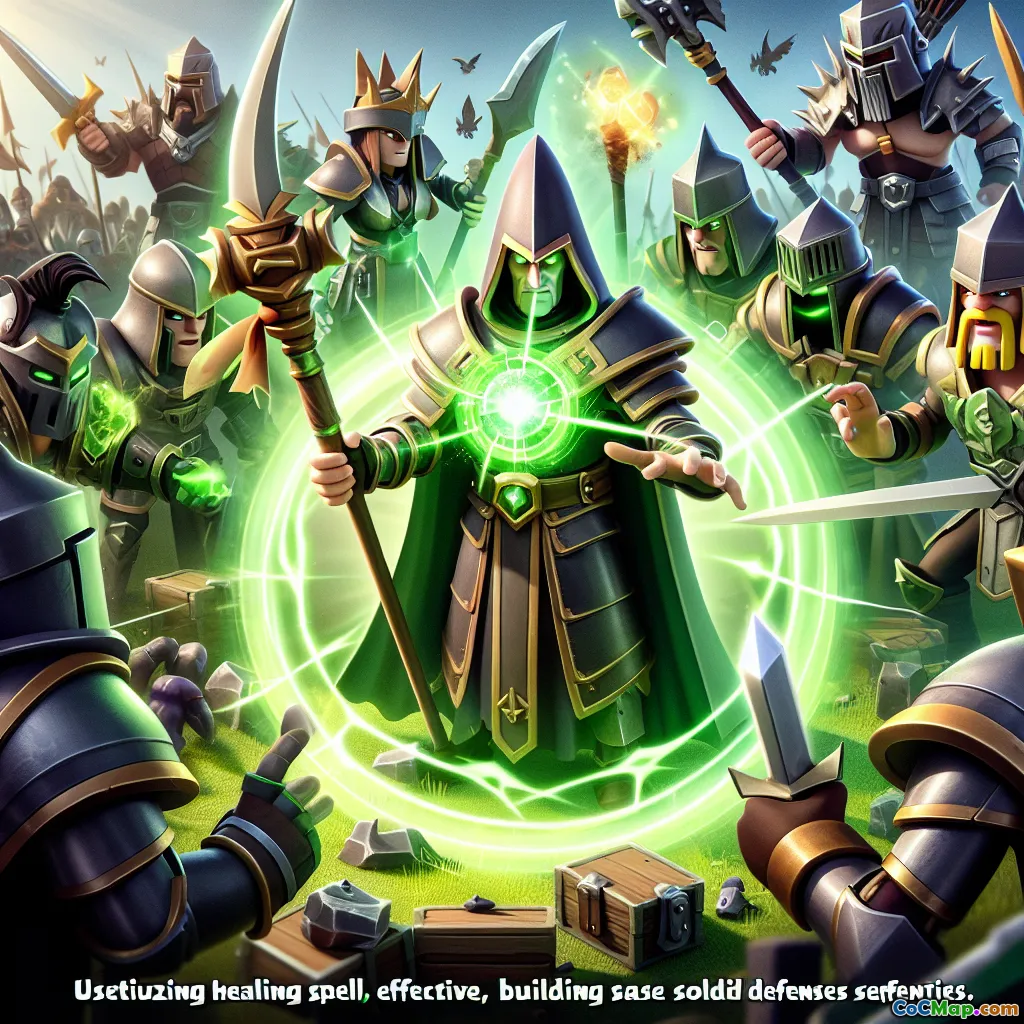
Healing Spells in Clash of Clans: Essential Tips for Survivability
Introduction
What if one well-timed spell could turn a doomed raid into a triumphant victory? In Clash of Clans, the Healing Spell is more than just a yellow circle on the battlefield—it's a lifeline for your troops, a safety net for risky maneuvers, and a game-changer in both war and farming attacks. Whether you're a seasoned war strategist or a casual farmer, understanding the nuances of Healing Spells can mean the difference between crushing defeat and glorious three-star wins. Are you making the most of this powerful tool, or missing opportunities to keep your army alive?
Understanding the Healing Spell: Mechanics and Upgrades
How the Healing Spell Works
The Healing Spell, unlocked at Town Hall 6, creates a golden aura that steadily restores hitpoints to all friendly troops within its radius over 12 seconds. It heals a fixed amount per second, with higher-level spells delivering increased total healing. Unlike some spells, Healing affects all ground troops (except for Siege Machines and Heroes), making it versatile across army compositions.
Healing Spell Facts:
- Duration: 12 seconds
- Radius: 5 tiles
- Targets: All ground troops (not air units, Siege Machines, or Heroes)
- Stacking: Multiple Healing Spells stack additively
- Upgrade Impact: Each level increases total healing, crucial for higher-level defenses
Why Upgrading Matters
At higher Town Halls, defenses deal more damage and troop HP pools grow. Failing to upgrade your Healing Spell can result in underwhelming heals that don't keep pace with enemy firepower. For example, a max-level Healing Spell at TH15 restores over 2,000 hitpoints per troop—enough to let Hog Riders or Balloons survive Giant Bombs and splash attacks that would otherwise wipe them out.
Strategic Spell Placement: Where and When to Drop
Predicting Troop Pathing
The biggest mistake players make is dropping Healing Spells where troops are now, not where they will be. Predict the path your units will follow, especially with fast-moving troops like Hog Riders or Miners. Place the spell slightly ahead of their advance, ensuring they spend the maximum time inside the healing aura.
Example: During a Hog Rider attack, anticipate where Giant Bombs and splash defenses are located. Pre-place a Healing Spell just before they hit danger zones, not after.
Timing is Everything
Dropping a Healing Spell too early can result in wasted healing on undamaged troops. Too late, and your army may already be decimated. Watch for:
- Splash Damage Triggers: Deploy as your troops enter Mortar, Bomb Tower, or Wizard Tower range.
- Trap Activation: Preemptively heal when troops approach likely Giant Bomb or Bomb Tower spots.
- Clustered Troops: Wait until a significant group is together for maximum value.
Avoiding Overlap and Waste
Stacking two Healing Spells in the same spot is only effective if the incoming damage is overwhelming (e.g., double Giant Bombs). Otherwise, spread them out along the path to extend survivability over time.
Best Troop Pairings: Who Benefits Most?
Hog Riders and Miners
These units are the classic partners for Healing Spells. Both move quickly and are vulnerable to splash damage. A single well-placed Healing Spell can save an entire group of Hogs from a double Giant Bomb or keep Miners alive as they tunnel under heavy fire.
Pro Tip: In "Hybrid" attacks (Queen Charge + Miners/Hogs), save at least two Healing Spells for the main Miner/Hog push after the Queen clears the initial section.
Balloons (in Certain Situations)
While Balloons are air troops and not healed by Healing Spells, they can be paired with ground units like LavaLoon attacks where ground troops (such as Lava Pups or cleanup Minions) benefit from healing during the cleanup phase.
Witch and Skeleton Swarms
In Witch-heavy attacks, Healing Spells can keep skeleton swarms alive against splash damage. However, consider that skeletons have low HP; sometimes, a Freeze or Invisibility Spell is more effective in high-damage areas.
Synergy with Other Spells and Siege Machines
Healing + Rage
Combining Healing and Rage Spells can supercharge your push. Under Rage, troops move and attack faster, and the Healing Spell’s effect is applied more rapidly due to increased movement speed. This combo is especially deadly for Hog Rider and Miner attacks pushing through dense defense clusters.
Healing + Freeze
Use Freeze to temporarily neutralize splash defenses (like Bomb Towers or Multi-Target Infernos) while your Healing Spell works. This prevents sudden troop losses and allows healing to take full effect.
Siege Machines
- Wall Wrecker: As it breaks through compartments, Healing Spells can keep supporting troops alive from splash damage.
- Siege Barracks: When deploying Hog Riders from the Siege Barracks, a Healing Spell can ensure their immediate survivability against traps and splash defenses.
Common Mistakes and How to Avoid Them
1. Healing the Wrong Troops
Don’t waste Healing Spells on high-HP tanks like Golems or P.E.K.K.As unless they’re critical to your strategy. Focus on squishier, high-value units (Hogs, Miners, Bowlers) that contribute most to your attack’s success.
2. Ignoring Inferno Towers
Multi-Target Infernos deal rapid, stacking damage that can outpace a single Healing Spell. Consider using Freeze or Invisibility instead, or stack two Healing Spells if absolutely necessary.
3. Overcommitting Spells Early
Save at least one Healing Spell for the backend of your attack. Many bases are designed to bait early spell use, leaving your troops vulnerable to traps and clustered splash damage near the core.
Advanced Tips: Maximizing Value
Spell Efficiency
- Scout for Traps: Before attacking, look for likely trap locations. High-level bases often hide Giant Bombs and Tornado Traps near high-value targets.
- Layered Heals: In long pathing areas, layer Healing Spells so troops move seamlessly from one aura to the next, maintaining constant healing.
- Adapt on the Fly: Watch replays of your attacks. Did your troops leave the healing zone early? Did you waste a spell on a small group? Adjust your placement and timing accordingly.
War vs. Farming
- War Attacks: Prioritize Healing for your main push and high-value troops. Study base layouts for trap zones and splash clusters.
- Farming: Use Healing Spells sparingly to maximize loot efficiency. Sometimes, a single well-placed spell can save you from losing a costly army.
Conclusion
The Healing Spell may seem simple, but mastering its use is a hallmark of advanced Clash of Clans strategy. By understanding troop pathing, perfecting spell timing, and synergizing with other spells and Siege Machines, you can dramatically increase your army’s survivability and your chances of victory. Don’t just drop a Healing Spell and hope for the best—study your attacks, learn from your replays, and deploy with precision. Next time you raid, ask yourself: are you truly giving your troops the support they deserve?
Ready to take your spellcasting to the next level? Practice these tips, analyze your results, and watch your three-star rate soar!


