Hero positioning tips for optimal synergy in attacks
10 min read Master hero positioning for unbeatable synergy in Clash of Clans attacks with these expert strategies.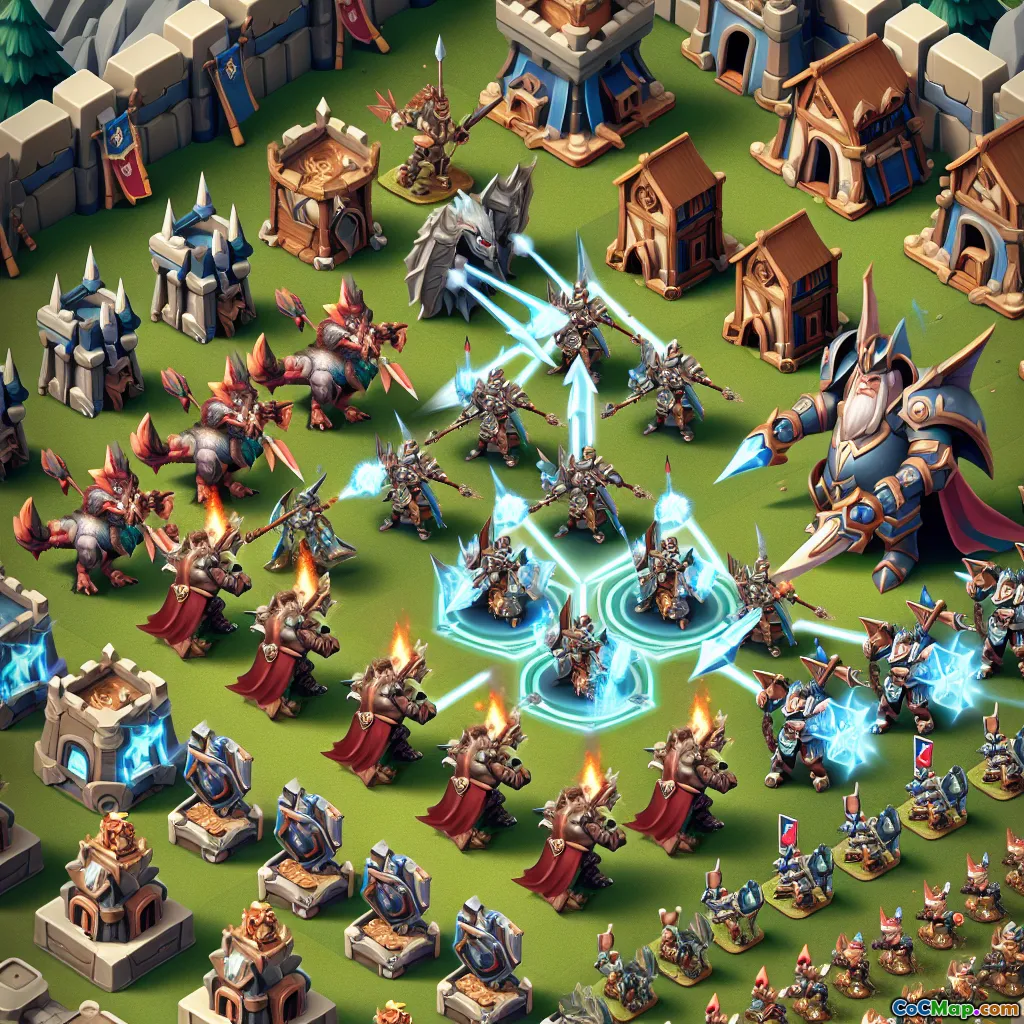
Hero Positioning Tips for Optimal Synergy in Attacks
Introduction
Have you ever watched a pro Clash of Clans attack and wondered, "How do they make their heroes work together so seamlessly?" The secret isn’t just in the troops or spells—it’s in hero positioning. Mastering where and when to deploy your heroes can be the difference between a failed raid and a glorious three-star. Whether you’re a seasoned war veteran or climbing the ranks, understanding hero synergy is a game-changer. Let’s unlock the secrets to positioning your Barbarian King, Archer Queen, Grand Warden, and Royal Champion for maximum impact.
Why Hero Positioning Matters
Heroes are the backbone of any successful attack. Each brings a unique skill set:
- Barbarian King: Tanky frontline bruiser and funnel specialist.
- Archer Queen: Precision damage dealer, queen charge specialist.
- Grand Warden: Supportive aura, crucial ability for survivability.
- Royal Champion: Agile defender hunter, shield for clutch defenses.
But their true strength comes when their abilities and roles complement each other. Poor positioning can waste their potential, cause unwanted pathing, or even lead to early elimination. Strategic hero placement ensures:
- Efficient funneling
- Optimal use of abilities
- Synergistic support
- Adaptability to base layouts
The Fundamentals of Hero Pathing
Understanding AI and Targeting
Before diving into synergy, you need to know how heroes choose their targets:
- Barbarian King & Royal Champion: Prefer closest building, ignoring walls if a path exists.
- Archer Queen: Targets closest building, but can shoot over walls.
- Grand Warden: Follows the largest group of your troops, ground or air mode.
Knowing this, you can predict and control their movement. For example, placing the King too close to a side structure may cause him to wander, breaking your funnel. Similarly, an unsupported Queen can walk away from the intended path, ruining your plan.
Funneling: The First Step to Control
Funneling is the art of guiding your heroes (and troops) toward the core objectives. Use the Barbarian King or a set of troops to clear one side, and the Queen or Warden to clear another, narrowing the route for your main force. A well-executed funnel ensures:
- Heroes enter the base instead of circling the perimeter.
- Key defenses are neutralized early.
- Pathing for the main army is predictable.
Example: In a Queen Charge Hybrid, the King is often used to clear trash buildings on one side, while the Queen carves out the other. This sets the path for Miners and Hog Riders to sweep through the core.
Hero Pairings: Synergy in Action
Barbarian King and Archer Queen
These two often work in tandem for entry and funneling. The King soaks up damage and clears exterior buildings, allowing the Queen to focus on higher-value targets.
- Tip: Deploy the King slightly ahead and to the side of the Queen. This draws fire away from her and keeps her on track.
- Example: In a Sui Hero Lalo, the King and Queen are used together to take down an enemy Queen, Clan Castle, and a Scattershot. Positioning them close—but not overlapping—lets them cover each other without being taken out by the same splash damage.
Grand Warden with Main Army vs. Heroes
The Warden’s aura and ability are game-defining, but his positioning is delicate. He should always be with the bulk of your damage-dealing troops or with the Queen in a Queen Walk.
- Tip: Watch the Warden’s AI—he follows the largest group. If your army splits, he might leave your heroes exposed.
- Example: In a Mass Miner attack, start the Warden behind your Miners. If you deploy Heroes too far from the main group, the Warden may abandon the core, leaving them vulnerable.
Royal Champion for Surgical Strikes
The Royal Champion excels at picking off isolated defenses and supporting late-stage pushes.
- Tip: Deploy her where she can chain her Seeking Shield through multiple defenses, especially high-value targets like Scattershots, Infernos, or Eagle Artillery.
- Example: In Hybrid attacks, send the Royal Champion in after the main push has cleared pathing, allowing her to snipe defenses that threaten your cleanup troops.
Advanced Positioning Tactics
Timing and Sequencing
When you deploy heroes is as important as where. Deploying all at once can overload healers or split the Warden’s aura. Staggering their entry allows each to fulfill their role without interference.
- Queen Charge: Start the Queen with healers, clear a path, then deploy King and Warden to support.
- King Tanking: Let the King draw fire before sending in the Queen or Royal Champion.
- Warden Ability: Time it for when your army (and heroes) are under maximum threat—such as Eagle Artillery shots or Giga Inferno blasts.
Dealing with Defending Heroes and Clan Castle Troops
Position your heroes to support each other against enemy heroes and Clan Castle troops. The Queen, with healer support, can handle most threats, but the King or Royal Champion can help finish off tough CCs or enemy Queens if needed.
- Tip: Use the King’s ability early to tank and break through walls, then follow with the Queen to clear behind him.
- Example: In a Queen Charge, lure the Clan Castle toward your Queen, but have the King nearby to intercept if things get out of hand.
Countering Traps and Defensive Setups
Bases are often designed to bait heroes into traps or isolate them. Smart positioning can mitigate this:
- Coco Loons: Use Balloons ahead of the Queen to trigger seeking air mines meant for healers.
- Test Wall Breakers: Send a single Wall Breaker to check for small bombs before sending your Queen or King in.
- Split Defenses: If the base has split compartments, use the King or RC to clear one section while the Queen charges another.
Common Mistakes and How to Avoid Them
- Deploying heroes too close together: This can lead to all being hit by the same splash spell or trap.
- Ignoring pathing: Heroes may walk around the base if the funnel isn’t tight.
- Overlapping abilities: Using Warden and Queen abilities together wastes potential.
- Poor timing: Deploying the Royal Champion too early can leave her unsupported and outmatched.
Pro Insight: Watch replays of top players. Notice how they use heroes to complement each other, not compete for the same space or targets.
Adapting to Base Designs
Every base requires a unique approach. Identify:
- Key defenses to eliminate early (Scattershots, Eagle, Infernos)
- Potential traps and baited compartments
- Best entry points for each hero
Example:
- Box Bases: Use King and Queen on separate corners to funnel, Warden with main army through the core.
- Anti-3 Star Bases: Use a Queen Charge to take out high-value compartments, then send the Royal Champion where her shield can maximize value.
Conclusion
Hero positioning is more than just dropping icons on the map—it’s about crafting a plan where each hero amplifies the others. By understanding their AI, sequencing their deployment, and adapting to base layouts, you unlock the true power of hero synergy. Next time you attack, pause and ask: Where will my heroes do the most good together? With these tips, you’ll turn every raid into a masterclass of coordination—and watch your three-star rate soar.
Ready to test your new skills? Jump into friendly challenges, experiment with hero placement, and review your replays. The path to hero mastery starts now!


