Hidden Traps: Where to Place Them for Maximum Defense at Low Levels
9 min read Unlock the secrets of hidden trap placement at low levels for unbeatable defense in Clash of Clans.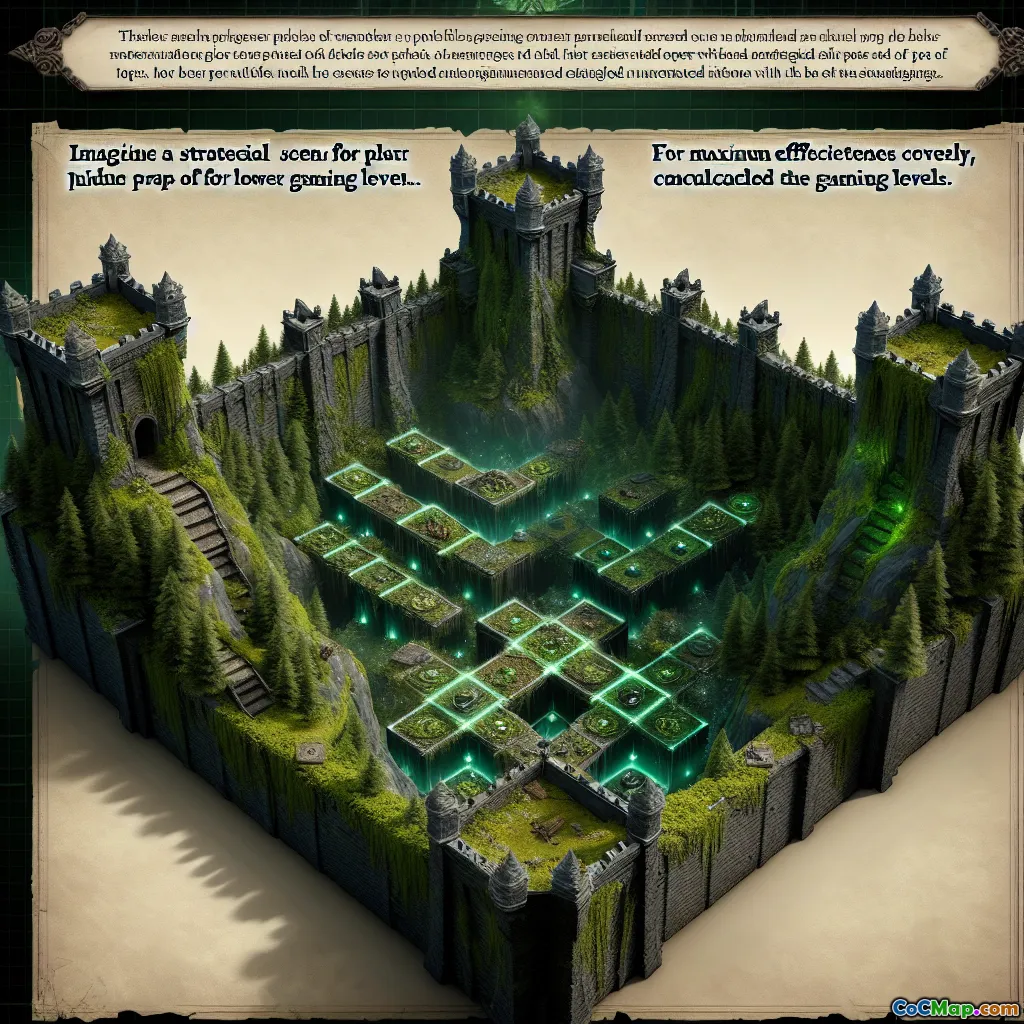
Hidden Traps: Where to Place Them for Maximum Defense at Low Levels
Introduction
Have you ever wondered why some bases at low levels seem nearly impossible to break, even with similar defenses? The answer often lies beneath the surface—literally. Hidden traps, those sneaky little surprises, can turn the tide of a raid, catching attackers off-guard and protecting your precious resources. But simply having traps isn’t enough; where you place them makes all the difference between a failed defense and a flawless victory. Are you ready to outsmart your enemies and make every trap count?
The Fundamentals of Trap Placement
Why Trap Placement Matters at Low Levels
At low Town Hall levels (TH2–TH6), defenses are limited and attackers often rely on swarms of basic troops like Barbarians, Archers, and Giants. Hidden traps—Bombs, Spring Traps, and later Air Bombs—are your secret weapons. Placed well, they can wipe out entire groups or cripple a key push. Placed poorly, they’re wasted.
Key Insight:
- At low levels, every defensive asset counts. You don’t have the luxury of high-damage towers or complex base layouts, so maximizing trap value is crucial.
Understanding Attacker Behavior
Before you place a single trap, ask: How will attackers approach my base? Most low-level players aim for easy loot, attacking from the side with the most exposed resources or weakest defenses. Predicting these paths is the foundation of effective trap placement.
Example: If your Gold Storage is near the edge, attackers will likely deploy troops there. Placing traps along that path increases the odds they’ll be triggered.
Types of Hidden Traps and Their Best Uses
1. Bombs
What They Do: Deal splash damage to ground troops. Devastating against clusters of Barbarians, Archers, and Goblins.
Optimal Placement:
- Near Resource Storages: Place bombs one or two tiles away from storages to catch looters after they break through the wall.
- Along Funnel Paths: Identify where attackers are most likely to deploy troops in bulk. Place bombs where troops will clump together (e.g., corners, narrow corridors).
- Behind Walls: Bombs just inside walls punish troops that break through, especially when paired with a small defense like a Cannon.
Pro Tip: Avoid placing all bombs together—spread them to maximize coverage and reduce the risk of all being triggered at once by a few troops.
2. Spring Traps
What They Do: Instantly remove up to three ground troops (Barbarians, Archers, Giants, Goblins) from the battlefield.
Optimal Placement:
- Between Defensive Structures: Place spring traps in 2-tile gaps between defenses, especially where Giants or Barbarians are funneled.
- Choke Points: Identify narrow spaces where attackers have no choice but to pass through (e.g., between two walls or buildings).
- Behind Walls: After a wall is breached, attackers often send reinforcements. Placing spring traps just inside the breach can catch them off guard.
Example: If your base has a double Cannon setup with a 2-tile gap, put a spring trap there. Giants will almost always walk that path.
3. Air Bombs (TH5+)
What They Do: Target groups of air units, primarily Balloons and Minions.
Optimal Placement:
- Near Air Defenses: Place Air Bombs where Balloons are likely to path after the Air Defense is destroyed.
- Protecting Storages: If attackers use Minions for cleanup, Air Bombs near storages can wipe them out.
Insight: At low levels, air attacks are less common, but a well-placed Air Bomb can stop an unexpected Balloon raid in its tracks.
Strategic Trap Placement: Step-by-Step Guide
Step 1: Analyze Your Base Layout
Look at your base from an attacker’s perspective. Which side looks weakest? Where are the resources most exposed? Mark out the most likely entry points.
Step 2: Predict Troop Pathing
Remember, attackers usually deploy troops in waves. Barbarians and Archers go for outer buildings, Giants target defenses, and Goblins head for loot. Use obstacles (walls, buildings) to funnel troops toward your traps.
Step 3: Place Traps for Maximum Trigger Rate
- Bombs: Place in high-traffic zones, especially where troops will clump after breaking a wall.
- Spring Traps: Set in 2-tile-wide paths between key defenses or inside choke points.
- Air Bombs: Position near likely air attack targets or cleanup zones.
Step 4: Test and Adjust
Watch replays of attacks on your base. Did your traps trigger? Did they hit enough troops? Adjust placements based on these insights. Sometimes, moving a trap just one tile can make all the difference.
Common Trap Placement Mistakes (and How to Avoid Them)
1. Placing Traps in Predictable Spots
If every base puts traps right behind the first wall, experienced attackers will send a single troop to trigger them. Mix up your placements to keep enemies guessing.
2. Wasting Traps on Low-Value Targets
Don’t put all your traps where only a handful of Barbarians will hit them. Focus on choke points or areas where high-value troops (like Giants) are likely to pass.
3. Overlapping Trap Coverage
If two bombs or a bomb and a spring trap are too close, a single small group might trigger both, wasting their potential. Space them out for broader coverage.
4. Ignoring Air Threats
Even at low levels, a surprise air raid can happen. Don’t neglect Air Bombs if you’ve unlocked them.
Pro Tips: Making Traps Work Harder
- Trap Baiting: Place a weak building (like a Builder Hut) near a trap to lure troops into the kill zone.
- Combo Traps: Pair a bomb and a spring trap in sequence—first damages, second removes survivors.
- Rotating Traps: After every few defenses, rotate your trap placements. This keeps frequent attackers from learning your setup.
- Use Obstacles: Sometimes, leaving a tree or bush near a trap can subtly guide troop pathing right into danger.
Real-World Example: Low-Level Base Trap Placement
Let’s say you’re at TH4 with:
- 2 Bombs
- 2 Spring Traps
Scenario: Your storages are in the center, surrounded by walls. Place bombs just inside the first layer of walls, but not directly behind the wall—leave a 1-tile gap so troops clump up before triggering. Place spring traps in the 2-tile gaps between your storages and defenses, where Giants are likely to walk. Watch how attackers struggle to break through, losing key troops before reaching your loot.
Conclusion: Outsmart, Don’t Outspend
At low levels, you don’t need a maxed-out base to defend effectively—you need smart trap placement. By understanding attacker behavior, predicting troop paths, and placing traps strategically, you’ll make every defense count. Remember: every trap is a chance to turn the tables. Study your replays, experiment with placements, and keep evolving your design. Outsmart your enemies, and your base will become a fortress, no matter your Town Hall level.
Ready to put these tips into action? Log in, review your base, and make your traps work for you—starting today!


