How to Counter Queen Charge Attacks with Smart Trap Use
11 min read Master the art of countering Queen Charge attacks by using traps wisely. Learn expert placement tips and strategies.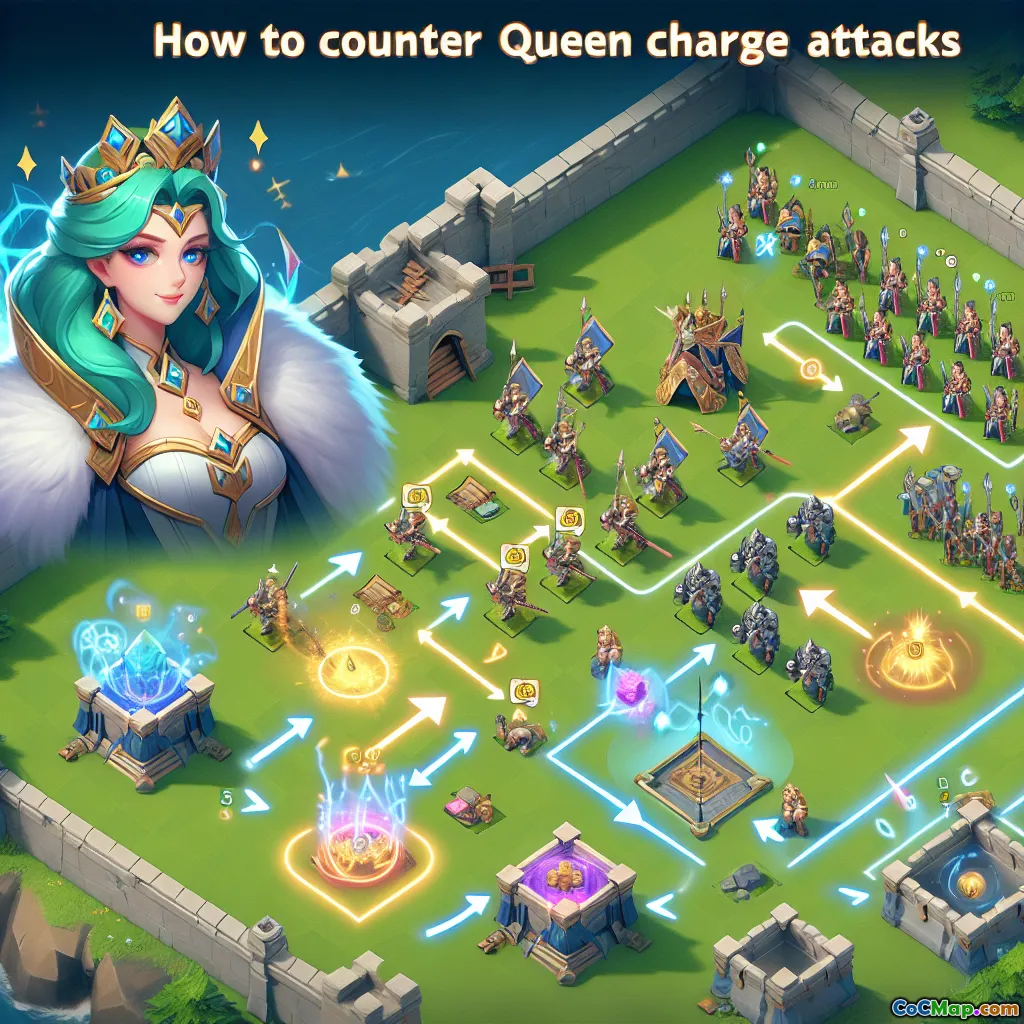
How to Counter Queen Charge Attacks with Smart Trap Use
Introduction
Ever watched your base get torn apart by a flawless Queen Charge, wondering how top attackers always seem to dodge your defenses? What if the secret to stopping these devastating strategies lies not in your walls or towers, but in the hidden traps beneath your village? Queen Charge attacks are a staple of high-level Clash of Clans gameplay, enabling attackers to carve through even the toughest bases. But with clever trap placement and a deeper understanding of attack patterns, you can turn the tables and leave those enemy Queens reeling.
This guide dives deep into the art of using traps to counter Queen Charge attacks. Whether you're a seasoned defender or just starting to tinker with trap layouts, these insights will help you outsmart your opponents and protect your precious resources.
Understanding the Queen Charge: Why It's So Effective
Before you can counter the Queen Charge, you need to know what makes it tick. A Queen Charge involves sending the Archer Queen into your base with a handful of Healers. The Queen, supported by constant healing, can clear out key defenses, take down Clan Castle troops, and create a perfect funnel for the rest of the army.
Why is the Queen Charge so dangerous?
- The Queen can reach over walls, picking off critical defenses from a safe distance.
- Healers keep her alive through heavy fire, neutralizing splash and single-target damage.
- Skilled attackers can predict and avoid obvious trap placements, making your base feel defenseless.
Common goals of a Queen Charge:
- Take down the defending Clan Castle troops.
- Eliminate high-value defenses (Eagle Artillery, Scattershots, Infernos).
- Create a funnel or path for the main army.
To beat this strategy, your traps must be unpredictable, well-placed, and tailored to disrupt the Queen's path and her Healers.
Trap Types and Their Roles Against Queen Charge
Let’s break down the main traps and how each can be used to counter Queen Charges:
1. Seeking Air Mines
Purpose: Target and destroy Healers.
- Why it matters: The Queen’s survivability hinges on her Healers. Knocking out even one can tip the balance.
- Placement tip: Avoid placing Seeking Air Mines directly on obvious entry points. Instead, set them slightly deeper along likely Queen paths, where Healers will follow as she pushes in.
- Example: If your Queen Charge entry is likely at 3 o’clock, place Seeking Air Mines at 4 or 5 o’clock, after the Queen is expected to have stepped in.
2. Air Bombs
Purpose: Damage groups of Healers.
- Why it matters: While Air Bombs do less damage than Seeking Air Mines, they can weaken multiple Healers at once, especially if attackers group them tightly.
- Placement tip: Pair Air Bombs with Seeking Air Mines for a one-two punch. Place Air Bombs just before or after a Seeking Air Mine to finish off weakened Healers.
- Example: Use in tandem with splash defenses to maximize Healer attrition.
3. Skeleton Traps
Purpose: Distract the Queen and force ability/spell usage.
- Why it matters: Ground Skeleton Traps can swarm the Queen, forcing her to use her ability or the attacker to burn a Rage or Freeze spell.
- Placement tip: Set Skeleton Traps to ground mode in Queen Charge entry zones, ideally just before high-damage defenses.
- Example: Place near high-value targets like Inferno Towers, so the Queen is distracted as she takes heavy fire.
4. Giant Bombs
Purpose: Burst damage to the Queen and any supporting troops.
- Why it matters: While not as effective against the Queen alone, Giant Bombs can punish attackers who send in additional troops (like Bowlers or Miners) alongside the Queen.
- Placement tip: Place Giant Bombs in spots where attackers might try to funnel or support the Queen with ground troops.
5. Spring Traps
Purpose: Remove support troops.
- Why it matters: While Spring Traps don’t affect the Queen or Healers, they can eject supporting troops, making the Queen more vulnerable.
- Placement tip: Place along funnel paths or near storages where support troops tend to walk.
Predicting Queen Charge Paths: The Key to Smart Trap Placement
A trap is only as good as its placement. Top players anticipate Queen Charge entry points by analyzing base layouts for:
- Weaknesses in wall design (easy access to high-value targets)
- Proximity to Clan Castle (for easy lure and kill)
- Accessible Air Defenses (to neutralize anti-Healer threats)
- Openings near resource-rich compartments
How to predict attacker behavior:
- Watch replays of your own base. Where do attackers typically start their Queen Charge?
- Identify "inviting" corners or gaps that make for easy Queen entry.
- Look for patterns: Do attackers prefer certain sides or always target your Eagle Artillery first?
Pro tip: Rotate trap placements regularly to keep attackers guessing. A base that’s been three-starred once can often bait a repeat attack—use this to your advantage by shifting trap locations.
Advanced Trap Placement Strategies
1. Layered Trap Zones
Instead of clustering all traps at the entrance, create layered zones. For example:
- First layer: Skeleton Trap and Air Bomb to distract and weaken Healers.
- Second layer: Seeking Air Mine as the Queen pushes deeper, targeting Healers now grouped up.
- Third layer: Giant Bomb or Spring Trap to punish any support troops.
This approach increases the odds of catching attackers off-guard and maximizes trap effectiveness.
2. Trap Pairing for Maximum Impact
Pairing traps can create devastating combos:
- Air Bomb + Seeking Air Mine: Weakens and then finishes off Healers.
- Skeleton Trap + High DPS Defense: Forces Queen ability or spell usage under pressure.
3. Baiting and Punishing Predictable Paths
Deliberately leave a "soft" spot in your base to lure the Queen Charge, then stack traps in that path. For example, leave a lightly defended compartment with a high-value target, and fill it with air traps and ground Skeleton Traps.
4. Anti-Healer Zones
Place Air Defenses and air traps in compartments that are hard for the Queen to reach but easy for Healers to fly over. This way, Healers get picked off while the Queen is distracted.
5. Decoy Traps
Sometimes, placing traps in obvious spots can force attackers to use spells or adjust their pathing, making them more vulnerable elsewhere. Use a few traps as decoys to throw off experienced attackers.
Case Study: Real-World Example of Trap Success
Imagine a typical anti-Queen Charge base at Town Hall 13:
- The attacker starts the Queen at 9 o’clock, aiming to walk her toward the Eagle Artillery at 12.
- A Skeleton Trap triggers early, distracting the Queen while a nearby X-Bow and Archer Tower focus fire.
- As the Queen steps deeper, a Seeking Air Mine and Air Bomb are triggered in quick succession, knocking out two Healers.
- Without enough healing, the Queen is forced to use her ability early and ultimately falls before clearing the compartment.
Result: The attack loses momentum, the funnel collapses, and the attacker fails to secure a high percentage.
Common Mistakes to Avoid
- Stacking all traps at the entry: Skilled attackers will scout for obvious trap clusters and avoid them.
- Neglecting air traps: Focusing only on ground traps leaves Healers untouched, making the Queen unstoppable.
- Predictable trap patterns: Repeating the same placements makes your base easy to crack after a few replays.
- Ignoring replay data: Failing to analyze how Queen Charge attacks unfold on your base wastes valuable learning opportunities.
Conclusion: Outsmart the Queen, Protect Your Base
Queen Charge attacks may seem unstoppable, but with smart trap placement and a keen understanding of attacker psychology, you can turn the tide. Focus on:
- Predicting likely Queen paths
- Layering and pairing traps for maximum disruption
- Regularly rotating placements to stay unpredictable
Every base, attacker, and war is unique. Use these principles as a foundation, then adapt and experiment to find what works best for your layout and clan. Next time you watch a Queen Charge falter on your traps, you’ll know: victory isn’t just about strength—it’s about strategy.
Ready to put these tips into action? Rework your traps, study your replays, and watch those Queen Charges crumble!


