How to Optimize Your Builder Hall Layout for Maximum Defense
9 min read Unlock expert strategies to design your Builder Hall base for unbeatable defense and smarter wins.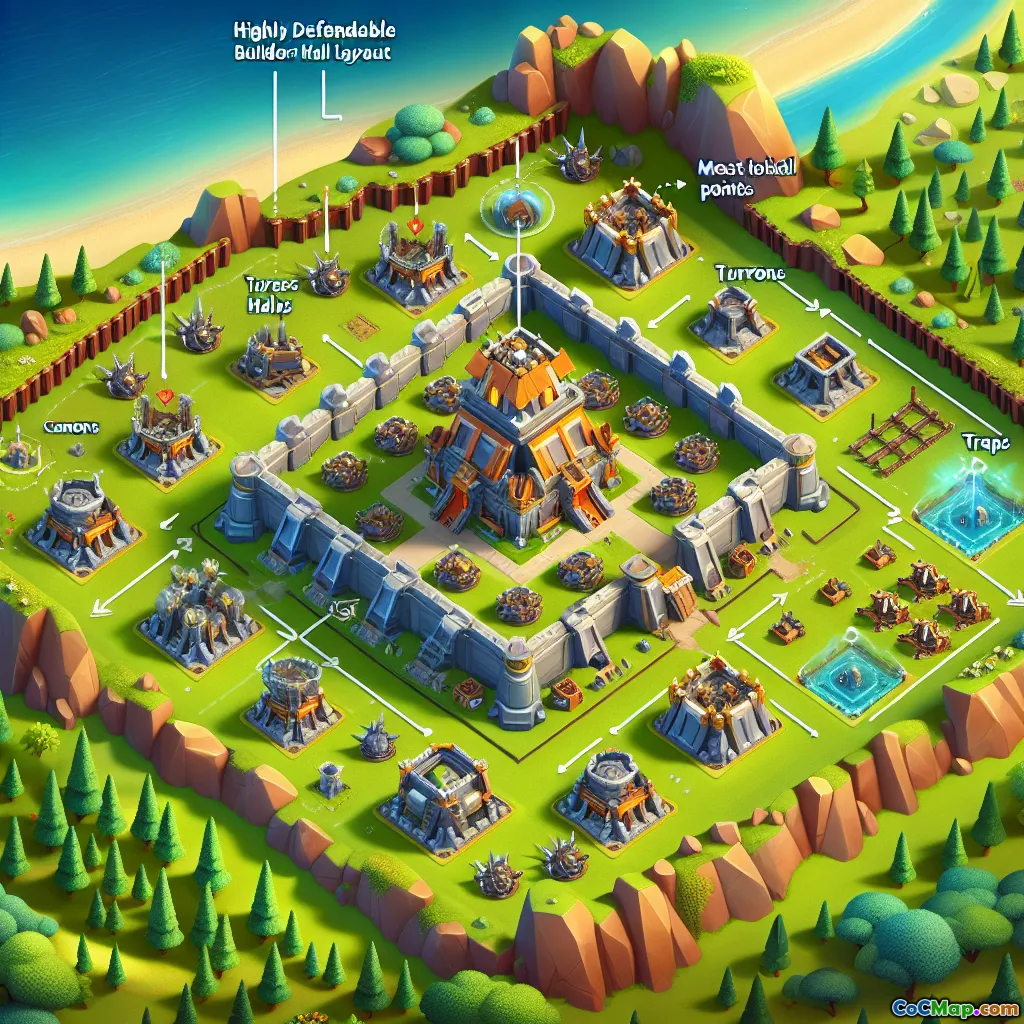
How to Optimize Your Builder Hall Layout for Maximum Defense
Introduction
Ever wondered why some Builder Hall bases in Clash of Clans seem nearly impenetrable, while others fall apart against even the most basic attacks? The answer lies not just in upgraded defenses, but in the art and science of layout optimization. With every Builder Base battle being a head-to-head duel, your base’s design is the first—and sometimes only—line of defense between victory and defeat. So, what separates a mediocre layout from a truly formidable fortress? Let’s dive deep into the secrets of maximizing your Builder Hall’s defensive power.
Understanding Builder Base Defense: The Unique Challenge
Unlike the Home Village, Builder Base battles are always 1v1 and simultaneous. This means your layout isn’t just about surviving—it’s about outperforming your opponent’s defense in real-time. A single weak spot can cost you trophies, loot, and pride. Here’s why layout matters more than ever:
- No Shields: Every attack is a direct competition. Your base must withstand attacks as you launch your own.
- Limited Space: The Builder Base map is smaller, making every tile count.
- Troop Pathing: Placement of walls and structures manipulates enemy troop movement more predictably.
- Trap Awareness: Skilled players are on the lookout for traps—your layout must disguise them cleverly.
Core Principles of Builder Hall Layout Optimization
1. Centralize the Builder Hall—But Not Always Dead Center
Why: The Builder Hall is your crown jewel. Losing it means giving up at least one star. Centralizing it behind layers of defenses and walls makes direct attacks challenging.
How:
- Place the Builder Hall in a compartment surrounded by high-hitpoint buildings (Crusher, Guard Post, Roaster).
- Avoid placing it exactly in the center every time—predictability is your enemy. Offset centers can throw off common attack plans.
- Use storages as "meat shields" around the Builder Hall—they soak up damage and delay attackers.
Example: At Builder Hall 7+, offset the Builder Hall slightly and surround it with Crushers and Air Bombs to punish both ground and air attacks.
2. Compartmentalization: Divide and Conquer
Why: Large, open bases are easy for Boxer Giants or Raged Barbarians to sweep. Compartmentalized layouts slow down attacks, force wall breakers, and maximize trap effectiveness.
How:
- Create small, interconnected compartments with walls.
- Place splash defenses (Multi Mortar, Roaster) so they can cover multiple compartments.
- Avoid "dead zones"—areas attackers can exploit without facing defenses.
Player Insight: Top players often use "maze" layouts at higher Builder Hall levels, making it hard for troops to access the core without triggering multiple traps.
3. Trap Placement: Predict, Punish, and Surprise
Why: Traps are your secret weapons. When used right, they can wipe out entire squads of Sneaky Archers or Bomber support.
How:
- Place Spring Traps in narrow pathways between compartments where Giants or Battle Machines must pass.
- Hide Mega Mines near the Builder Hall or high-value defenses to catch mass troop drops.
- Use Push Traps to fling troops into Crushers or off the map edge.
- Change trap placements regularly to avoid predictability.
Example: At Builder Hall 6+, placing Push Traps near the Roaster can send Raged Barbarians straight into its fire.
4. Anti-2 Star and Anti-1 Star Layouts: Know Your Opponent
Why: Most attackers aim for two stars—Builder Hall destruction and 50% damage. Your layout should make both goals difficult.
How:
- For anti-2 star: Centralize Builder Hall, surround it with tough defenses, and keep percentage buildings (mines, collectors) on the edges.
- For anti-1 star: Bait attackers with exposed Builder Hall but protect the rest with traps and splash damage, making high percentage destruction tough.
- Adapt layout based on your trophy range. At lower levels, anti-1 star layouts often perform better; at higher levels, anti-2 star layouts are favored.
Comparison: Anti-2 star layouts tend to have more centralized defenses, while anti-1 star layouts spread out high-hitpoint buildings to deny percentages.
5. Defensive Building Synergy: Layering and Coverage
Why: No single defense can stop every troop type. Layering defenses ensures attackers face multiple threats at once.
How:
- Place Air Bombs and Firecrackers away from each other to cover the entire base against air attacks.
- Position Crushers where they can’t be easily sniped by ranged troops, and where ground troops are funneled.
- Overlap splash damage defenses (Multi Mortar, Roaster) for maximum area denial.
- Guard Post troops can distract or slow down Battle Machines—place them near key defenses.
Example: At Builder Hall 8, placing the Roaster and Air Bombs on opposite sides ensures no air attack can avoid both.
6. Adapting to the Meta: Scout, Test, and Tweak
Why: The Builder Base meta shifts as new troop levels, buildings, and strategies emerge. A static layout quickly becomes obsolete.
How:
- Watch replays of your defenses to see where attackers succeed or fail.
- Regularly rotate base designs and tweak trap positions.
- Study popular attack strategies at your trophy range—design layouts to specifically counter them.
- Use online base design tools or community-shared layouts as inspiration, but always personalize them to your strengths.
Player Insight: Top leaderboard players often modify their layouts weekly, responding to shifts in attack trends (e.g., mass Night Witch or Cannon Cart spam).
7. Smart Use of Decorations and Obstacles
Why: Decorations and obstacles can be more than cosmetic—they can subtly influence troop pathing or obscure traps.
How:
- Place decorations near likely troop drop zones to slightly alter pathing.
- Use permanent obstacles (if you have them) to block certain approaches or force attackers into traps.
Warning: Don’t overdo it—excessive decorations can make your base look suspicious and tip off experienced attackers.
Conclusion
Optimizing your Builder Hall layout for maximum defense is a dynamic, ongoing process. It’s about understanding game mechanics, predicting your opponent’s moves, and constantly adapting to the ever-evolving meta. By centralizing your Builder Hall, compartmentalizing with purpose, mastering trap placement, and staying one step ahead of trends, you’ll transform your base from a soft target into a fortress feared by all.
Remember: every successful defense is a chance to learn and improve. Watch your replays, tweak your design, and above all—never settle for a static layout. The next time you face off in the Builder Base, let your defenses do the talking.
Ready to put these strategies to the test? Jump into your Builder Base, experiment with these principles, and watch your defense win the day!


