How to Pair Your Super Archer Blimp with Other Troops
11 min read Master the art of pairing your Super Archer Blimp with other troops for devastating Clash of Clans attacks.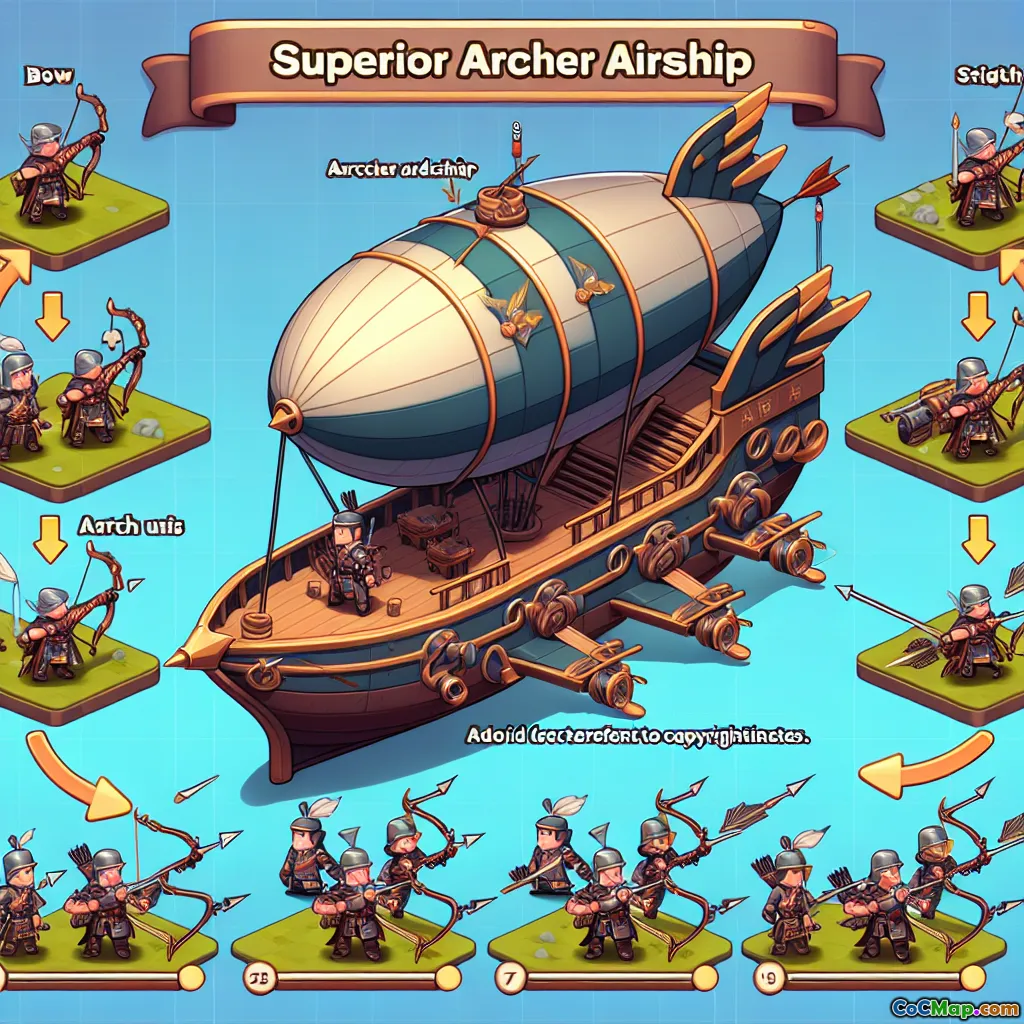
How to Pair Your Super Archer Blimp with Other Troops
Introduction
Imagine dropping a Super Archer Blimp into the heart of a maxed-out base—and watching it unravel the core with surgical precision, all while your supporting troops sweep the flanks. What if you could consistently turn this fantasy into reality? The secret lies not just in the Blimp itself, but in how you pair it with the rest of your army. Are you maximizing the potential of your Super Archer Blimp, or missing out on game-changing synergy?
In this guide, we’ll unpack the nuances of pairing the Super Archer Blimp with other troops, revealing advanced strategies, timing secrets, and real-world examples to help you dominate in Clan Wars, Legend League, and beyond.
The Super Archer Blimp: A Quick Recap
Before diving into pairings, let’s clarify what makes the Super Archer Blimp unique:
- Payload: Typically loaded with Super Archers (sometimes with Super Wizards or regular Archers for funneling).
- Entry: Delivered via Battle Blimp, often with Rage and Invisibility spells to maximize value.
- Range: Super Archers’ chain-shot can snipe high-value targets from a distance, bypassing walls and traps.
- Purpose: Used to carve out the core, eliminate key defenses (Eagle, Scattershots, Clan Castle), or create an unbreakable funnel.
But the Blimp alone isn’t a win button. Pairing it with the right troops—and deploying them at the right time—turns a good attack into a legendary one.
Why Pairing Matters: The Power of Synergy
Pairing your Super Archer Blimp isn’t just about adding more firepower. It’s about leveraging strengths, covering weaknesses, and creating attack flow. Here’s why synergy is crucial:
- Amplifies Value: The Blimp’s success often determines the flow of the attack. Supporting troops can funnel, tank, or clear threats that would otherwise shut down your Super Archers.
- Mitigates Weaknesses: Super Archers are vulnerable to traps, splash damage, and time. Strategic troop pairings can buy them time and space.
- Enables Versatility: A well-paired army can adapt to various base layouts, anti-Blimp traps, and unexpected Clan Castle troops.
Let’s break down the most effective pairings and how to execute them.
Core Pairings: Super Archer Blimp + Army Compositions
1. Super Archer Blimp + Queen Charge Hybrid
Why it works:
- The Blimp clears the core or a key compartment, removing threats like the Eagle Artillery or Scattershots.
- The Queen Charge can then move safely, with fewer high-damage threats.
- Hybrid troops (Miners + Hog Riders) sweep the remaining defenses with less risk.
Key Tips:
- Use the Blimp early to carve a funnel for your Queen.
- Time the Blimp so it avoids sweeper pushback and air traps.
- Save a Rage and multiple Invisibility spells for the Super Archers.
Example: A TH15 base with a centralized Eagle and Clan Castle. Blimp targets the core, Queen Charges one flank, and Hybrid troops sweep from the opposite side, exploiting the funnel.
2. Super Archer Blimp + Lavaloon
Why it works:
- Super Archers eliminate high-value air defenses (Scattershots, Eagle, enemy Queen).
- Lavaloon can then path predictably, maximizing spell value and minimizing threats.
Key Tips:
- Use the Blimp before sending in Lava Hounds and Balloons.
- Prioritize bases where the Blimp can clear 2+ air-targeting threats.
- Deploy a few minions or heroes to clean up after the Blimp.
Example: On anti-Lavaloon bases, the Blimp drops directly onto the Scattershot compartment, removing it and the enemy Queen. Lavaloon follows the cleared path for a smooth triple.
3. Super Archer Blimp + Electro Dragons
Why it works:
- Super Archers create a deep funnel, removing clutter and high-HP buildings.
- Electro Dragons can chain through the base with less risk of pathing off.
Key Tips:
- Use the Blimp to clear the side of the base you want your E-Drags to avoid.
- Deploy E-Drags in a line, using Rage and Freeze to support their push.
Example: On ring bases, the Blimp clears the core, E-Drags sweep the outer ring, and heroes clean up the far side.
4. Super Archer Blimp + Mass Hogs or Miners
Why it works:
- Blimp eliminates splash threats (Bomb Towers, Scattershots) that devastate hogs or miners.
- Remaining hogs/miners can move with fewer risks.
Key Tips:
- Use the Blimp to surgically remove clustered splash defenses.
- Deploy hogs/miners after the Blimp’s value is confirmed.
Example: Blimp targets the dual Scattershot compartment; Mass Hogs sweep the base with minimal healing required.
5. Super Archer Blimp + Sui Hero Dive
Why it works:
- Blimp softens or clears the core, allowing your heroes to dive deep and pick off additional high-value targets.
- Sui heroes can then take down Town Hall or enemy heroes with less resistance.
Key Tips:
- Plan the Blimp drop to maximize value for your hero dive.
- Use spells to support both the Blimp and the heroes.
Example: Blimp clears the core, King and Royal Champion dive for the Town Hall, while the rest of the army sweeps the perimeter.
Spell Support: Maximizing Blimp and Troop Synergy
The right spell usage is non-negotiable for success:
- Rage: Always rage your Super Archers for faster, deadlier shots.
- Invisibility: Master the timing to keep Super Archers safe and focused on priority targets.
- Freeze: Use to stall key defenses while your Blimp and supporting troops do work.
- Clone: Occasionally used to duplicate Super Archers for even more devastation, especially in spread-out compartments.
Pro Tip: The sequence and overlap of spells can make or break your attack. Practice the "invisibility cycle"—casting the next spell just before the previous one wears off—for maximum uptime.
Timing and Sequencing: When to Deploy Your Supporting Troops
- Early Blimp: Send the Blimp before the rest of your army to create a funnel or remove threats.
- Simultaneous Pressure: In some strategies (like Queen Charge Hybrid), start your Queen Charge as the Blimp is en route, so the base is under pressure from multiple angles.
- Delayed Deployment: If the Blimp is meant to clear the Town Hall or a corner compartment, wait until pathing is set before releasing the rest of your army.
Example: In Queen Charge Hybrid, the Queen starts on one corner, the Blimp flies to the core, and the Hybrid is deployed only after the funnel is established and threats are cleared.
Advanced Tips and Common Mistakes
Advanced Tips
- Scouting: Always check for air sweepers, tornado traps, and pathing before launching the Blimp.
- Baiting Traps: Use a test Balloon to trigger seeking air mines or tornado traps.
- Mixing Payloads: Sometimes, a mix of Super Archers and Super Wizards can provide both chain and splash damage.
- Hero Pairings: Use your heroes to tank, funnel, or finish off compartments softened by the Blimp.
Common Mistakes
- Poor Spell Timing: Mis-timed invisibility or rage can result in wasted Super Archers.
- Wrong Target: Sending the Blimp into a low-value compartment wastes its potential.
- Ignoring Pathing: Failing to funnel can cause your supporting troops to split or get picked off.
- Over-investment: Don’t commit too many spells or troops to the Blimp, leaving your main push under-supported.
Conclusion: Mastering the Super Archer Blimp Pairing
Pairing your Super Archer Blimp with the right troops isn’t just about copying a meta army—it’s about understanding the flow of battle, predicting base defenses, and maximizing the value of every troop and spell. Whether you’re a casual player or a war veteran, integrating these pairings into your arsenal will elevate your attacking game, netting more triples and clutch victories.
Ready to level up? Experiment with different pairings, adapt to each base, and refine your spell timing. The path to mastery is paved with practice, observation, and—most importantly—a willingness to try new combinations. Dominate the skies and the ground with your Super Archer Blimp!


