Mastering Cannon Placement for Maximum Damage
10 min read Unlock the secrets of optimal cannon placement for devastating defense in Clash of Clans.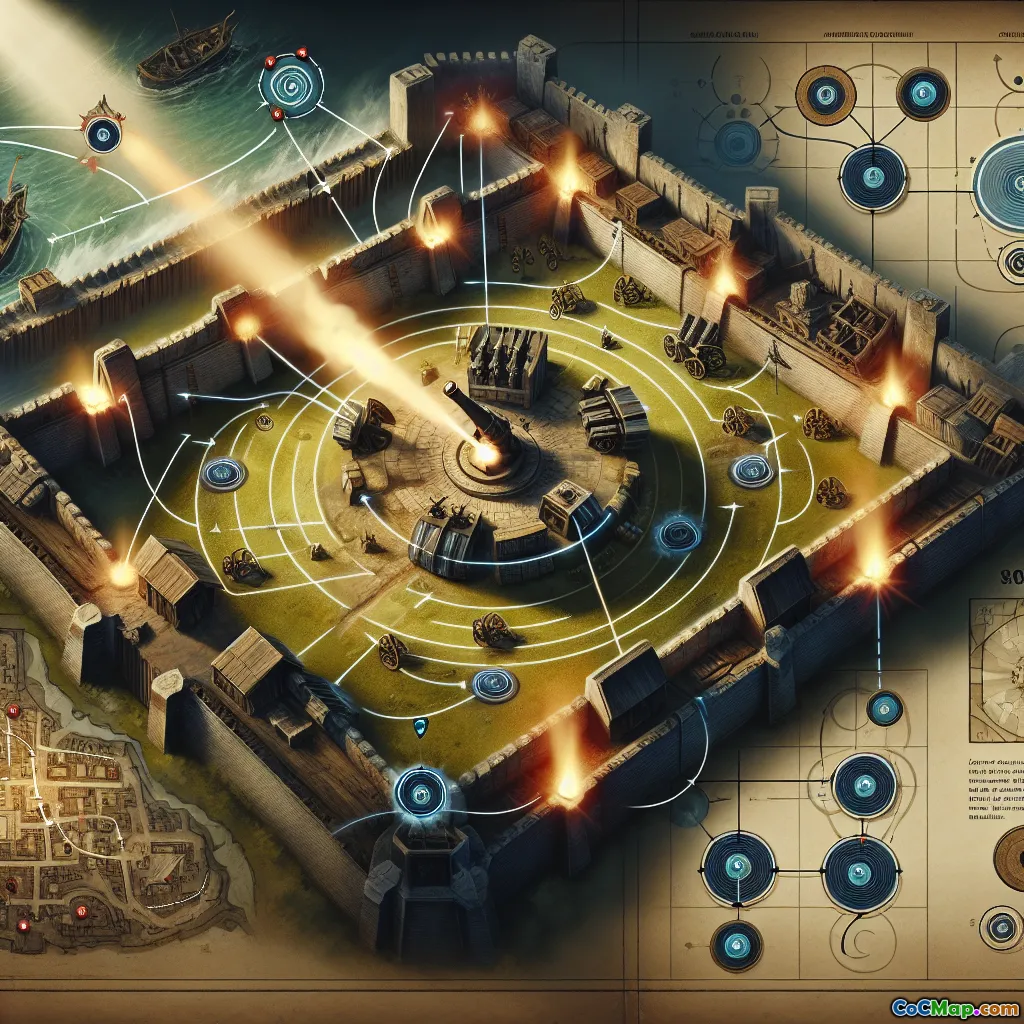
Mastering Cannon Placement for Maximum Damage
Introduction
Did you know that a single misplaced cannon can be the difference between a flawless defense and a crushing defeat? In Clash of Clans, every building counts—but few defenses are as deceptively crucial as the humble cannon. Whether you’re a Town Hall 5 beginner or a seasoned war strategist, understanding how to position your cannons for maximum damage can transform your base from a target into a fortress. So, what separates a well-placed cannon from a wasted one? Let’s dive deep into the art and science of cannon placement, and discover how you can turn this basic defense into a game-changing asset.
Why Cannon Placement Matters
Cannons are your village’s first line of defense against ground troops. While they don’t target air units, their rapid fire rate and low cost make them essential for repelling many popular attack strategies—think Giants, Barbarians, and Hog Riders. But simply dropping your cannons anywhere isn’t enough. Their effectiveness hinges on nuanced placement: too close to the edge, and they’re easily sniped; too deep, and they might never fire a shot. Strategic placement maximizes their uptime, damage output, and synergy with other defenses.
The Cannon’s Role in Your Defense Network
- Fast, Single-Target DPS: Cannons excel at quickly eliminating low- to mid-health ground units.
- Low Range (9 tiles): Their limited reach means careful positioning is critical.
- No Splash Damage: They can be overwhelmed by swarms if unsupported.
Understanding these characteristics is the first step to leveraging cannons effectively.
Core Principles of Effective Cannon Placement
1. Balance Edge Coverage and Core Protection
Many players instinctively place cannons along the outermost layer to deter sniping. While this can work, it leaves them vulnerable to ranged units like Archers or sneaky attacks from the corners. Instead:
- Stagger cannons just inside the first wall layer. This forces attackers to break through before targeting them.
- Avoid clustering all cannons together. Spread them out to cover multiple entry points, but not so far that they can’t support each other.
Example: A Town Hall 9 base with cannons placed one tile behind the outer wall can force Giants to split, slowing their advance and buying time for splash defenses.
2. Overlapping Fields of Fire
Cannons are strongest when their attack ranges overlap, creating kill zones where ground troops are hit by multiple defenses at once.
- Place cannons so their ranges intersect at likely attack paths—especially near high-value targets.
- Pair with other single-target defenses (Archer Towers, X-Bows) for layered coverage.
Player Insight: Top war bases often have at least two cannons covering each major approach, ensuring that no single group of attackers can avoid concentrated fire.
3. Support Splash Damage Defenses
Since cannons lack splash, they’re vulnerable to mass swarms. The solution?
- Position cannons near Mortars or Bomb Towers. Cannons pick off high-health targets while splash defenses clear out groups.
- Don’t place all cannons in one area. Spread them to avoid being neutralized by a single spell or attack wave.
Comparison: A base with cannons and mortars in close proximity will handle Barch (Barbarian + Archer) attacks more effectively than one with isolated cannons.
4. Protect Against Wall Breakers and Sappers
Attackers often use Wall Breakers to punch holes for their main army. If a cannon is too close to an outer wall, it can be destroyed early, exposing your core.
- Offset cannons by at least one tile from the wall. This prevents them from being taken out by splash from Wall Breakers.
- Use traps (Bombs, Spring Traps) near cannons to catch incoming Wall Breakers.
In-game Data: Replay analysis shows that bases with offset cannons survive longer against Wall Breaker-heavy attacks, as the wall remains intact and the cannon keeps firing.
5. Adapt to Trap Placement and Pathing
Cannons can funnel enemy troops into traps if positioned wisely.
- Place cannons to lure Giants or Hog Riders over Giant Bombs or Spring Traps.
- Avoid creating direct lines from the edge to the Town Hall—force attackers to zigzag through defensive fire.
Pro Tip: Use test attacks or Friendly Challenges to observe how your cannon placement affects troop pathing, and adjust accordingly.
Advanced Strategies for Different Base Types
Symmetrical vs. Asymmetrical Bases
- Symmetrical Bases: Place cannons at equal distances to create balanced coverage. This prevents weak spots but can be predictable.
- Asymmetrical Bases: Use cannons to shore up exposed sides or bait attackers into traps. Asymmetry can confuse and disrupt standard attack plans.
Town Hall Level Considerations
- Lower Town Halls (5-8): Cannons are among your strongest defenses. Prioritize central placement and overlap with Mortars.
- Mid Town Halls (9-11): Cannons support more advanced defenses. Use them to protect resource storages and slow down tanky troops.
- High Town Halls (12+): Cannons become less critical but still vital for funneling and distracting ground units, especially with upgrades like the Giant Cannon in Builder Base.
War Base vs. Farming Base
- War Bases: Focus on anti-3-star layouts. Place cannons to disrupt funneling and support key splash defenses.
- Farming Bases: Cannons should protect storages and collectors, deterring cheap snipes for loot.
Common Mistakes and How to Avoid Them
1. Edge-Hugging Cannons
Placing cannons directly on the edge makes them easy targets for ranged attackers and Queen Walks. Always give at least one tile of buffer.
2. Over-Clustering
Grouping cannons together allows attackers to neutralize multiple defenses with one spell (e.g., Freeze or Lightning). Space them out to avoid splash vulnerability.
3. Neglecting Upgrade Balance
A maxed-out cannon is far more effective than two under-leveled ones. Focus on upgrading cannons evenly to maintain consistent coverage.
4. Ignoring Synergy
Cannons alone can’t stop every attack. Always consider how they work with other defenses, walls, and traps for a layered, resilient defense.
Practical Examples and Layout Recommendations
Example Layout 1: Anti-Giant Funnel
- Cannon Placement: Two cannons near entry points, supported by Mortars and Spring Traps.
- Result: Giants are drawn into a narrow path, hit by overlapping fire and bounced by traps.
Example Layout 2: Central Core Support
- Cannon Placement: Cannons placed just inside the second layer, protecting storages and core defenses.
- Result: As attackers break through the outer layer, cannons provide sustained DPS while splash defenses work on swarms.
Example Layout 3: Staggered Edge Defense
- Cannon Placement: Cannons staggered at corners and sides, paired with Archer Towers.
- Result: Prevents easy sniping and ensures all approaches are covered.
Conclusion: Turning Cannons into Your Secret Weapon
Mastering cannon placement is about more than just filling gaps in your base—it’s about understanding how every tile, every overlap, and every synergy can squeeze out maximum value from this classic defense. By balancing coverage, supporting splash damage, adapting to attacker strategies, and learning from your own replays, you can transform your cannons from afterthoughts into MVPs of your defense. Next time you redesign your base, don’t just drop your cannons—place them with purpose, and watch as your enemies falter under a storm of well-aimed fire.
Ready to put your knowledge to the test? Try out new placements in Friendly Challenges and see how your defense holds up. The road to an unbreakable base starts with the smallest details—and mastery is in your hands!


