Mastering Siege Machines and Spells for Winning Attacks
10 min read Unlock the secrets of combining siege machines and spells for unstoppable attacks in Clash of Clans.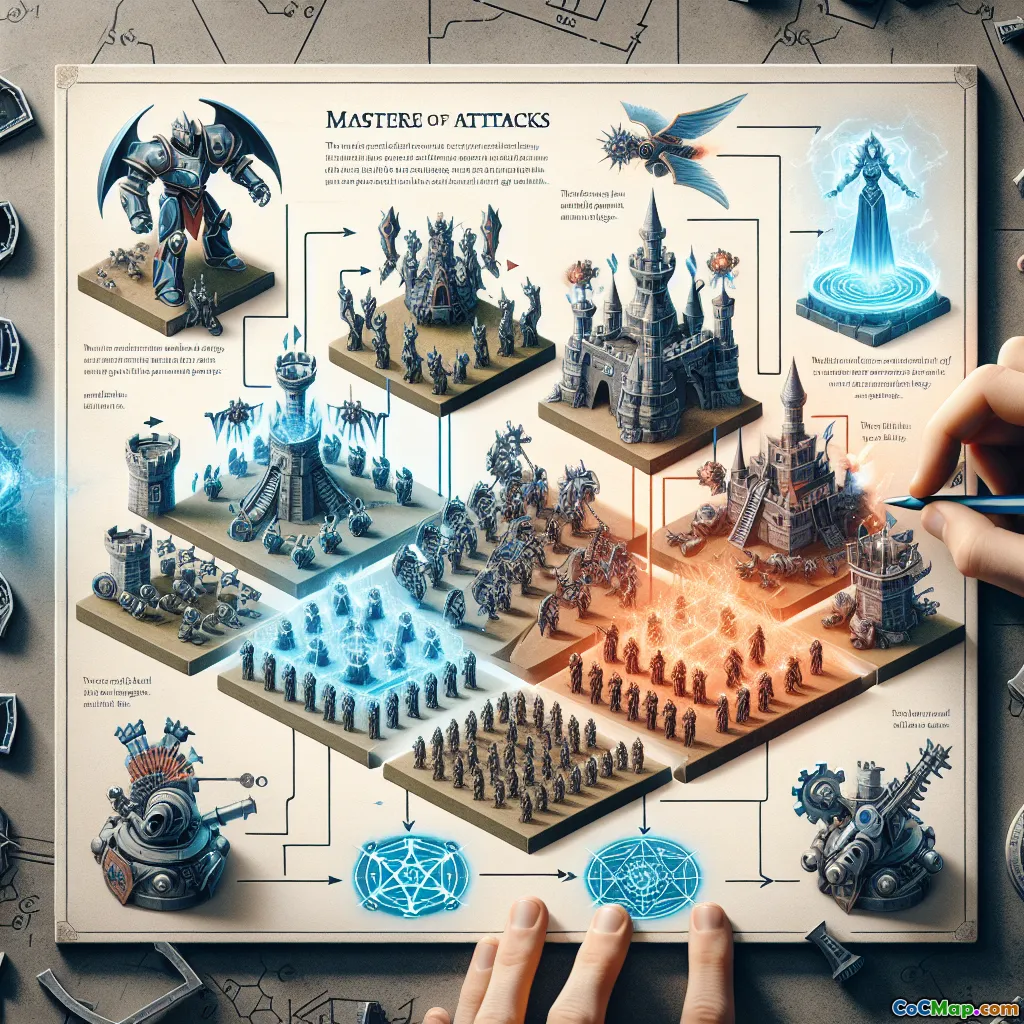
Mastering Siege Machines and Spells for Winning Attacks
Introduction
Did you know that the right combination of Siege Machines and Spells can single-handedly transform a mediocre attack into a three-star masterpiece? Whether you’re a seasoned Clan War veteran or a rising star climbing the ranks, understanding the synergy between these two powerful tools is crucial. What if your next attack could bypass the toughest walls, neutralize the deadliest defenses, and keep your army marching strong—all with the perfect deployment of Spells and Siege Machines? Let’s dive deep into the art and science of mastering these game-changers for winning attacks in Clash of Clans.
The Role of Siege Machines in Modern Attacks
1. Overview: Why Siege Machines Matter
Siege Machines, introduced in Town Hall 12, revolutionized offensive strategies. They serve as both shield and spear: delivering Clan Castle troops deep into enemy territory, breaking through walls, and soaking up damage. The choice of Siege Machine can dictate the flow—and fate—of your entire attack.
Key Types:
- Wall Wrecker: Smashes through walls, ideal for ground-based pushes.
- Battle Blimp: Flies over defenses, perfect for air strategies or delivering payloads.
- Stone Slammer: Targets defenses, synergizes with air troops.
- Siege Barracks: Spawns extra troops before releasing CC, strong for hybrid attacks.
- Log Launcher: Rolls logs that damage walls and defenses in a straight line.
- Flame Flinger: Attacks from a distance, great for sniping defenses.
Why It Matters: Choosing the right Siege Machine maximizes your army’s strengths and compensates for its weaknesses. For instance, a Wall Wrecker is invaluable for ground attacks that need direct access to the core, while a Battle Blimp can bypass everything to drop high-value troops onto the enemy Town Hall.
2. Siege Machine Selection: Matching to Army Compositions
- Ground Armies: (e.g., Pekka Smash, Bowler Witch) often benefit from Wall Wrecker or Log Launcher to break through walls and provide a safe funnel.
- Air Armies: (e.g., LavaLoon, Dragon Attacks) typically pair best with Battle Blimp or Stone Slammer for direct payload delivery or targeted defense removal.
- Hybrid Armies: (e.g., Hog Miner Hybrid) are enhanced by Siege Barracks, which create a funnel and add extra troops to the push.
Example: A Queen Charge Hybrid attack at TH13 is often paired with the Siege Barracks. The Barracks spawns Pekka and Wizards to clear one side, while the main force moves through the base. This funnel prevents troops from wandering and boosts overall DPS.
3. Deployment Timing: The Hidden Key
Even the best Siege Machine can fail if deployed at the wrong moment. Early deployment can soak up traps and tank for your troops, but late deployment can save your best assets for the core.
Pro Tip: Watch top players—notice how they delay their Siege Machine until a clear path is established, or use it to tank for a Queen Charge. Timing can be the difference between a failed push and a three-star finish.
Unleashing the Power of Spells
1. Spell Types and Their Strategic Roles
Spells are the tactical backbone of every attack. They can heal, boost, freeze, clone, or even make your troops invisible. Each spell has a specific purpose, and understanding when and where to use them is vital.
Core Spells:
- Rage Spell: Amplifies damage and speed—crucial for breaking through tough defenses.
- Heal Spell: Keeps groups of troops (like Hogs or Miners) alive under fire.
- Freeze Spell: Temporarily disables defenses—perfect for neutralizing Scattershots or Infernos.
- Jump Spell: Allows ground troops to leap over walls, opening new attack paths.
- Invisibility Spell: Conceals troops, letting them bypass defenses or traps.
- Clone Spell: Duplicates troops for overwhelming force.
- Bat Spell: Summons bats that can devastate unprotected defenses.
- Lightning Spell: Destroys or weakens defenses instantly—often used to snipe key targets.
2. Spell Synergy: Combining for Maximum Impact
Winning attacks rarely rely on a single spell. Instead, it’s about combining spells for layered effects.
Example 1: Rage + Heal In Hog Miner Hybrid, a Rage Spell accelerates the Queen Charge, while Heal Spells keep Miners and Hogs alive as they navigate splash damage zones.
Example 2: Freeze + Bat When using Bat Spells, timely Freezes on Wizard Towers and Multi-Infernos ensure bats survive long enough to wipe out the base.
Example 3: Lightning + Quake A popular opener: use Lightning and Earthquake Spells to eliminate enemy Clan Castle or Scattershots before your main attack begins, simplifying the path for your army.
3. Placement and Timing: The Fine Details
It’s not just what spells you bring, but where and when you drop them.
- Anticipate Traps: Drop Heal Spells where you expect Giant Bombs.
- Preemptive Freezes: Freeze key defenses just as your troops enter their range.
- Pathing with Jump: Use Jump Spells to guide troops directly to the core, bypassing dead zones.
- Rage for Bursts: Place Rage Spells where your army will encounter the highest DPS, not just at the start.
The Ultimate Synergy: Siege Machines and Spells Together
1. Supporting the Siege Machine
Your Siege Machine is only as effective as the support it receives. Spells can:
- Heal a Wall Wrecker as it tanks through the core.
- Freeze Defenses targeting a Battle Blimp to guarantee payload delivery.
- Rage the Clan Castle Troops as they emerge from a Siege Machine for maximum damage.
Case Study: A Battle Blimp carrying Balloons and a Rage Spell dropped directly over the Town Hall can guarantee its destruction, even through Tornado Traps and heavy air defenses.
2. Creating Attack Windows
The best players use spells to create windows of opportunity for their Siege Machines:
- Freeze key defenses as the Log Launcher approaches, ensuring it survives to open the core.
- Invisibility to shield high-value troops as they exit the Siege Machine.
3. Adapting to Base Layouts
Every base is different. The best attackers scout for:
- High-value targets: Use Lightning or Earthquake to remove Clan Castle or Infernos.
- Trap placements: Adjust Siege Machine pathing and spell drops to avoid or mitigate traps.
Pro Tips and Common Pitfalls
1. Pro Tips
- Practice Timing: Use Friendly Challenges to master deployment sequences.
- Watch Replays: Analyze top players for spell placement and Siege Machine usage.
- Adapt on the Fly: Be ready to change your spell or Siege Machine choice based on the base.
2. Common Pitfalls
- Overlapping Spells: Don’t waste spells by stacking them unnecessarily.
- Misplaced Jumps: A poorly placed Jump Spell can leave your army stranded.
- Premature Siege Deployment: Don’t send in your Siege Machine before the funnel is set.
Conclusion
Mastering Siege Machines and Spells is not about memorizing a set formula—it’s about understanding the unique challenges of each base and adapting your approach. The synergy between these tools can turn the tide of battle, opening new paths, protecting your army, and ensuring your attacks hit harder and go farther. Whether you’re pushing for trophies, warring with your clan, or simply seeking to improve, dive into replays, experiment with combinations, and never stop learning. Your next three-star attack is just one perfectly timed spell or Siege Machine away.
Ready to level up your attacks? Start practicing your spell and Siege Machine synergy today—and watch your stars climb!


