Mastering Siege Machines: When and How to Deploy for Maximum Value
23 min read Turn Siege Machines into star makers. Learn when and how to deploy each Siege for War and CWL.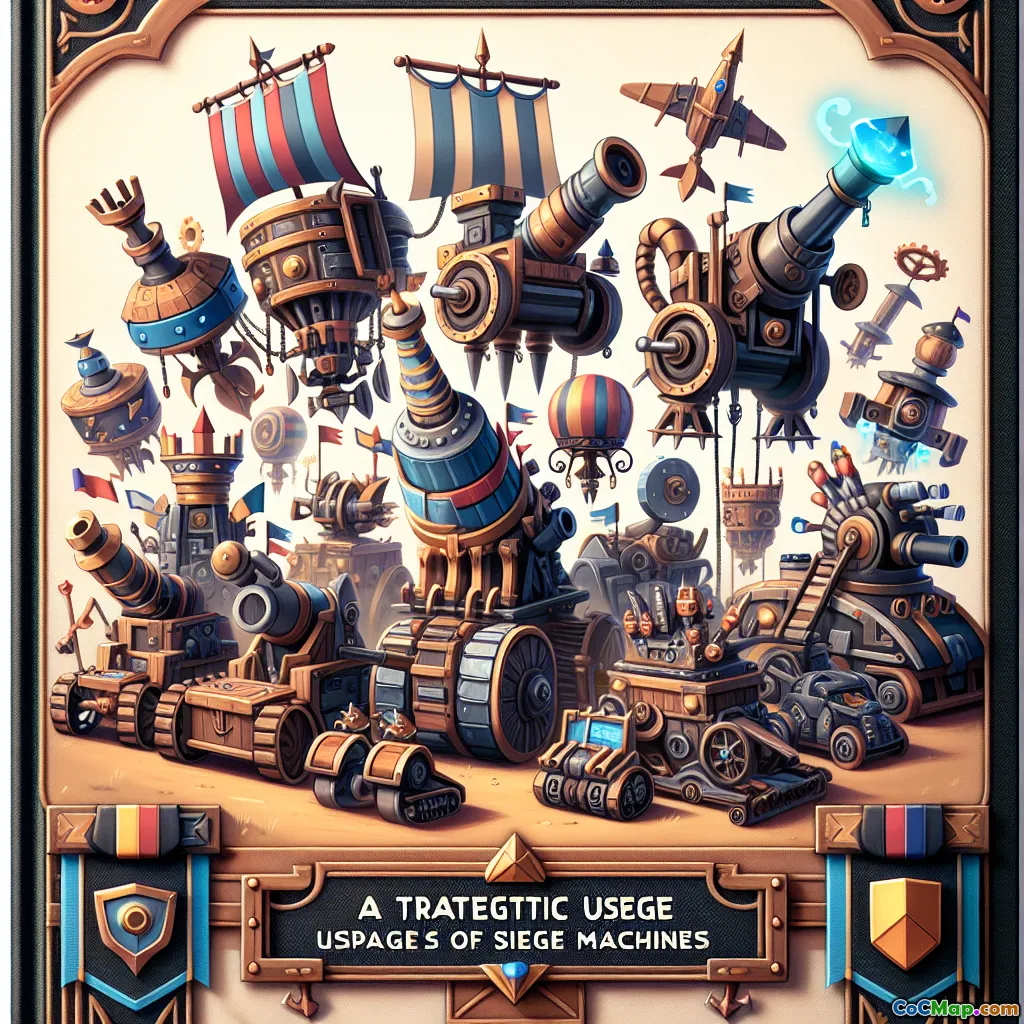
Mastering Siege Machines: When and How to Deploy for Maximum Value
Ever watched a perfect plan crumble because your Siege crawled into a mortar and died? Or dropped a blimp too early and fed it to a sweeper? Siege Machines win and lose wars. The difference is rarely raw stats. It is timing, pathing, and purpose. This guide breaks down how to select and deploy each Siege Machine so it delivers guaranteed value in Clan Wars and CWL.
What this article will do for you
- Show how each Siege creates specific win conditions
- Teach you to read bases and pick the right Siege fast
- Explain timing windows for early, mid, and late deployments
- Provide pairing tips with meta armies at higher town halls
- Offer practical drills and checklists that translate to more stars
Know your tools first
Before timing and trickery, you need a clear mental model. Each Siege excels at one or two jobs. Use it for that job or do not use it at all.
-
Wall Wrecker
- Purpose: direct ground entry to Town Hall through walls
- Strengths: consistent straight line, tanky path for heroes and kill squad
- Weaknesses: pathing can be pulled by open walls and buildings; melts to single infernos and heavy DPS cores
- Use when: you must secure Town Hall on a compact base and your heroes need a tunnel
-
Battle Blimp
- Purpose: surgical delivery of Clan Castle troops to a key tile
- Strengths: ignores walls, fastest path to Town Hall or core
- Weaknesses: air mines, sweepers, seeking air mines, and poor haste timing can kill it early
- Use when: early Town Hall secure or high value snipe like monolith deletion with yeti bomb or super archer bomb
-
Stone Slammer
- Purpose: flying siege that behaves like an air tank for lalo and crushes defenses
- Strengths: good HP, defense targeting, smooth lalo pathing
- Weaknesses: weak vs sweepers and air traps if unsupported
- Use when: Town Hall is already secured and you need lalo stability and back-end cleanup force
-
Siege Barracks
- Purpose: instant funnel and late wave pressure via pekka plus wizard squad, then clan castle release
- Strengths: great for shaping hybrid and smash lanes; provides cleanup
- Weaknesses: vulnerable if dropped into giant bomb and mortar focus; does not cross walls
- Use when: you need a strong side funnel or extra body count for hog miner hybrid
-
Log Launcher
- Purpose: long wall opening plus splash damage beams against defenses on a line
- Strengths: creates wide entry without jump; can chip heroes and scatts as it rolls
- Weaknesses: loses logs on elevation changes and tight angles; not fast
- Use when: you want to open multiple compartments toward the Town Hall for smash or hero dive
-
Flame Flinger
- Purpose: long range siege that snipes key defenses while staying unhit
- Strengths: outranges many defenses; insane value if left alone 30 to 60 seconds
- Weaknesses: dies to mortars, ground xbows, ground skeles, and surprise tesla farms; very slow
- Use when: you can create a safe corner to remove eagle, scatter, or a hero compartment without time pressure
Base reading for Siege selection
Before you pick, ask three questions.
-
What must be removed for the rest of the plan to work
- Need Town Hall safety early Try blimp or wrecker depending on layout.
- Need eagle down pre push Flinger from a safe edge or a timed slammer with lalo.
- Need pathing for lalo or hybrid Barracks to carve a flank, or Log Launcher to open a wall line.
-
Which defenses threaten the chosen Siege most
- Flinger hates mortars and ground xbows. If a mortar covers both corners on that side, abandon the Flinger idea.
- Blimp hates sweepers pointed across its line. Rotate entrance or zap one sweeper.
- Wrecker and Log Launcher hate single target infernos and tight DPS clusters. Plan freezes or rage on the entry.
-
How does the Siege align with your army win condition
- Smash wants lanes and jump level access. Log Launcher straight line is gold.
- Lalo wants pathing and tanking in the air. Stone Slammer shines after Town Hall is secure.
- Hybrid wants clean edges. Siege Barracks fixes funnels and adds late hogs if filled that way.
Pro tip: if you cannot articulate in one sentence why your Siege exists, you are probably bringing the wrong one.
Timing windows that change everything
Timing is the secret sauce. The same Siege can be trash or broken depending on when you drop it.
-
Early deployment window first 15 to 30 seconds
- Objective: set a non negotiable win condition, usually Town Hall or eagle removal
- Best candidates: Battle Blimp, Flame Flinger on safe corner, sometimes Wall Wrecker for hero dive
- Notes: commit spells to keep it alive if the removal is core to your plan
-
Mid deployment window 30 to 90 seconds
- Objective: support your core push once pathing is visible
- Best candidates: Log Launcher for a queen king warden smash, Siege Barracks to release pekka and wizards as your core turns in
- Notes: watch for ground skeles on your Flinger, mortars retarget when troops step out of range
-
Late deployment window last minute
- Objective: stabilize back end and secure percent or triple
- Best candidates: Stone Slammer to tank for remaining loons, Siege Barracks for sweep cleanup wave
- Notes: time management matters. If your Siege needs 30 seconds to do work, do not drop it at 40 seconds left
Pairing Siege with meta armies
Your Siege choice should amplify the army you bring.
-
Queen Charge Lalo
- Best choices: Flame Flinger for eagle or scatter delete, Blimp for Town Hall secure, Stone Slammer to finish
- Example plan: charge into enemy queen and CC, flinger snipes eagle on the opposite corner. Start lalo once charge claims a scatter. Slammer replaces hound on the back end to tank an inferno.
-
Hybrid hog miner
- Best choices: Siege Barracks almost default, with pekka and wizards creating a clean side, then CC hogs join mid funnel
- Example plan: warden walk sets the opposite edge, barracks sets the second edge, hybrid enters the gap. Pop barracks late so CC hogs merge as the hybrid hits core splash.
-
Smash super bowlers or yeti smash
- Best choices: Log Launcher to open two or three compartments in a line, or Wall Wrecker on tighter core
- Example plan: funnel corners, send log launcher with the smash. Use rage and freeze on key core DPS so the launcher survives to open the Town Hall box.
-
Electro Dragons
- Best choices: Blimp to snipe Town Hall or to remove a core inferno ring, Stone Slammer if Town Hall is taken by heroes
- Example plan: heroes remove a side and set down chain value. Edrags sweep with rage. Blimp over the center to delete Town Hall under warden tome.
-
Zap Lalo or Zap Titans
- Best choices: depends on what zaps remove. If zaps kill a sweeper and core inferno, a slammer is safer on the back end. If Town Hall is distant, bring a blimp under tome.
Spell support and micro that separate good from great
A Siege without support is a donation. Build a small spell plan around it.
-
Blimp pathing and tome timing
- Use coco loons to eat seeking mines first. Haste or freeze sweepers that push your line. Tome as the blimp crosses the riskiest tile, not at the drop.
- If doing yeti bomb or super archer bomb, pre rage the landing area and freeze the nearest inferno or monolith for two to four seconds of safety.
-
Flinger safety net
- Always check mortar ranges. If a mortar covers your intended drop tile, pre tank with a giant or ice golem to pull first shot.
- Drop a sneaky goblin to fish ground skeles. If skeles spawn, place a wizard or valkyrie to clear them so the flinger stays invisible to defenses.
-
Log Launcher survival plan
- Freeze single inferno if the beam locks the launcher. Rage the smash so it surges forward and body blocks for the launcher.
- Align the launcher in a straight line from entry to Town Hall. Small angles waste logs on walls you do not need open.
-
Siege Barracks optimization
- Place it on a side where wizards immediately hit buildings without walking miles. If a mortar is pointed right at it, tank with a giant.
- Time the royal champion so she meets the flow of hogs from the barracks and merges abilities on splash defenses.
-
Stone Slammer pacing
- Do not drop it into a sweeper unless the sweeper is set opposite or zapped. Use it as a flying tank for loons, one compartment ahead of the pack.
Town Hall specific considerations
-
TH13 to TH14
- Eagle and scatter value is still king. Flinger is devastating if mortars are cornered. Blimp is safer with early tome because DPS is lower than at TH15 plus.
-
TH15
- Monolith punishes tanks. If your Siege must cross monolith line of sight, plan freezes or invis plays. Super archer blimp gained popularity but demands careful sweeper control.
-
TH16
- Base damage is higher, windows are tighter. Flaminger value is still top tier but you must pre read traps. Smash often needs Log Launcher to avoid wasting a jump. Secure Town Hall early in risky layouts; teams prefer guaranteed two star in CWL.
Decision tree you can use in 30 seconds
- Can I safely remove Town Hall in the first 30 seconds If yes, blimp or wrecker. If no, plan a mid attack secure or aim for safe two star.
- If my army is lalo, is Town Hall already handled If yes, slammer is default. If no, blimp under tome.
- Do I need a clean lane for smash or hybrid If yes, log launcher or siege barracks.
- Is there a safe corner with no mortar or ground xbow If yes, flame flinger for value delete.
- Will my Siege survive without two spells If no, either spend the spells or switch Siege.
Clan Castle troop choices inside the Siege
Your CC fill should match the job.
-
Town Hall delete with blimp
- Super archers with rage and invis pattern for core wipes if you trust the landing. Risky but high ceiling.
- Yeti bomb for reliable splash and yetimite jumps. Good when Town Hall is exposed to compartment edges.
-
Support for hybrid or smash
- Hogs in Siege Barracks to time a second wave. Pollinates back end as your main army hits core splash.
- Bowlers or ice golems inside Log Launcher or Wrecker to add tanking and bounce damage.
-
Back end pressure for lalo
- Loons inside slammer for immediate reinforcement. Add a headhunter or two if you expect back end royal champion.
Do not forget you choose between deploying a Siege with CC inside or pressing the CC button to drop troops manually without a Siege. Once a Siege is deployed, you cannot manually deploy those CC troops; they are released only when the Siege is destroyed or manually popped.
Clan coordination and CWL logistics
-
Donation priorities
- Ensure at least two or three members can donate maxed versions of all Siege Machines before war search. Workshop level matters.
-
Call your Siege during planning
- Post in war chat the Siege you expect and the CC fill. If the plan changes after a scout hit, update before you lock your army.
-
Backup plan on roster
- Have one player ready to donate a different Siege in case the base is rotated or changed during prep day. You might pivot from flinger to blimp after new trap info.
-
CWL risk management
- On high stakes hits, choose the Siege with the highest floor, not the highest ceiling. For example, a safe blimp to secure Town Hall and percent might be better than a greedy flinger that could die to a mortar.
Common mistakes and how to fix them
-
Dropping flinger into a hidden tesla farm
- Fix: test with a barbarian or sneaky goblin first. If teslas pop, either tank them or abandon the flinger.
-
Blimp dying to a sweeper chain
- Fix: zap a sweeper or rotate entry so warden tome covers the critical pushback tile. Use a coco loon wave.
-
Log launcher angled wrong and opens useless walls
- Fix: place it from a tile that lines up directly with the Town Hall box. Remove one side building to correct the angle before drop.
-
Barracks wizards walking into multi mortar fire
- Fix: use one giant to soak, and drop the barracks slightly wider so wizards step into safe tiles.
-
Stone slammer dropped before Town Hall is safe
- Fix: slam only after Town Hall is eliminated or under warden aura with loons. Otherwise you risk a one star.
-
Wrecker path diverted by an open corner
- Fix: close pathing with a wall breaker to redirect, or place a golem or giant to body block the open tile while wrecker locks a new line.
Practice drills to sharpen decision making
-
Flinger corner drill
- Load a friendly challenge with mirrored corners. Practice identifying mortar coverage and picking the safe corner. Time how long it takes the flinger to drop an eagle. Aim to start your main push by the 1 minute 45 mark while the flinger works.
-
Blimp under tome drill
- Practice three entries against sweepers. Only commit to a line when you can predict the pushback tile. Drop coco loons, then tome as the blimp crosses the sweeper cone. Repeat until you consistently land.
-
Log line discipline
- Place a line of flags or markers in your mind. Enter only if the launcher line touches Town Hall and at least one core splash defense. Cancel if the angle is wrong.
-
Barracks edge sculpting
- Create two edge funnels with heroes and an early barracks. Send hybrid only when the edge is flat. Review replays for spillover miners that wander out. Adjust barracks placement by a few tiles.
Example blueprints for common bases
-
Box base with Town Hall opposite eagle
- Plan: flame flinger the eagle from the safer corner, queen charge takes a scatter and CC, lalo finishes from Town Hall side under tome with a blimp if needed. If a mortar threatens the flinger, tank with a giant during setup.
-
Anti two star ring base
- Plan: warden walk to create a side, log launcher down the middle to break the ring, smash follows. Blimp is backup if the launcher gets sniped. The goal is entry to the Town Hall box with rage and freeze support.
-
Diamond base with split scatts
- Plan: siege barracks for a strong funnel, hybrid through the side that lets you meet both scatters by the middle. Pop barracks late so the CC hogs arrive as you hit the second scatter.
Checklist before you press attack
- Which single defense must my Siege remove
- What kills my chosen Siege and how will I prevent it
- Which two spells are reserved for the Siege if needed
- Do I have a backup Siege in mind if traps betray the plan
- When exactly will I drop the Siege early, mid, or late and why
Say these out loud in war chat. Your decision quality goes up immediately.
Conclusion
Siege Machines are not just delivery vehicles; they are strategic levers that create win conditions. Pick the Siege for one clear job, protect it with small but precise spell support, and deploy it at the timing window where it has the most leverage. Coordinate with your clan, practice micro drills, and review replays with a Siege centric lens. Do this and your attack plans will feel lighter, cleaner, and far more repeatable in both regular wars and CWL.
Action for your next war pick one base and force yourself to justify the Siege in one sentence. If you cannot, switch it. Then execute with the timing frameworks above. Stars follow clarity.


