Mastering Spring Traps: Where to Place Them for Top Defensive Value
9 min read Unlock expert insights on Spring Trap placement to maximize defensive value and outsmart attackers.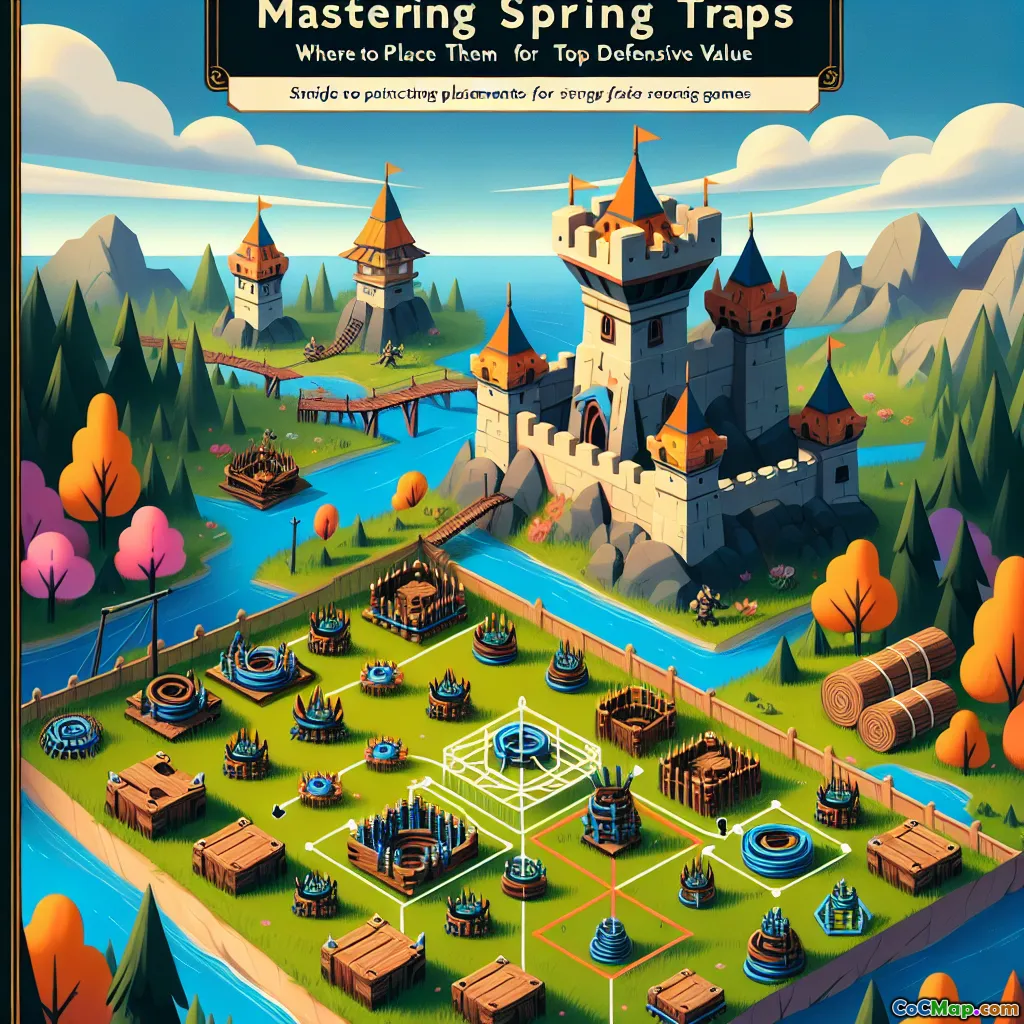
Mastering Spring Traps: Where to Place Them for Top Defensive Value
Introduction
What if a single, well-placed trap could singlehandedly disrupt even the most calculated attack? In Clash of Clans, the Spring Trap is often underestimated—yet in the hands of a savvy defender, it can turn the tide of battle. Are you making the most of your Spring Traps, or are they just filling space in your base? Mastering their placement isn’t just about luck; it’s about understanding troop AI, attack patterns, and base design. Let’s dive deep into the art and science of Spring Trap placement, so you can squeeze every ounce of defensive value from these silent sentinels.
Understanding Spring Traps: Mechanics and Limitations
Before strategizing placement, it’s crucial to understand how Spring Traps work.
- Activation: Spring Traps are triggered when a ground troop steps on them.
- Capacity: Each trap can launch a limited number of troops (e.g., 15 housing space at TH9+).
- Affected Troops: Giants, Hog Riders, Bowlers, Valkyries, and even Barbarians can be flung. Heroes, Golems, and Pekkas are immune.
- Rearm Cost: Cheap to rearm, making them efficient for daily defense.
Why does this matter? Knowing which troops are vulnerable and how many can be removed at once is the foundation for maximizing value.
The Psychology of Attackers: Predicting Pathing
Attackers often follow predictable patterns—funneling, wall breaks, and pathing to defenses. The most effective Spring Trap placements anticipate these behaviors.
Key Pathing Principles
- Choke Points: Spaces where troops are forced to clump together (e.g., between defenses or at junctions).
- Funneling Zones: Areas where attackers direct troops to enter the base.
- High-Traffic Corridors: Paths leading to high-value targets like the Town Hall or core compartments.
Example: A Spring Trap placed between two adjacent defenses (e.g., Cannon and Archer Tower) can catch Giants as they move from one to the next.
Optimal Spring Trap Placements: Classic and Advanced Spots
1. Between Defenses
The classic placement: between two defenses with a one-tile gap. This is where Giants, Hog Riders, and Bowlers naturally path.
- Why it works: Troops move from defense to defense in a straight line, stepping directly over the trap.
- Pro Tip: Avoid placing traps diagonally—troops rarely path diagonally between buildings.
2. After Wall Breaks or Entry Points
Attackers often break walls to create a funnel. Placing Spring Traps just inside these entry points can catch the first wave of Giants or Hog Riders.
- Why it works: Troops bunch up after breaking through, maximizing the trap’s capacity.
- Example: Place a Spring Trap 1-2 tiles behind a likely wall break spot, not directly on the opening.
3. Hog Rider Pathing
Hog Riders target defenses directly, ignoring walls. Place Spring Traps along the most direct paths between defenses, especially near splash damage buildings.
- Why it works: Hog Rider attacks rely on numbers; removing several at once can cripple a push.
- Advanced: Use test attacks or replays to spot common Hog Rider paths in your base.
4. Giant Bomb and Spring Trap Synergy
Pairing Spring Traps with Giant Bombs can devastate mass troop attacks.
- Why it works: A Giant Bomb weakens or kills small troops, while the Spring Trap removes surviving high-HP units.
- Placement: Place a Giant Bomb first, then a Spring Trap in the next tile along the path.
5. Anti-Queen Charge and Bowler Walks
While Heroes are immune, supporting troops like Bowlers and Healers are not. Place Spring Traps along likely Queen Charge or Bowler walk paths to thin out their support.
- Why it works: Removing Bowlers or Healers can cause a Queen Charge to collapse.
6. Mid-Base and Core Defense
Don’t neglect the core! Many attackers expect traps at the edge and may path troops through the center.
- Why it works: Unexpected Spring Traps in the core can disrupt cleanup troops or a late-stage push.
- Example: Place traps near the Town Hall or high-value storages.
Common Mistakes and How to Avoid Them
1. Edge Placements
Placing Spring Traps on the outer edge is often wasted; attackers rarely send ground troops along the very edge.
2. Overlapping Trap Effects
Avoid stacking Spring Traps and Giant Bombs in the same tile. One may trigger and clear the area, wasting the other.
3. Ignoring Attack Trends
Base design evolves. Watch replays and adjust your trap placements based on the most common attack strategies you face.
Adapting to Meta and Base Style
1. Anti-3 Star vs. Anti-2 Star Bases
- Anti-3 Star: Focus traps deeper in the base to disrupt late-stage troops.
- Anti-2 Star: Place traps near entry points to stop strong opening pushes.
2. Base Type Considerations
- Ring Bases: Place traps along the inner ring, where troops path after the outer layer falls.
- Box Bases: Use traps in corridors between compartments.
- Hybrid Bases: Mix placements to cover both early and late-stage threats.
Real-World Examples and Player Insights
- Pro Player Insight: Many top Legend League players review their defense replays weekly, shifting Spring Traps based on attack patterns.
- In-Game Data: Statistically, bases with traps placed between high-traffic defenses see 30-40% more activations per defense.
- Personal Experience: After moving Spring Traps from the edge to between core defenses, I saw a dramatic increase in flung Giants per attack, often breaking the attacker’s momentum entirely.
Conclusion: Elevate Your Defense, One Trap at a Time
Spring Traps are more than just a minor nuisance—they’re precision tools for disrupting attacks, breaking troop momentum, and swinging battles in your favor. By understanding troop pathing, anticipating attack strategies, and constantly adapting your placements, you’ll transform these humble traps into game-changing assets.
Key Takeaways:
- Place traps between defenses, not on the edge.
- Anticipate funneling and pathing based on your base design.
- Pair Spring Traps with other defenses for maximum value.
- Review replays and adapt placements to counter current meta attacks.
The next time an attacker sends in a wave of Giants or Hog Riders, let your Spring Traps do the talking—and watch as their carefully planned assault falls apart. Master your placements, and your base will become a fortress few can breach.


