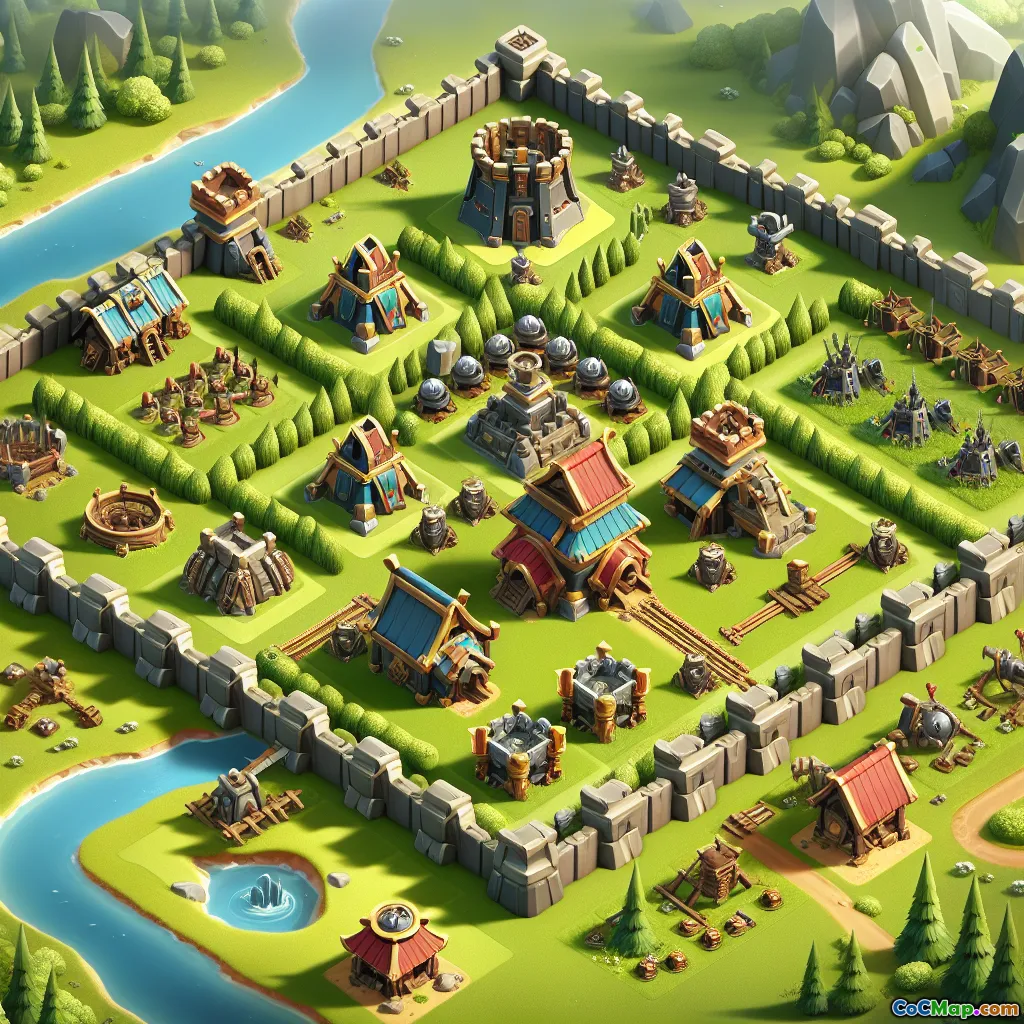
Optimizing Builder Base Layouts for Defense
8 min read Master defensive layouts in Builder Base! Discover pro strategies, traps, and design secrets to outsmart attackers.
Optimizing Builder Base Layouts for Defense
Introduction
Ever wondered why some Builder Base layouts seem almost impossible to crack, while others fall apart in seconds? In the world of Clash of Clans, your Builder Base defense is not just about having high-level walls or powerful defenses—it's about how you arrange them. With the right layout, you can transform your base from a vulnerable target into a fortress that frustrates even the most seasoned attackers. Are you ready to take your defensive game to the next level?
Understanding the Unique Challenges of Builder Base Defense
Unlike the Home Village, Builder Base uses the Versus Battle format: both players attack simultaneously, and the winner is the one who deals the most damage or earns more stars. This means your layout is constantly being tested by clever, adaptive opponents—making good design absolutely critical.
Key Differences from Home Village Defense
- No Clan Castle Troops: You can't rely on defensive reinforcements; your base must stand alone.
- Limited Traps: Trap placement is finite and must be strategic.
- Smaller Map: Every tile counts; wasted space is easily punished.
- Attackers Can Scout: Players see your base before attacking, so "gotcha" tricks are less effective.
Core Principles of Defensive Layouts
1. Centralize Your Builder Hall
The Builder Hall is your Town Hall equivalent—and protecting it is paramount. Place it near the center, surrounded by high-hitpoint structures and key defenses. This forces attackers to commit resources and time to reach it, increasing the likelihood they fall short of a two- or three-star win.
Example: At Builder Hall 7+, placing the Builder Hall between Crushers and Roaster can make a direct approach costly for Boxer Giants or Night Witches.
2. Compartmentalization: The Power of Walls
Walls are your first line of defense. Use them to create multiple compartments, each containing a mix of defenses and buildings. This slows attackers, splits their troops, and maximizes the value of splash damage defenses.
- Avoid Long, Straight Walls: These are easily breached by Bombers.
- Stagger Wall Segments: Offset wall joints to confuse pathing algorithms.
3. Trap Synergy and Surprise
Traps are limited, but devastating when used wisely. Place them where enemy troops are most likely to group up or pause.
- Spring Traps: Between defenses or in narrow corridors to catch Giants and Barbarians.
- Mega Mines: Near the Builder Hall or high-value targets to wipe out mass troops like Night Witches or Beta Minions.
- Push Traps: Direct enemy units into Crushers or Roaster fire.
Pro Tip: Study attack replays to spot common troop paths, then adjust trap placement accordingly.
4. Defense Placement: Layered and Overlapping
Your defenses should cover each other, creating kill zones where multiple defenses can focus fire. Place splash defenses (Multi Mortar, Roaster) centrally, while single-target defenses (Archer Towers, Cannons) can be used to cover the flanks.
- Crushers: Place them where ground troops must pass, but not too exposed to ranged attackers.
- Air Bombs and Firecrackers: Position them to cover the Builder Hall and key air-attack routes.
5. Anti-3 Star Design
At higher Builder Hall levels, most attackers aim for two or three stars. Make three-starring your base as difficult as possible by:
- Separating the Builder Hall from a large percentage of structures.
- Placing high-hitpoint buildings on the edges to waste attacker time.
- Using "dead zones" (empty spaces) to disrupt troop pathing and funneling.
Adapting Layouts to Common Attack Strategies
Defending Against Sneaky Archers
Sneaky Archers excel at picking off exposed buildings. Counter them by:
- Avoiding exposed structures on the outer ring.
- Using Guard Post troops to distract and eliminate archers.
- Placing traps near potential Archer entry points.
Countering Boxer Giant & Cannon Cart Combos
This popular ground push relies on tanky Giants and high-damage Cannon Carts.
- Use Crushers and Mega Mines to punish bunched-up Giants.
- Compartmentalize to split Giants from Cannon Carts, reducing their effectiveness.
- Place Roaster to hit both Giants and support troops.
Thwarting Night Witch Swarms
Night Witches summon bats that can overwhelm defenses.
- Centralize splash defenses (Roaster, Multi Mortar) to cover the Builder Hall.
- Place Air Bombs along predicted bat paths.
- Avoid clumping high-value defenses that can be destroyed by bats in one sweep.
Handling Drop Ship and Minion Attacks
This air combo aims to tank with Drop Ships while Minions deal damage.
- Layer Air Bombs and Firecrackers to cover the Builder Hall.
- Use "bait" buildings to lure Drop Ships away from key defenses.
- Compact base layouts to force Drop Ships through multiple air defenses.
Evolving Your Layout: Learn from Replays
No layout is invincible forever. The best players constantly review defense replays, looking for:
- Weak points repeatedly exploited by attackers.
- Ineffective trap placements.
- Patterns in troop deployments.
Make incremental changes rather than complete overhauls. Test new designs in Versus Battles and track your defensive win rate.
Pro Tips from Top Builder Base Players
- Rotate Trap Placements: Move traps after a few battles to catch repeat attackers off guard.
- Balance Anti-Ground and Anti-Air: Don’t overcommit to one; hybrid bases perform best.
- Use Decorations Strategically: Some players use decorations to subtly influence troop pathing or bait attacks.
- Adapt to Meta Changes: As new troops or balance changes arrive, adjust your base to counter emerging strategies.
Conclusion
Optimizing your Builder Base layout for defense is both an art and a science. By centralizing your Builder Hall, compartmentalizing with walls, synergizing traps, and adapting to the evolving meta, you can turn your base into a formidable challenge for any attacker. Remember: the best layouts are always evolving. Watch your replays, tweak your design, and stay one step ahead of the competition. Ready to rebuild and defend your way to the top?


