Optimizing Spell and Siege Machine Pairings for War Attacks
10 min read Unlock the secrets to pairing spells and siege machines for unstoppable war attacks in Clash of Clans.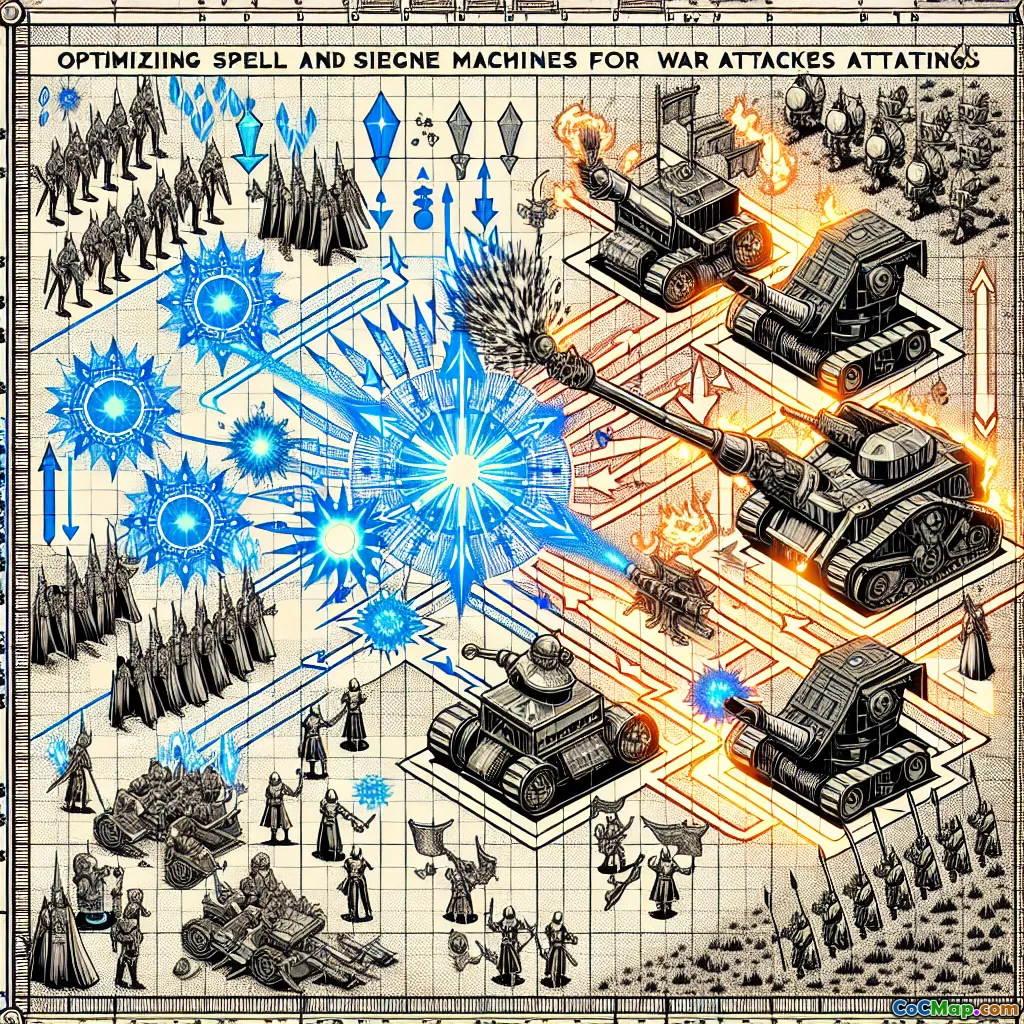
Optimizing Spell and Siege Machine Pairings for War Attacks
Introduction
Ever wondered why some war attacks seem unstoppable, even against the trickiest bases? The secret often lies not just in troop choice, but in the artful pairing of spells and siege machines. Imagine turning a near-impossible base into a three-star victory by leveraging the perfect combination—wouldn’t you want that edge every war? Let’s dive deep into how optimizing these pairings can elevate your Clash of Clans war attacks from good to legendary.
Understanding the Role of Spells and Siege Machines
Before diving into pairings, it’s crucial to grasp what each brings to the table:
- Spells: Offer burst effects—healing, damage, control, or utility—that can change the tide of battle in seconds.
- Siege Machines: Deliver critical troops deep into bases, break through walls, or provide unique tactical advantages.
The synergy between these two elements often separates average attacks from war-winning ones.
Key Principles for Pairing Spells and Siege Machines
1. Match Function to Objective
Every attack plan has a core objective: funneling, core destruction, or back-end cleanup. Selecting a siege machine and spell combo that directly supports your main goal is foundational.
Example: If your objective is to get your Queen deep into the base for a Queen Charge, pairing a Wall Wrecker with Rage and Freeze spells can ensure her survival and pathing.
2. Consider Base Layout and Trap Placement
Analyze the base for multi-layered compartments, Inferno Tower placements, and scattershot zones. Some siege machines excel at breaking through tough walls (Wall Wrecker), while others bypass defenses (Battle Blimp). Spells can neutralize threats or support the siege’s journey.
Example: Against a base with central multi-Infernos, a Battle Blimp with a Clone and Rage spell can drop Balloons for an explosive core takedown.
3. Timing is Everything
The best pairings fall flat if spells are dropped too early or late. Coordinate siege machine entry with spell deployment for maximum value.
Example: Dropping a Freeze spell just as your Log Launcher approaches a defending Clan Castle can prevent lethal CC troops from derailing your attack.
Spell and Siege Machine Pairings: Deep Dive
Let’s break down some of the most effective pairings, why they work, and how to execute them:
A. Wall Wrecker + Rage & Freeze Spells
Why it Works:
- Wall Wrecker smashes through multiple layers, ideal for Queen Charges or kill squads.
- Rage boosts troop damage and healing, perfect for pushing through high-DPS zones.
- Freeze neutralizes key defenses (Infernos, X-Bows) as the Wrecker advances.
Execution Tips:
- Deploy Wall Wrecker at funnel point; support with Rage once inside high-threat areas.
- Time Freeze spells on multi-target Infernos or Eagle Artillery to protect your Queen or Bowlers.
Pro Insight:
- At Town Hall 13+, combining Wall Wrecker with Super Wizards and a Rage spell can wipe out entire compartments.
B. Battle Blimp + Clone & Rage Spells
Why it Works:
- Battle Blimp sails straight to the Town Hall or core, bypassing walls.
- Clone spell doubles payload (e.g., Balloons, Yetis), amplifying destruction.
- Rage ensures instant, high-impact damage upon arrival.
Execution Tips:
- Time the Blimp’s entry with a Lava Hound or Warden ability for protection.
- Drop Clone and Rage as the Blimp pops over the Town Hall or core.
Player Example:
- In pro wars, the "Yeti Bomb" (Blimp + Yetis + Rage/Clone) is a popular opener to snipe the Town Hall and clear the core.
C. Log Launcher + Heal & Jump Spells
Why it Works:
- Log Launcher opens walls from afar and deals damage to defenses in its path.
- Heal spells keep ground troops alive as they follow the logs.
- Jump spells offer flexible pathing if the Launcher is destroyed early or to redirect troops.
Execution Tips:
- Deploy Log Launcher with a strong kill squad (e.g., Pekka Smash).
- Use Heal on troops under heavy fire, especially when Skeleton Traps or Bomb Towers trigger.
- Jump spell can bridge gaps if the Launcher doesn’t break all the way to the core.
D. Flame Flinger + Earthquake & Freeze Spells
Why it Works:
- Flame Flinger targets defenses from a safe distance, especially effective against isolated compartments.
- Earthquake weakens walls and defenses, allowing the Flinger to finish them off.
- Freeze can stall defenses targeting the Flinger or vital troops.
Execution Tips:
- Use Earthquake to pre-damage key compartments.
- Freeze Scattershots or X-Bows targeting the Flinger.
Advanced Tactic:
- At TH14+, combining Flame Flinger with Bat spells for backend sweeps is a potent strategy.
E. Siege Barracks + Heal & Rage Spells
Why it Works:
- Siege Barracks spawns a wave of Pekkas and Wizards, perfect for creating a strong funnel.
- Heal keeps spawned troops alive against splash damage.
- Rage accelerates the initial wave, clearing the edge quickly.
Execution Tips:
- Deploy Barracks at the edge to establish funnel; drop Heal as Wizards encounter splash defenses.
- Rage can be used to speed up Pekka/Wizard progress or support the main push.
Advanced Pairing Tactics
1. Combining Multiple Spells for Layered Support
Some attacks require more than a single spell type. For example, a Queen Charge might start with Rage and Freeze, but transitions into a Jump spell to redirect her path, or an Invisibility spell to dodge single-target threats.
2. Adaptive Pairing Based on Enemy CC
If a base is likely to have a defensive Clan Castle with Super Minions or Ice Golems, consider pairing your siege entry with a Poison or Freeze spell for rapid neutralization.
3. Bat and Invisibility Spell Synergy
For backend sweeps, pairing a Flame Flinger to clear splash defenses, then releasing Bats with Freeze and Invisibility spells, can devastate the remaining base.
Common Mistakes to Avoid
- Overcommitting Spells Early: Save spells for critical moments; don’t use all Freezes at the first sign of trouble.
- Mismatched Siege and Spell Choices: Don’t bring a Battle Blimp when the Town Hall is surrounded by Tornado Traps—consider a Wall Wrecker or Log Launcher instead.
- Ignoring Pathing: Ensure your siege machine paves a clear route for your troops; support with Jump or Earthquake if needed.
Real-World War Scenario: Analyzing a Successful Attack
Imagine a TH14 war attack against a box base:
- Siege Machine: Log Launcher
- Spell Loadout: 2 Rage, 3 Freeze, 1 Jump, 1 Poison
- Plan:
- Deploy Log Launcher with a Queen Charge.
- Use Freeze on Scattershot and defending Queen.
- Rage the Queen and Bowlers as they enter the core.
- Jump over the last compartment if the Launcher falls short.
- Poison for CC troops.
Result: The synergy between the Log Launcher’s wall-breaking, timely Freezes, and Rages ensures the core is obliterated, leading to a confident triple.
Conclusion
Mastering the art of spell and siege machine pairings is what transforms good war players into great ones. By analyzing base layouts, matching your objectives with the right combinations, and executing with precise timing, you’ll consistently outsmart defenses and rack up three stars. Next time you plan a war attack, don’t just pick spells and siege machines at random—craft your pairings with purpose, and watch your clan’s war performance soar.
Ready to level up? Start experimenting with new pairings, review your replays, and keep refining your strategies. The path to war dominance is paved with smart choices—make yours count!


