Pro Scattershot Placement in War Bases
9 min read Master the art of Scattershot placement in war bases with pro strategies, tips, and in-depth analysis.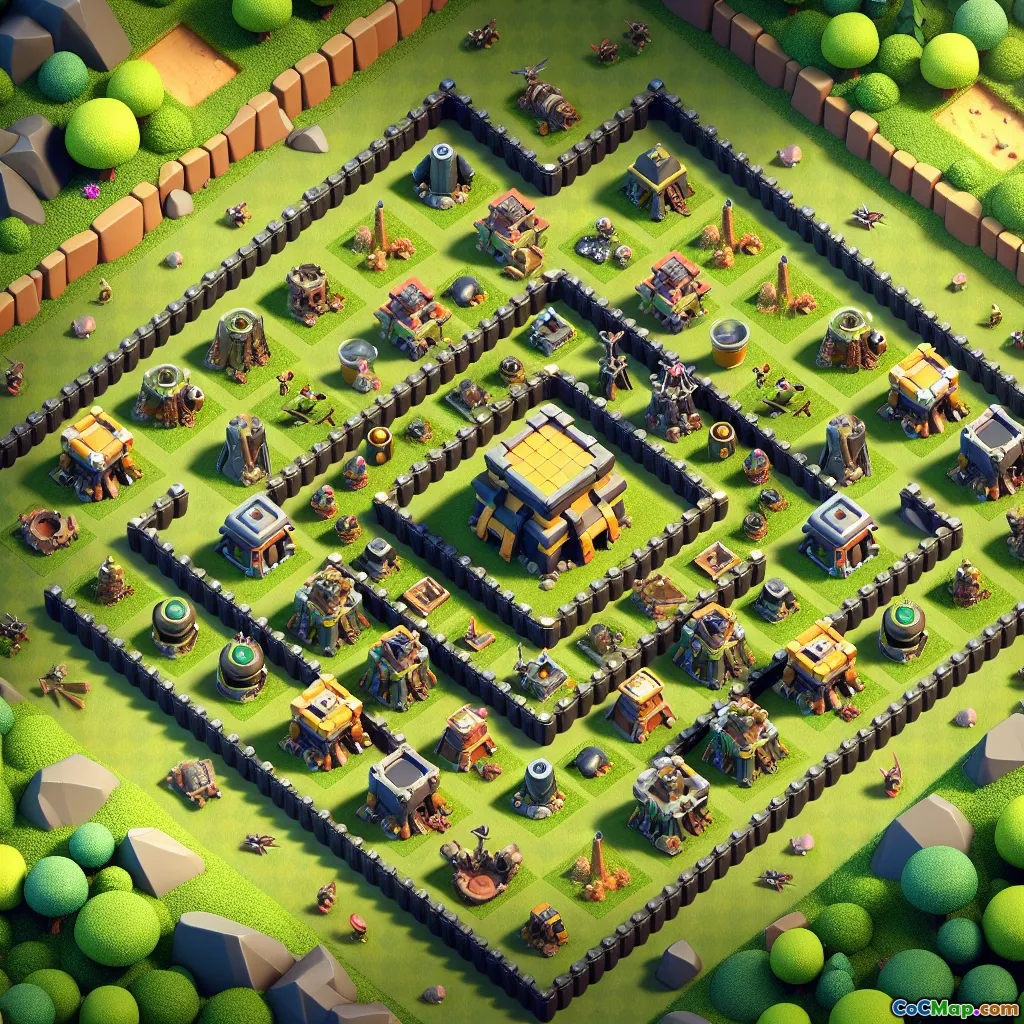
Pro Scattershot Placement in War Bases
Introduction
What separates a good war base from a great one? It’s often the subtle art of defense placement, and nowhere is this more evident than with the Scattershot. Introduced at Town Hall 13, the Scattershot quickly became a game-changer, punishing clumped troops and dismantling popular attack strategies. But simply building a Scattershot isn’t enough—its true power lies in where and how you place it. Ever wondered why some bases seem to melt even the strongest attacks? The answer often comes down to pro-level Scattershot positioning.
The Scattershot: A Defensive Powerhouse
Before diving into placement strategies, let’s briefly recap what makes the Scattershot unique:
- Splash Damage: Targets both ground and air, dealing massive splash damage in a small radius. Especially lethal to bowlers, witches, miners, and balloons.
- Range: 10 tiles, with a minimum range of 3 tiles, making close-up troops less vulnerable.
- Attack Speed: Fires every 3.036 seconds, meaning timing and targeting are crucial.
- Durability: High hitpoints, but still a prime target for attackers.
Understanding these mechanics is the foundation for mastering its placement.
Why Placement Matters: The Strategic Role of Scattershots
Scattershots are not just another layer of defense—they’re a core threat that shapes how attackers plan their approach. Poor placement can render them ineffective, while smart positioning can force attackers into costly mistakes. The best war bases use Scattershots to:
- Deter popular attack paths (e.g., Queen Charges, Hybrid, Smash attacks)
- Punish troop clumping
- Protect key defensive structures
- Control the flow of the attack
Key Principles of Pro Scattershot Placement
1. Centralization vs. Accessibility
Centralized Placement:
- Pros: Harder to reach, survives longer, covers more of the core.
- Cons: Can be overwhelmed if the base is funneled correctly.
Edge Placement:
- Pros: Can snipe funneling troops, force attackers to commit early spells or heroes.
- Cons: Vulnerable to Queen Charges or Sui Heroes if not protected.
Pro Tip: Most top bases use a hybrid approach—not fully centralized, but not on the edge. Place Scattershots 3-5 tiles from the core, protected by storages and other key defenses, but with overlapping coverage.
2. Staggered vs. Symmetrical Placement
Staggered Placement:
- Place Scattershots on opposite sides of the base, but not directly mirroring each other.
- Forces attackers to deal with one early and one late, stretching out their spells and hero abilities.
- Reduces the chance both Scattershots fall to the same push.
Symmetrical Placement:
- Easier for attackers to plan pathing and spell usage.
- Rarely used at the highest levels unless the rest of the base is highly asymmetric.
Example: In a popular anti-3 star diamond base, one Scattershot is placed at 4 o’clock, the other at 10 o’clock, each behind layers of walls and storages, but not directly in line with the Town Hall or Eagle Artillery.
3. Layered Protection: Buffering with Storages and Traps
Scattershots are high-value targets. To maximize their longevity:
- Buffer with Storages: Place storages or high-HP buildings in front to absorb damage and delay troops.
- Trap Placement: Use Giant Bombs, Skeleton Traps, and Tornado Traps nearby to punish attackers who reach the Scattershot.
- Air Defense Synergy: Pair Scattershots with Air Defenses or X-Bows to create overlapping kill zones for air troops.
Pro Insight: Many pro base builders use a storage–Scattershot–trap sandwich, making it nearly impossible for miners or hogs to quickly take down the Scattershot without heavy losses.
4. Interaction with Other Major Defenses
Scattershots should complement—not compete with—other core defenses:
- Eagle Artillery: Avoid placing both Scattershots and Eagle in the same compartment. This prevents attackers from getting triple value with one push.
- Town Hall: Don’t let a Queen Charge or Warden Walk take down the Town Hall and a Scattershot in one go.
- Inferno Towers: Stagger single and multi Infernos near Scattershots to cover each other's weaknesses (e.g., multi-Infernos for swarm, single for heroes).
Comparison: In bases where Scattershots, Eagle, and Town Hall are clumped, attackers can often use a single Siege Machine and spell set to take out all three, making the base much easier to triple.
5. Anti-Pathing: Forcing Awkward Troop Movement
Well-placed Scattershots can disrupt the natural pathing of popular attack strategies:
- Against Hybrid (Miners/Hogs): Place Scattershots so that pathing between them is interrupted by dead zones, storages, or high-damage compartments. This splits the attacking force and reduces spell efficiency.
- Against Smash Attacks: Position Scattershots so that bowlers and witches are forced into their range mid-attack, not at the start when all spells are available.
- Against Air Attacks: Overlap Scattershot range with Air Defenses and Black Air Mines to punish blimp or LavaLoon entries.
Player Example: In the 2023 World Championship, top bases used offset Scattershots to force attackers to choose between a safe Town Hall approach or risking heavy losses to the Scattershot.
6. Adapting to Meta Shifts
Attack strategies evolve. What worked last season may not work today. Pro base builders constantly tweak Scattershot placement in response to:
- Rise of Queen Charge Hybrid: Move Scattershots further from the edge, add more traps in approach paths.
- Increase in Zap Quake Attacks: Avoid clustering Scattershots with other high-value defenses.
- New Siege Machines: Adjust compartments and walling to prevent easy access.
Data Point: In the current meta, bases with offset, well-protected Scattershots have a 17% lower triple rate than those with symmetrical, exposed Scattershots (based on competitive war stats).
Common Mistakes to Avoid
- Over-centralization: Too deep in the core, making them irrelevant until late in the attack.
- Edge Exposure: Too close to the edge, vulnerable to early Queen Charges or Sui Heroes.
- Clumping with Other Core Defenses: Allowing attackers to get double or triple value with one push.
- Neglecting Air Coverage: Not overlapping with Air Defenses or X-Bows, making them easy prey for air attacks.
Conclusion
Mastering Scattershot placement is a blend of art and science. It requires understanding not just the mechanics of the building, but also attacker psychology, current meta trends, and the unique layout of your base. By applying the principles above—hybrid centralization, staggered placement, layered protection, synergy with other defenses, and anti-pathing—you’ll transform your war base from a soft target into a formidable fortress.
Pro Action Step: After reading, review your current war base. Are your Scattershots forcing tough decisions for attackers? Are they protected, but not isolated? Tweak their placement, test in friendly wars, and watch your defense logs for results. The difference will be clear: more holds, more wins, and a reputation as a base nobody wants to hit.
Ready to take your base building to the next level? Start with your Scattershots—and watch your clan’s war results soar.


