Secrets to Timing Your Mass Dragons Deployment for Success
8 min read Unlock the secrets to perfectly timing your Mass Dragons attack and dominate every Clash of Clans raid.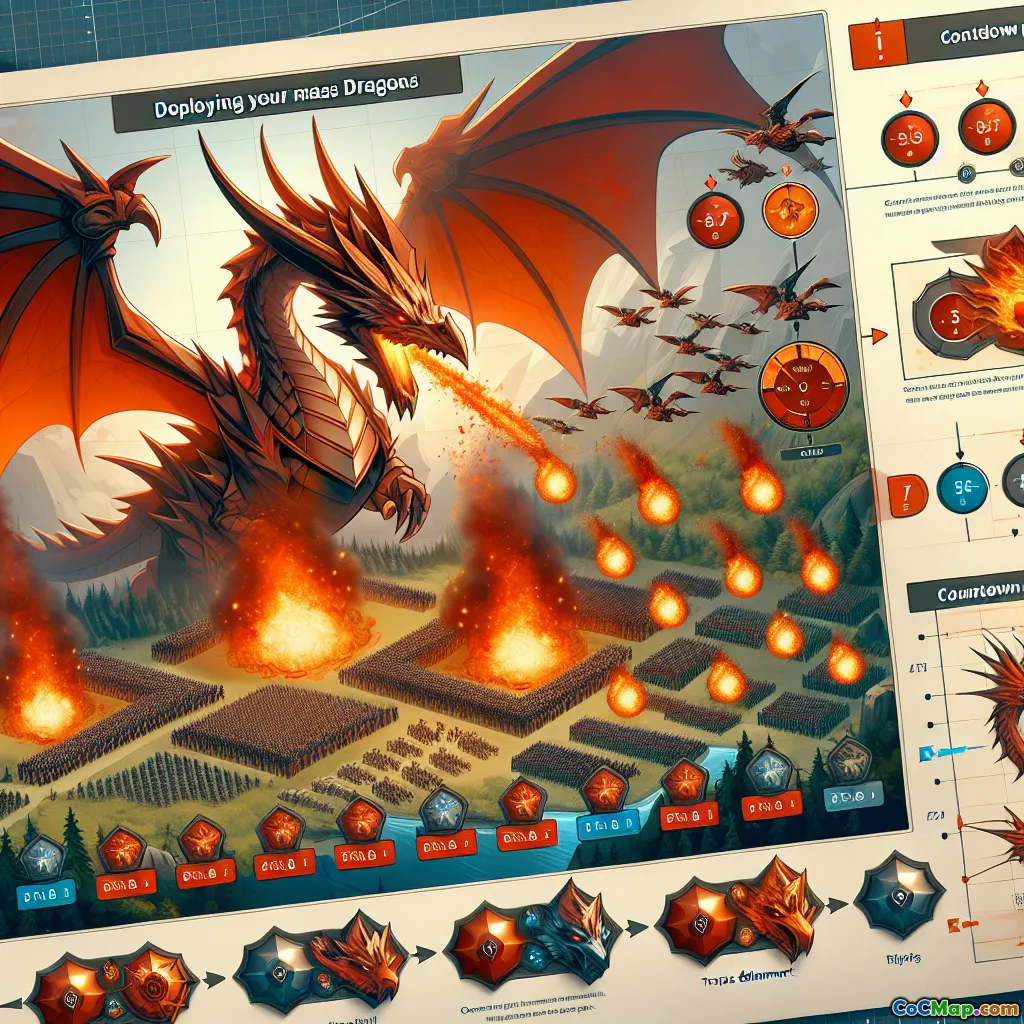
Secrets to Timing Your Mass Dragons Deployment for Success
Introduction
Ever wondered why some Mass Dragons attacks melt through bases with ease, while others fizzle out before reaching the Town Hall? The secret isn't just in the army composition—it's all about timing. Perfectly timed dragon deployments can mean the difference between a crushing three-star and a heartbreaking one-star. But what does it really take to master the rhythm of a Mass Dragons attack? Let’s dive deep into the mechanics, psychology, and subtle tactics behind one of Clash of Clans’ most iconic strategies.
Understanding the Power of Mass Dragons
Dragons have long been the backbone of air attack strategies, especially at mid-level Town Halls (TH7–TH10). Their high hitpoints, splash damage, and immunity to ground traps make them formidable. But deploying all your dragons at once, or at the wrong time, can spell disaster. Here’s why timing is everything:
- Dragons are slow: Their lumbering pace means they can get distracted or clump up, making them vulnerable to splash damage.
- Air Defenses are lethal: A single misstep can leave your dragons exposed to concentrated anti-air fire.
- Funneling is critical: Without proper timing, dragons stray, leaving key objectives untouched.
Understanding these strengths and weaknesses sets the stage for mastering deployment timing.
The Anatomy of a Perfect Mass Dragons Attack
1. Base Analysis: Reading Before Rushing
Before you even think about dropping a dragon, scrutinize the base:
- Identify air defense locations: Are they centralized or exposed?
- Spot air sweepers: Which direction are they facing? Dragons hate being pushed back mid-flight.
- Check for high-value targets: Where are the Town Hall, Clan Castle, and storages?
Example:
A base with air defenses clustered on one side is ripe for a staggered dragon entry from the opposite edge. But if sweepers cover the approach, you’ll need to adjust timing and spell placement.
2. Funneling: The Pre-Deployment Ritual
A common mistake is deploying all dragons in a line across one edge. Instead, use a few dragons (or even baby dragons) to create a funnel:
- Start with 1–2 dragons on each flank: Let them clear outside buildings.
- Wait 5–10 seconds: Ensure the funnel is forming before committing your main force.
- Why wait? If you rush, dragons may split and circle the base, missing the core.
Pro Insight:
Top players often delay the main dragon drop until the funnel is at least halfway complete. This patience ensures dragons move together toward the heart of the base.
3. Main Wave Deployment: The Sweet Spot
Once the funnel is set:
- Deploy dragons in a tight arc: This concentrates their firepower and prevents stragglers.
- Stagger the drop: Release dragons over 3–5 seconds to avoid clumping, which makes them susceptible to splash damage.
- Monitor air traps: If you see seeking air mines triggered, consider spacing out the next few dragons.
Example:
Against a base with corner air defenses, start your arc slightly away from those defenses, letting dragons converge as they fly inward.
4. Spell Timing: The Hidden Key
Spells can make or break your attack, but only if timed right:
- Rage Spells: Drop as dragons approach dense defenses or the Town Hall. Don’t pre-drop; wait until dragons are about to engage.
- Heal Spells: Rarely used with dragons due to their high HP, but can be clutch if facing multiple air bombs.
- Freeze Spells: Time freezes for when dragons are under fire from multiple air defenses or Inferno Towers. Don’t freeze too early—wait until dragons are actually targeted.
Data Point:
A study of 100 Mass Dragons attacks at TH9 showed that delayed Rage spells (dropped 2–3 seconds after dragons engage) increased three-star rates by 18% compared to pre-dropped spells.
5. CC Troops and Heroes: Supporting the Swarm
- Clan Castle Balloons: Deploy after the main dragons to snipe key defenses. Dropping too early can waste their value.
- Heroes: Use the Barbarian King and Archer Queen to clear flanks or snipe air defenses after dragons have engaged the core.
- Timing Tip: Hold heroes back until dragons have drawn defensive fire. This extends their lifespan and impact.
Timing Pitfalls and How to Avoid Them
Too Early, Too Late: The Goldilocks Principle
- Too soon: Dragons split, lose focus, and fail to reach the core.
- Too late: Defenses pick off your initial dragons, and reinforcements can’t catch up.
Solution:
- Watch replays of top players and note their patience. They rarely panic-drop all at once.
- Practice timing in friendly challenges to develop a feel for the optimal moment.
Responding to In-Battle Surprises
- Unexpected CC troops: Have a poison spell ready, but don’t drop until the enemy CC engages your dragons.
- Hidden air traps: If you see dragons dropping fast, slow deployment or adjust spell use.
Advanced Tips: Adapting to Base Designs
Dealing with Anti-Air Bases
- Split deployment: Sometimes, sending a few dragons on one side and the rest on another can overwhelm spread-out air defenses.
- Delayed reinforcements: Hold back 2–3 dragons to deploy where gaps appear after initial defenses fall.
Adapting to Sweepers and Infernos
- Freeze timing: Wait until dragons are about to be hit by a sweeper or Inferno, then freeze for maximum value.
- Rage placement: Place Rage so dragons enter it as they engage—not before, not after.
Conclusion: Timing Is Your True Weapon
Mastering Mass Dragons is less about brute force and more about precision timing. From the first funneling dragon to the last spell drop, every second counts. The best attackers aren’t just fast—they’re patient, observant, and always adapting. Next time you prepare your fiery swarm, remember: it’s not just what you deploy, but when you deploy, that turns good attacks into legendary ones.
Ready to take your Mass Dragons to the next level? Watch top-player replays, practice your timing in friendly wars, and experiment with new spell combinations. The skies are yours—if you can master the clock.


