Siege Workshop Strategies: Choosing the Right Siege Machines for Attacks
10 min read Master Siege Workshop strategies with deep insights on picking the right siege machines for every attack.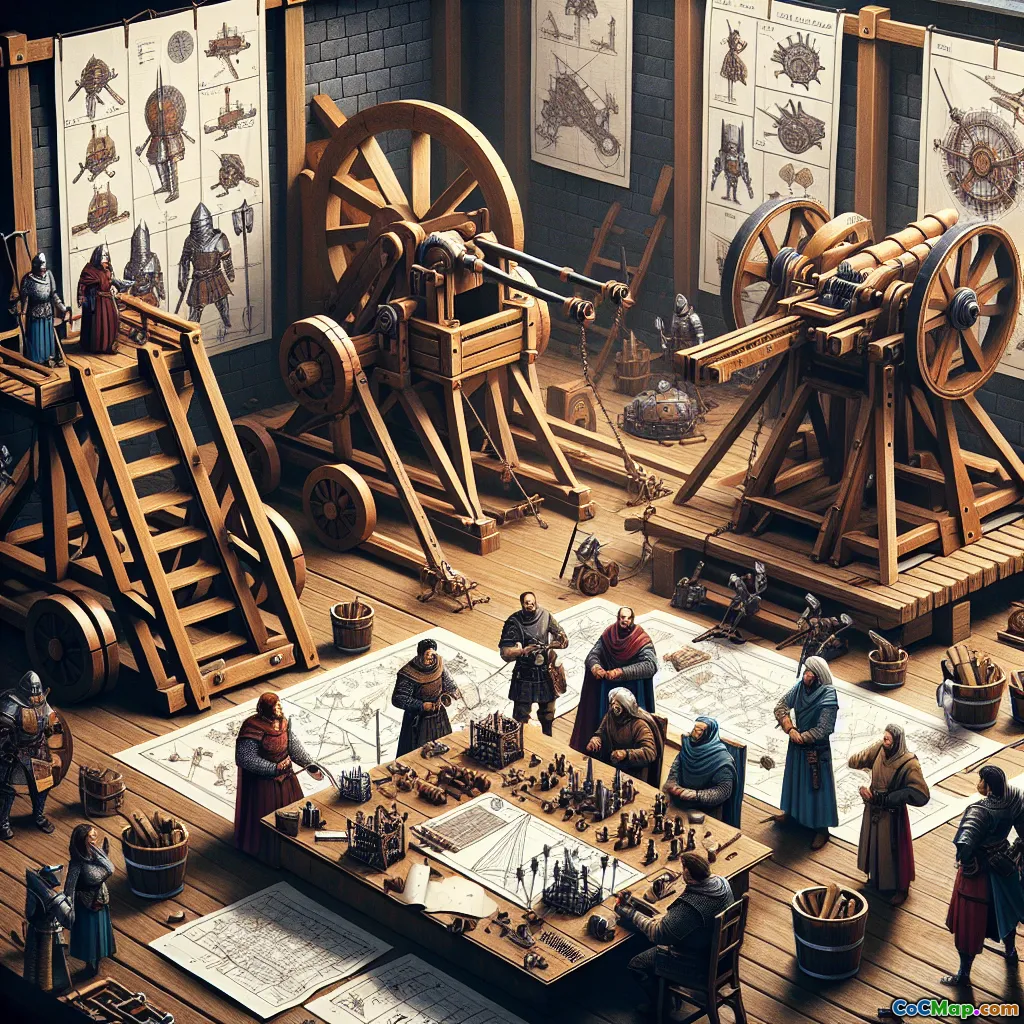
Siege Workshop Strategies: Choosing the Right Siege Machines for Attacks
Introduction
Have you ever watched a perfectly planned Clash of Clans attack unravel because the wrong siege machine was deployed? The Siege Workshop, introduced at Town Hall 12, revolutionized offensive strategy by giving players a choice of powerful siege engines. But with great power comes great responsibility: choosing the right siege machine can be the difference between a three-star victory and a crushing defeat. Are you making the most of this game-changing building, or are your attacks falling short because of overlooked siege choices?
This guide dives deep into the art and science of siege machine selection, arming you with the knowledge to dominate in wars, raids, and competitive play. Whether you’re a seasoned veteran or just unlocked your Siege Workshop, understanding the nuances of each machine will elevate your attack game.
The Siege Workshop: The Heart of Offensive Innovation
The Siege Workshop is not just another building—it's your gateway to customizable, high-impact attacks. Unlocking it at Town Hall 12 opens up a world of possibilities, letting you craft siege machines that break walls, shield your troops, or deliver payloads straight to the core. But each machine comes with unique strengths and trade-offs, and the best attackers know how to match their siege choice to the base and the army composition.
Why Siege Machine Choice Matters
- Base Layouts Vary: Anti-3 star, anti-2 star, ring bases, and box bases all pose different challenges.
- Troop Synergy: The right siege machine enhances your army’s strengths and covers its weaknesses.
- Clan War Impact: In high-stakes wars, efficient siege use can swing the outcome for your entire clan.
Understanding the Siege Machines: Roles and Best Uses
1. Wall Wrecker
- Role: Smashes through walls, delivering Clan Castle troops directly to the Town Hall.
- Best For: Ground-based attacks (e.g., GoWiPe, Pekka Smash, Bowler Walk) where core access is essential.
- Strengths:
- Exceptional wall-breaking ability.
- High hitpoints; acts as a tank for main push.
- Weaknesses:
- Slow movement; vulnerable to spring traps and single-target Infernos.
- Ineffective against bases with core set deep behind multiple compartments.
- Example: In a Pekka Smash, the Wall Wrecker creates a direct funnel to the core, letting Pekkas and Bowlers follow safely.
2. Battle Blimp
- Role: Flies over defenses, dropping Clan Castle troops at a targeted location (often the Town Hall).
- Best For: Air attacks (e.g., LavaLoon, E-Drag spam) or bases with centralized Town Halls.
- Strengths:
- Ignores walls and ground traps.
- Fast and direct; excellent for precision strikes.
- Weaknesses:
- Vulnerable to seeking air mines and air-targeting defenses.
- Limited tanking capability.
- Example: In a LavaLoon, the Battle Blimp can deliver Balloons and a Rage Spell directly onto the Town Hall for a swift takedown.
3. Stone Slammer
- Role: Targets defenses, dealing splash damage and releasing Clan Castle troops upon destruction.
- Best For: Air-heavy comps (e.g., DragLoon, Mass Dragons) or when pathing is key.
- Strengths:
- High HP and splash damage.
- Acts as an extra tank and DPS source for air armies.
- Weaknesses:
- Only targets defenses; may get stuck on far-side buildings.
- Less effective against spread-out or anti-air bases.
- Example: In DragLoon attacks, the Stone Slammer helps clear air defenses and soaks up damage for Dragons.
4. Siege Barracks
- Role: Deploys a wave of ground troops (initially Wizards, then a Pekka), then releases Clan Castle troops.
- Best For: Hybrid attacks (e.g., Hog Miner Hybrid, Yeti Smash) where funneling is crucial.
- Strengths:
- Creates a powerful funnel with minimal investment.
- Adds significant DPS and tanking on flanks.
- Weaknesses:
- Only deploys on the edge of the map.
- Vulnerable to splash defenses if not supported.
- Example: In Hybrid, Siege Barracks on one side clears buildings, while King and Queen funnel the other, focusing Miners and Hogs through the core.
5. Log Launcher
- Role: Hurls logs that roll through walls and defenses, opening compartments and damaging everything in their path.
- Best For: Attacks needing multi-compartment access (e.g., Super Bowler Smash, Queen Charge).
- Strengths:
- Opens multiple wall layers with ease.
- Damages defenses along the way.
- Weaknesses:
- Vulnerable to enemy heroes and traps.
- Path can be blocked by buildings or troops.
- Example: In Super Bowler Smash, Log Launcher creates a wide path for Bowlers and Heroes, reaching deep into the base.
6. Flame Flinger
- Role: Long-range, slow-firing siege that targets defenses from a distance with fireballs.
- Best For: Bases with exposed defenses or when picking off key targets is needed.
- Strengths:
- Can destroy multiple defenses before taking damage.
- Great for funneling and picking off dangerous targets.
- Weaknesses:
- Extremely vulnerable to mortars, X-Bows, and traps.
- Needs careful placement and protection.
- Example: In Queen Charge or Hybrid, Flame Flinger can clear an entire side, making pathing easier for the main force.
How to Choose the Right Siege Machine: A Strategic Approach
1. Analyze the Base Layout
- Centralized Town Hall: Battle Blimp or Wall Wrecker excels.
- Spread Out Defenses: Stone Slammer or Flame Flinger can pick off key targets.
- Multiple Wall Layers: Log Launcher shines for deep compartment access.
2. Match to Your Army Composition
- Ground Armies: Wall Wrecker, Siege Barracks, or Log Launcher.
- Air Armies: Battle Blimp or Stone Slammer.
- Hybrid Armies: Siege Barracks or Flame Flinger for funneling.
3. Consider Clan Castle Troops
- High-Damage Payload (e.g., Yetis, Super Wizards): Works well with Blimp or Wrecker.
- Support Troops (e.g., Bowlers, Valkyries): Pair with Log Launcher or Siege Barracks.
4. Factor in Trap Placement and Enemy Defenses
- Use scout attacks or replays to predict trap locations.
- Avoid sending Blimps through heavy air mine zones; protect Flame Flinger from mortars.
5. Adapt to War and Friendly Challenges
- Don’t be afraid to switch siege machines between attacks based on what you learn.
- Top clans often use different sieges for first and cleanup hits on the same base.
Advanced Player Insights: Pro Tips for Siege Workshop Success
- Always Request Max-Level Siege Machines: Higher-level machines have more HP and damage.
- Practice Timing: Deploy sieges at the right moment—too early and they fizzle, too late and your army may be overwhelmed.
- Use Sieges for Distraction: Sometimes, a siege is best used as a tank to soak up Eagle Artillery or Scattershot fire.
- Coordinate with Clanmates: In wars, discuss siege choice and payload with your team for optimal synergy.
- Upgrade Your Siege Workshop: Each level unlocks new machines and improves existing ones, expanding your tactical options.
Conclusion
The Siege Workshop is more than a building—it's a strategic powerhouse that can elevate your attacks to legendary status. Mastering siege machine selection is about understanding base layouts, army synergy, and adapting to the evolving Clash of Clans meta. By making informed, tactical choices, you turn every siege machine into a weapon of victory.
So next time you plan an attack, pause and ask: Is my siege choice setting me up for success? Experiment, learn from replays, and keep pushing your offensive strategy to new heights. The right siege machine, deployed at the right moment, could be the key to your next three-star triumph.


