Strategic Placement of Giant Bombs: A Key to Enhancing Your Defense
11 min read Discover expert strategies for placing Giant Bombs to maximize your Clash of Clans defense.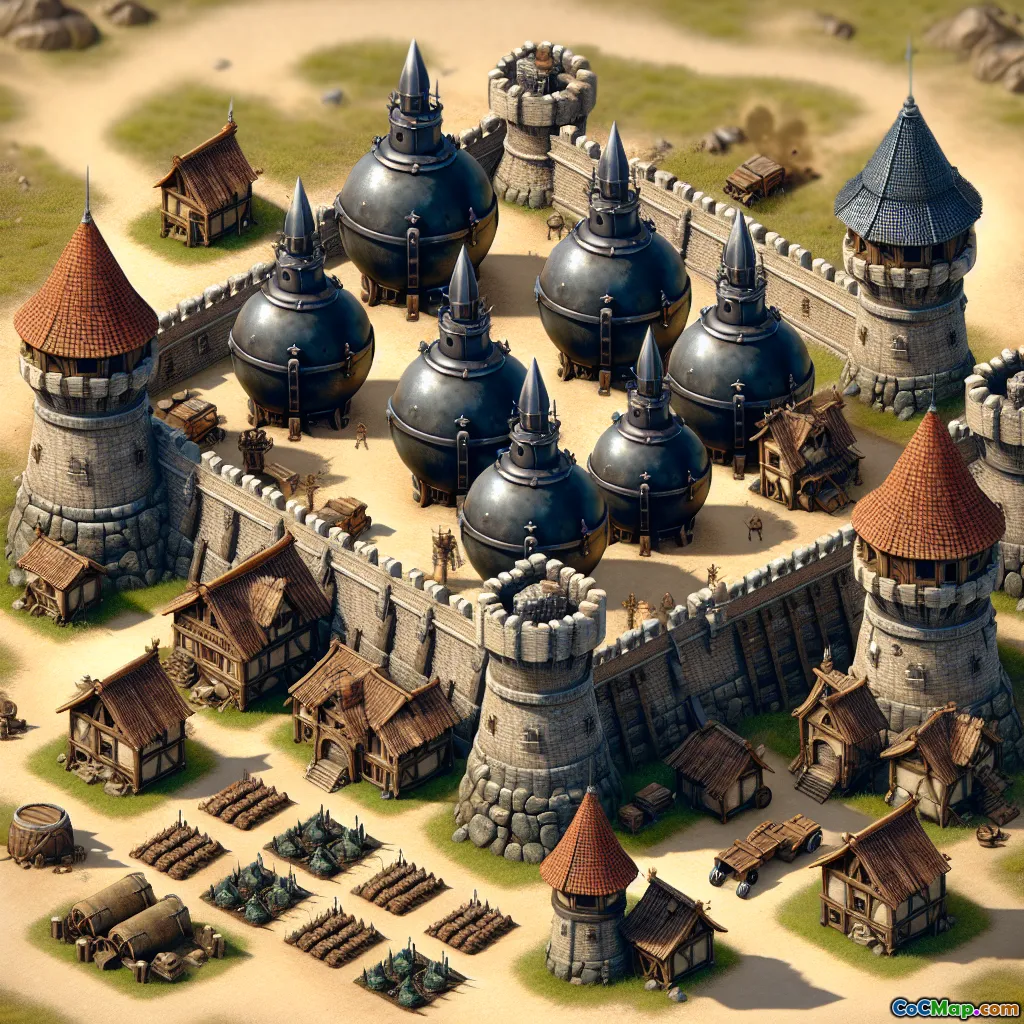
Strategic Placement of Giant Bombs: A Key to Enhancing Your Defense
Introduction
What if the secret to turning back even the most determined attackers was hidden just beneath the surface of your base? In Clash of Clans, the difference between a crushed defense and a triumphant hold often comes down to the smallest details — and few details are as deceptively powerful as the placement of your Giant Bombs. These explosive traps can obliterate entire squads of enemy troops in a heartbeat, but only if you know exactly where and how to deploy them. Are your Giant Bombs truly working for you, or are they simply waiting to be triggered by a lone Archer?
In this article, we’ll dive deep into the art and science of Giant Bomb placement. Whether you’re a rising Town Hall 7 or a seasoned war strategist, mastering this skill can mean the difference between a three-star disaster and a glorious defense replay. Let’s explore how to turn your Giant Bombs into the ultimate hidden weapon.
Understanding the Giant Bomb: Mechanics and Impact
Before discussing placement strategies, it’s crucial to understand exactly what Giant Bombs are and how they function:
- Damage & Radius: Giant Bombs deliver massive splash damage within a 3-tile radius, instantly destroying groups of low to mid-health troops.
- Target Priority: Unlike defensive buildings, Giant Bombs have no target priority — they detonate when any ground troop steps within their trigger zone.
- Upgrade Impact: Higher-level Giant Bombs dramatically increase in damage, making them relevant even at higher Town Hall levels.
Key Fact: A well-placed Giant Bomb can wipe out an entire squad of Hog Riders or weaken a critical push, swinging the tide of battle in your favor.
The Psychology of Trap Placement: Predicting Attacker Paths
Great defense isn’t just about raw power — it’s about anticipation. The most effective Giant Bombs are those that lie directly in the path of enemy troops. To do this, you must:
- Study Common Attack Strategies: Hog Rider rushes, GoWiPe, Hybrid attacks, and Queen Charges all have predictable movement patterns.
- Analyze Funnel Points: Troops naturally funnel toward defenses and gaps in your walls. Placing Giant Bombs in these choke points increases the likelihood of mass casualties.
- Exploit Pathing: Attackers often create paths for their troops by removing outer buildings. Predict these paths and set your traps accordingly.
Example: Against Hog Rider attacks, anticipate the most likely path between defenses. Place Giant Bombs in double formations (Double Giant Bombs) between two defenses that are commonly traversed by Hogs.
Double Giant Bombs: The Anti-Hog Meta
One of the most famous uses of Giant Bombs is the Double Giant Bomb (DGB) setup, a staple in anti-Hog base designs:
- How It Works: Two Giant Bombs are placed adjacent to each other, often between two high-value defenses. When triggered in quick succession, they can instantly eliminate even max-level Hog Riders.
- Placement Tips:
- Avoid Obvious Spots: Experienced attackers will try to trip one bomb with a single troop. Hide DGBs in less obvious, but high-traffic, locations.
- Protect with Small Bombs: Place Small Bombs nearby to clear out potential Giant Bomb triggers like Wall Breakers or single units.
- Spacing: Ensure the bombs are close enough to trigger together, but not so close that both can be set off by a single troop if your base is breached.
In-Game Insight: Top war clans often rotate the position of their DGBs to prevent predictability and keep attackers guessing.
Giant Bombs vs. Other Traps: Synergy and Redundancy
Giant Bombs are powerful, but they’re not the only tool at your disposal. Combining them with other traps can amplify their effectiveness:
- Spring Traps: Place Spring Traps near Giant Bombs to catch survivors or split attacking groups, maximizing troop losses.
- Skeleton Traps: Use Skeleton Traps to stall attackers within Giant Bomb radius, ensuring more troops are caught in the blast.
- Tornado Trap: If unlocked, position the Tornado Trap near Giant Bombs to pull troops into the danger zone and maximize splash damage.
Comparison Table:
| Trap | Best Use Case | Synergy with Giant Bombs? |
|---|---|---|
| Spring Trap | Small groups, Hog Riders | High |
| Skeleton Trap | Stalling, distraction | Moderate |
| Tornado Trap | Clumping, stalling | Very High |
| Small Bomb | Wall Breakers, trigger check | Moderate |
Adapting to Town Hall Levels: Placement Evolution
Giant Bomb effectiveness and placement evolve as you progress through Town Hall levels:
- TH7-TH8: Focus on anti-Hog setups. Prioritize DGBs between high-value defenses (e.g., Wizard Towers, Cannons).
- TH9: With the rise of Queen Charge and Hybrid attacks, diversify placements. Use Giant Bombs to disrupt Queen paths and Miner routes.
- TH10+: Attack strategies become more varied. Place Giant Bombs near core defenses, in high-traffic compartments, or in tandem with Tornado Traps to catch Balloons or Miners.
Pro Tip: As you unlock more traps, avoid clustering all Giant Bombs in one area. Spread them to cover multiple entry points and attack styles.
Common Placement Mistakes and How to Avoid Them
Even experienced players can fall into trap placement pitfalls:
- Too Close to the Edge: Giant Bombs near the outer ring are easily triggered by lone troops or pre-attack scouting.
- Obvious Double Bombs: Predictable DGB spots are easily neutralized by attackers using sacrificial troops.
- Neglecting Air Attacks: While Giant Bombs don’t affect air units, placing them in air-heavy compartments wastes their potential.
- No Synergy: Isolated Giant Bombs are less effective than those paired with other traps or defenses.
Solution: Regularly review your defense replays. Adjust trap positions based on where attackers typically enter and which troops survive your defenses.
Learning from the Pros: Real-World Placement Examples
Top war clans and base builders constantly innovate with trap placement. Here are a few expert tricks:
- Baiting Pathways: Use open spaces or high-value targets to lure troops through Giant Bomb zones.
- Compartmentalization: Place Giant Bombs in small, isolated compartments where troops naturally clump during their attack.
- Layered Defenses: Set up a series of traps (Small Bomb → Spring Trap → Giant Bomb) to create a gauntlet that shreds entire squads.
Example Replay: In a recent Clan War League, a TH9 base used a Tornado Trap to pull Miners into a Giant Bomb and Skeleton Trap combo, wiping out the core of a Hybrid attack and saving the base from a three-star.
Conclusion: Turning Traps into Triumphs
Mastering the strategic placement of Giant Bombs is more than just a technical skill — it’s a mindset. By studying attacker tendencies, combining traps for maximum effect, and constantly adapting your layout, you transform your base from a static target into a dynamic challenge for any opponent.
Key Takeaways:
- Always anticipate attacker paths and adapt your placements accordingly.
- Use synergy with other traps to maximize troop losses.
- Regularly review replays and update your trap positions to counter evolving strategies.
So, the next time you’re tweaking your base, ask yourself: Are your Giant Bombs lying in wait for the perfect moment, or are they just buried treasure waiting to be found? With the right placement, every defense can become a highlight reel.
Happy trapping, Chief!


