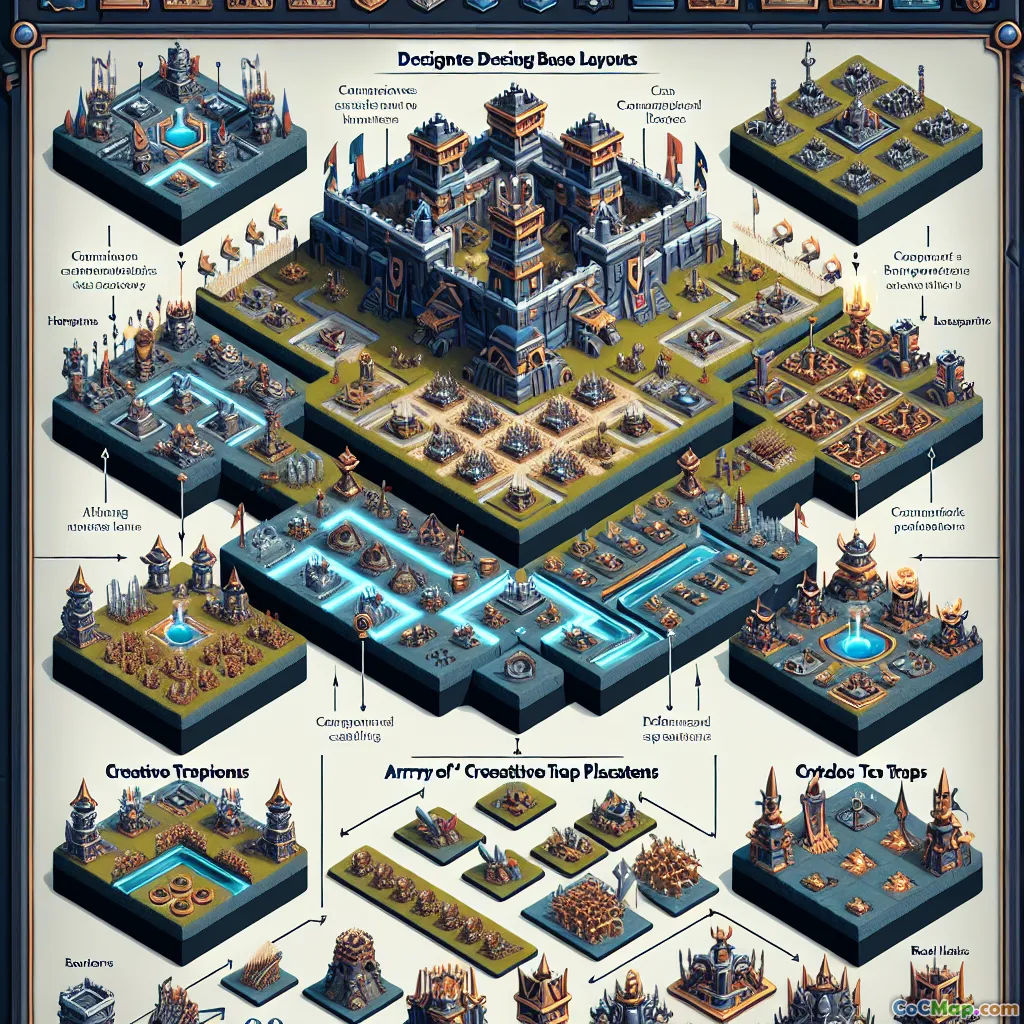
The Ultimate Guide to Base Layouts in Clash of Clans
7 min read Discover expert strategies for designing effective base layouts in Clash of Clans, focusing on optimal building and defense placement to thwart attackers.
The Ultimate Guide to Base Layouts in Clash of Clans
Introduction
Have you ever wondered why some Clash of Clans bases consistently repel attacks while others fall easily? The secret often lies in how you arrange your buildings and defenses. In a game where every second and placement counts, understanding the nuances of effective base layouts can dramatically improve your defensive success rate. This guide dives deep into the strategic placement of buildings and defenses, revealing proven techniques to optimize your base for maximum protection against all attack types.
The Importance of Building & Defense Placement
In Clash of Clans, your base layout is your frontline defense. Proper placement of buildings and defenses can turn the tide of battle, making it more difficult for attackers to achieve three-star victories. Effective layouts serve multiple purposes:
- Distraction & Pathing: Forcing attacking troops to take longer or less advantageous routes.
- Splash Damage Optimization: Positioning splash defenses like Mortars and Wizard Towers where they can cover the most area.
- Protection of Key Structures: Safeguarding your Town Hall, Clan Castle, and resource storages.
- Trap Deployment: Placing traps strategically to surprise and damage enemy troops.
Understanding why and how to place each building is critical to developing a resilient base.
Core Principles of Effective Base Layouts
1. Centralized Key Structures
Your Town Hall, Clan Castle, and Eagle Artillery (if unlocked) should be placed centrally. This makes it harder for enemies to reach and destroy them early, giving your defenses more time to react.
2. Layered Defense
Design your base with multiple layers of defenses. Outer walls should protect resource storages and less critical buildings, while your core defenses cover the most vital structures.
3. Symmetry & Symmetrical Defense
Balanced layouts tend to be more effective because they prevent attackers from exploiting weak spots. Symmetry also simplifies trap placement and makes your base more predictable for defensive planning.
4. Spread Out Critical Defenses
Avoid clustering all your splash defenses; instead, spread them so they can cover different angles and prevent attack strategies like 'barching' or 'funneling'.
5. Trap & Bomb Placement
Position traps near high-traffic areas or where enemy troops are likely to path, such as near the core or around resource storages.
Specific Defensive Building Strategies
Cannons & Archer Towers
- Placement: Position these to cover the outer perimeter and key entry points.
- Strategy: Use Archer Towers for long-range coverage, especially against air units, and Cannons for ground troops.
- Tip: Place Archer Towers slightly inward to prevent being easily sniped.
Mortars
- Placement: Centralized to maximize splash damage radius.
- Strategy: Protect Mortars behind walls but ensure they are accessible to cover large sections of the base.
- Tip: Avoid placing Mortars too close to each other to prevent simultaneous destruction.
Air Defenses
- Placement: Deep within your base, ideally near core structures.
- Strategy: Position Air Defenses to cover all angles, preventing air raid strategies like LavaLoon or Dragon attacks.
- Tip: Use multi-layered walls to protect Air Defenses from being quickly sniped.
X-Bows
- Placement: Near the core or central compartments.
- Strategy: Set X-Bows to ground & air mode or switch based on prevalent attack types.
- Tip: Use X-Bows in multi-target mode to cover a broad area.
Inferno Towers
- Placement: Centralized for maximum coverage.
- Strategy: Use multi-mode to adapt to different attack styles.
- Tip: Protect Inferno Towers with walls and traps.
Eagle Artillery
- Placement: Very central, often at the core.
- Strategy: Its placement is crucial to deter high-damage attacks.
- Tip: Keep it protected but accessible for activation during attacks.
Scattershot & Bomb Towers
- Placement: Near high-value targets or along attack routes.
- Strategy: Scattershot's wide splash damage makes it ideal for defending against swarms.
- Tip: Bomb Towers should be placed where they can inflict maximum damage, often near resource storages.
Advanced Layout Tips & Tricks
- Funneling & Trap Placement: Use walls and buildings to guide enemy troops into traps.
- Compartmentalization: Divide your base into multiple compartments to slow down attackers.
- Anti-3-Star Layouts: Incorporate multiple layers of defenses and traps to prevent three-star raids.
- Clan War Optimization: Customize your layout to counter common attack strategies used by your opponents.
Examples of Popular Layout Types
- Hybrid Layouts: Balance between resource protection and defense.
- War Base Layouts: Focused on preventing three stars, often with centralized key defenses.
- Farm Layouts: Prioritize resource protection, sometimes at the expense of overall defense.
Conclusion
Designing an effective Clash of Clans base is both an art and a science. It requires understanding your defenses, predicting attacker strategies, and constantly refining your layout. Remember, no layout is perfect, but adopting core principles—centralized key structures, layered defenses, strategic trap placement—will significantly improve your defensive success. Keep experimenting, learn from attack replays, and stay updated with the latest meta to keep your base resilient against evolving attack strategies.
Your base layout is your fortress—build it wisely, defend it fiercely, and watch your defenses stand tall against even the most formidable enemies!


