Wall Breaker Placement: Breaking Through Any Base Like a Pro
10 min read Unlock pro-level Wall Breaker placement in Clash of Clans. Break through any base with expert tips, tactics, and real in-game examples.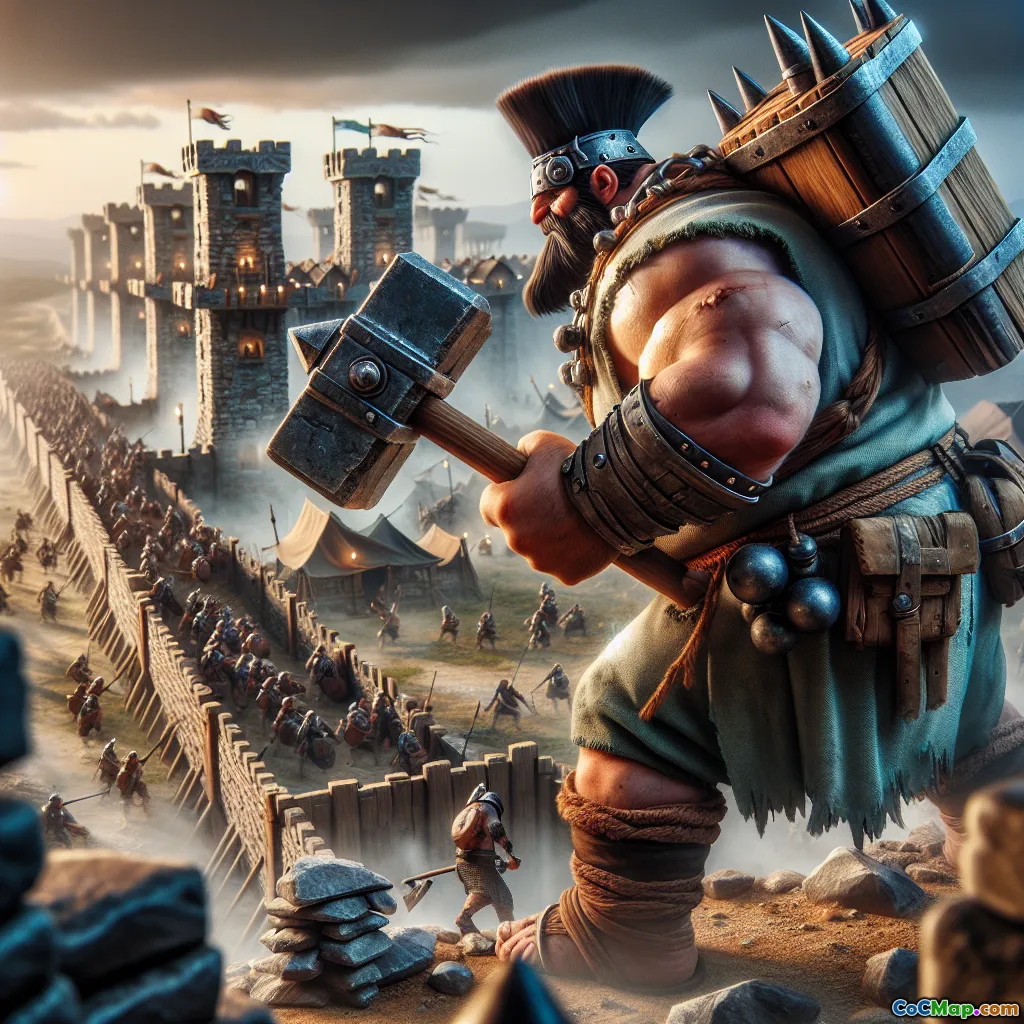
Wall Breaker Placement: Breaking Through Any Base Like a Pro
Introduction
Ever watched your Wall Breakers explode in a puff of white smoke, leaving your main army stranded behind unbroken walls? You're not alone. Despite their iconic status, Wall Breakers are often misunderstood—and misused. What if you could consistently punch holes in even the toughest bases, unleashing your troops right where you want them? Mastering Wall Breaker placement isn't just a minor skill—it's a game-changer that separates casual raiders from true Clash tacticians.
Understanding Wall Breakers: The Basics and Beyond
What Makes Wall Breakers Unique?
Wall Breakers are single-minded: they target walls, ignore everything else, and run straight towards their chosen section. Their high damage against walls (40x their normal damage) makes them irreplaceable for ground-based attacks. But their low health and predictable AI can turn them into easy prey for traps and defenses—unless you know how to use them.
Key Stats (Level 7 Example):
- Damage to Walls: 1,980
- Movement Speed: 24
- Housing Space: 2
- Favorite Target: Walls
Why Placement Matters
Improper Wall Breaker deployment often results in wasted troops, failed funnels, and attacks that fizzle out before they begin. Smart placement, on the other hand, can:
- Open multiple compartments with minimal investment
- Avoid traps and splash damage
- Synchronize perfectly with your main force’s entry
Reading the Base: Analyzing Wall Layouts Like a Pro
Spotting the Weak Points
Every base has a soft spot—sometimes it's a double wall layer, sometimes a poorly placed spring trap. Before deploying Wall Breakers, ask:
- Where is the shortest path to the core?
- Are there "open corners" designed to lure Wall Breakers into traps?
- Are there compartments that, if breached, unlock access to multiple resource storages or defensive clusters?
Pro Tip: Use the "scout" feature in war to study wall junctions and predict trap placements.
Recognizing Trap Zones
Spring traps, small bombs, and giant bombs are the bane of Wall Breakers. Look for:
- 1-tile gaps near wall segments (common trap spots)
- Symmetrical wall designs (often hiding mirrored traps)
- Bases with "funneling" gaps—these are usually baited
Deployment Timing: When to Send the Wall Breakers
Clearing the Path First
Wall Breakers will target the nearest wall, regardless of defenses nearby. Always clear any buildings (like Builder Huts or Army Camps) in front of your target wall. Otherwise, Wall Breakers may veer off course or get sniped before reaching their target.
Example: In a GoWiPe attack, deploy a few Wizards to clear outside structures before sending in Wall Breakers.
Syncing with Tank Troops
Never send Wall Breakers alone. Deploy tanky units (Giants, Golems, or P.E.K.K.A) first to soak up damage. Once defenses are distracted, send in Wall Breakers immediately behind.
Timing Drill:
- Drop Golem at target entry.
- Wait 1-2 seconds for defenses to lock on.
- Deploy Wall Breakers in a spread (not a stack) to avoid all being blown up by a single bomb.
Advanced Placement Techniques
The "Double Tap" Method
Deploying Wall Breakers in two quick waves can break through double or triple wall layers. The first wave opens the outer wall; the second, sent a second later, targets the next layer as soon as it’s exposed.
Why It Works:
- Prevents all Wall Breakers from dying to the same trap
- Ensures deeper penetration into complex bases
Angling the Approach
If a wall segment is protected by splash defenses (Mortars, Wizard Towers), try deploying Wall Breakers from a less direct angle. This can avoid overlapping with trap zones and force defenses to split fire.
Example: Instead of attacking a wall head-on, deploy Wall Breakers at a 45-degree angle where fewer defenses can reach them.
Using Spells for Support
- Rage Spell: Doubles Wall Breaker speed and damage, letting fewer Wall Breakers break tougher walls.
- Freeze Spell: Temporarily disables nearby splash defenses while Wall Breakers do their job.
- Jump Spell: Sometimes, combining a Jump Spell with Wall Breakers can open up even the most labyrinthine core compartments.
Common Mistakes—and How to Avoid Them
Mistake #1: Overstacking Wall Breakers
Sending all your Wall Breakers at once is risky. One trap or splash hit can wipe them out. Instead, send them in small, timed groups.
Mistake #2: Ignoring Pathing
If a building is left uncleared, Wall Breakers may path to an unexpected wall segment, wasting their effort and ruining your funnel.
Mistake #3: Misreading Wall Layers
Some bases have "offset" or "staggered" wall layers. Always check if breaking one wall segment will actually give your troops access to the next compartment—or if another wall will block them.
Real-Game Examples: Pro Wall Breaker Placements
Example 1: GoWiPe at Town Hall 9
A classic GoWiPe attack targets a core compartment with two wall layers. The attacker deploys Golems, clears side buildings with Wizards, then sends two Wall Breakers to open the first layer. As soon as the outer wall is breached, a second pair of Wall Breakers targets the inner wall, all while defenses are distracted.
Result: The core is breached, and the main force floods in.
Example 2: Queen Walk at Town Hall 11
A Queen Walk is used to clear a section of the base. After the Queen draws fire from a nearby Archer Tower, Wall Breakers are sent in—timed just after a Rage Spell is dropped, ensuring they survive and break through two layers of walls.
Result: The Queen gains access to three key defensive structures, swinging the attack in your favor.
Adapting to Base Designs: Anti-Wall Breaker Defenses
Recognizing Anti-Wall Breaker Traps
Some bases are designed specifically to thwart Wall Breakers, using:
- Double-layered walls with 1-tile gaps
- Spring traps placed at likely entry points
- Splash defenses stacked near wall segments
Counterplay:
- Test with a single Wall Breaker before committing
- Use a Giant to trigger traps
- Consider alternate entry points or use Jump Spells
Wall Breakers in Modern Meta: Are They Still Relevant?
Despite the rise of Jump Spells, Siege Machines, and air-based attacks, Wall Breakers remain a staple of ground strategies, especially at mid-level Town Halls. Their low housing space and high efficiency make them perfect for precise, cost-effective entry points.
Pro Insight: Even in high-level play, Wall Breakers are often used in combination with Siege Machines to open up flanks or secondary compartments, offering flexibility that spells alone can't provide.
Conclusion
Wall Breakers are more than just cannon fodder—they're precision tools in the hands of a skilled player. By understanding their AI, reading base layouts, timing deployments, and adapting to trap placements, you can consistently break through any base. The difference between a failed funnel and a three-star attack often comes down to Wall Breaker placement. Master these techniques, and you'll never look at those tiny skeletons the same way again.
Ready to level up your attacks? Try these tips in your next raid—and watch your Wall Breakers carve a path to victory!


