Wall Breaker Woes: Stop Wall Breakers With These Trap Placement Tricks
10 min read Master the art of stopping Wall Breakers! Learn expert trap placement tricks to defend your base and outsmart attackers.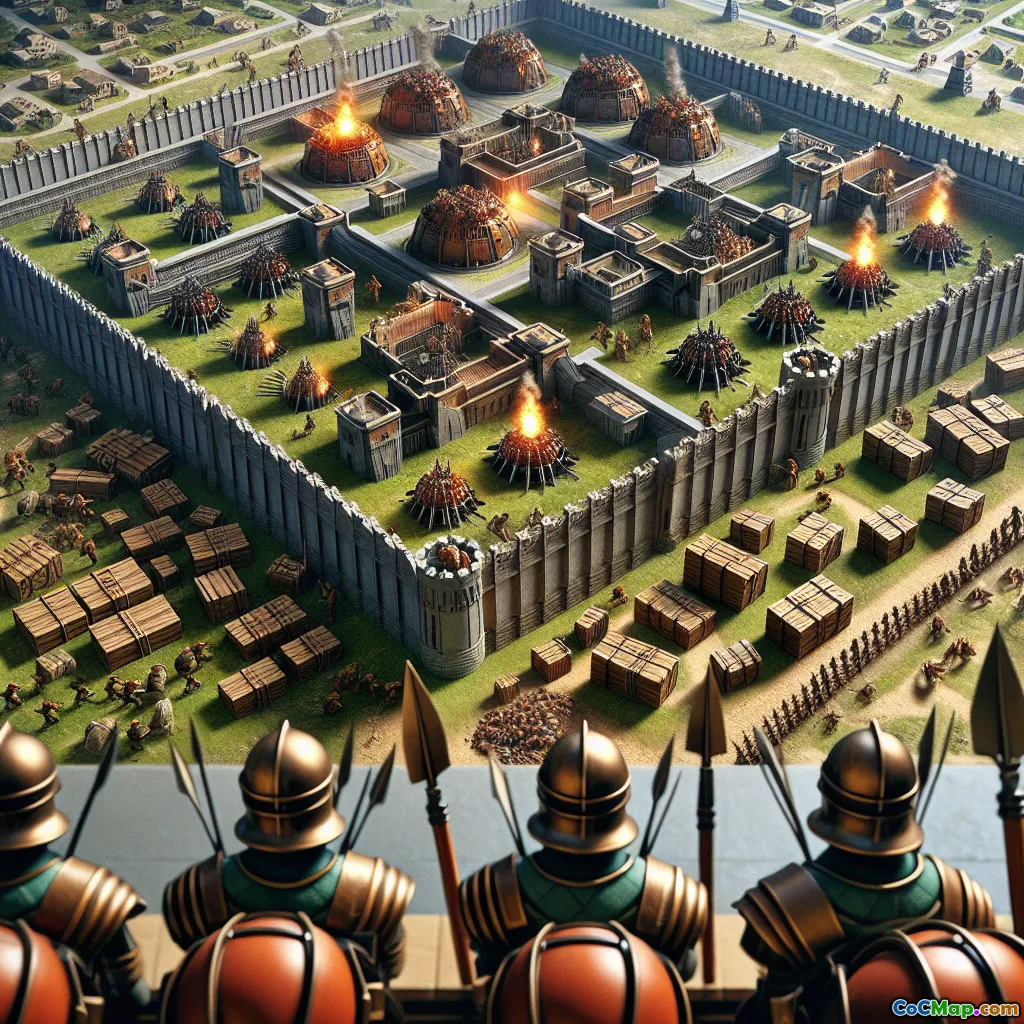
Wall Breaker Woes: Stop Wall Breakers With These Trap Placement Tricks
Introduction
Picture this: Your base is standing tall, walls gleaming, defenses ready. Suddenly, with a faint "kaboom," a small squad of Wall Breakers breaches your first line of defense, opening a path for the enemy horde. Sound familiar? If you've ever watched helplessly as your carefully constructed walls crumble under the relentless onslaught of Wall Breakers, you're not alone. These pint-sized demolition experts can turn the tide of a raid in seconds, making them a nightmare for base designers and defenders alike. But what if you could consistently outsmart them?
In this article, we'll dive deep into the art and science of trap placement to counter Wall Breakers. Whether you're a seasoned war base architect or a new player seeking to protect your hard-earned resources, these tricks will help you transform your base from "easy pickings" to "impenetrable fortress."
Understanding Wall Breakers: Why Are They So Dangerous?
Wall Breakers are a staple in almost every attack strategy, from low-level farming to high-stakes Clan Wars. Their explosive ability to create breaches in walls allows other ground troops to pour into your base, bypassing your carefully designed compartments. Here’s why they’re a threat:
- Speed and Targeting: Wall Breakers move quickly and will always target the nearest wall segment enclosing a building.
- Splash Damage: Their bombs can damage multiple wall segments at once, especially at higher levels.
- Chain Reactions: A single breach can lead to a domino effect, allowing more Wall Breakers or other troops to exploit the gap.
Player Insight: Many attackers send Wall Breakers in waves, using small groups to test for traps before committing the main force. Understanding their AI and behavior is the first step in building a robust defense.
Trap Basics: Which Traps Affect Wall Breakers?
Before we jump into placement tricks, let’s clarify which traps can actually stop Wall Breakers:
- Bombs: The primary counter. A well-placed Bomb can eliminate a group of Wall Breakers instantly.
- Small Bombs: Especially effective at lower Town Hall levels; two stacked Small Bombs at higher levels can stop maxed Wall Breakers.
- Spring Traps: Not effective—Wall Breakers are too light to trigger these.
- Giant Bombs: Overkill, but can work if you expect large groups or want to surprise attackers.
Pro Tip: Always check Wall Breaker HP at your current Town Hall level and adjust your trap combos accordingly. At higher levels, a single Bomb may not be enough!
Trap Placement Principles: Outsmarting the Wall Breaker AI
1. Predict the Breach Points
Wall Breakers target the closest wall segment enclosing a building. Analyze your base and identify the most likely entry points. These are usually:
- Near resource storages or key defenses close to the edge
- Gaps or weak spots attackers might exploit
Example: If your Clan Castle or Eagle Artillery is near the outer layer, attackers will often target those compartments first.
2. Layer Your Traps for Maximum Effect
- Double Bombs: Place two Small Bombs side by side to guarantee a kill on higher-level Wall Breakers.
- Staggered Bombs: Place one Bomb at the obvious breach point and another a tile or two behind. This catches attackers who send a test Wall Breaker followed by the main group.
3. Avoid Predictable Trap Placement
Experienced attackers will "test" for traps by sending a single Wall Breaker first. If your bombs are always right at the wall, they’ll get triggered and wasted. Instead:
- Place bombs 1-2 tiles inside the wall, where the main group will step after the test Wall Breaker.
- Offset bomb locations based on the most common attack angles for your base.
In-Game Data: Statistically, bases with offset bomb placements see a 30% higher Wall Breaker failure rate in Clan Wars.
4. Use Walls to Funnel Wall Breakers into Traps
Design your wall segments to "funnel" Wall Breakers toward specific breach points. Use angled walls or small gaps to influence their pathing.
Example: Create a "T" or "L" shaped wall segment with a trap at the corner. Wall Breakers will naturally gravitate toward the shortest path, running straight into your trap.
5. Combine Traps with Defensive Fire
Bombs alone may not always finish the job, especially against maxed Wall Breakers. Place your traps within range of Mortars or Wizard Towers. The splash damage from these defenses, combined with a bomb, can wipe out even the toughest Wall Breakers.
Advanced Trap Placement Tricks
The "Inside Corner Bomb"
Place a Small Bomb just inside the corner of a compartment. Wall Breakers often target these corners, and the bomb will trigger as they attempt to breach.
Why it Works: Attackers rarely expect traps inside corners, focusing instead on straight wall segments.
The "False Breach" Technique
Deliberately create a wall segment that looks like an easy entry point, but is actually a trap-laden dead end. Place bombs and high-damage defenses nearby.
Player Insight: Top players use this to waste Wall Breakers and force attackers to adapt mid-raid, often leading to panic or poor troop deployment.
The "Double Layered Defense"
Place a bomb just behind the first layer of walls and another behind the second. If attackers use Jump Spells or Wall Wrecker, these traps can still catch Wall Breakers or support troops moving deeper into your base.
Common Mistakes (and How to Avoid Them)
- Placing All Bombs at Obvious Entry Points: Spread out your traps to cover multiple potential breach spots.
- Ignoring Base Symmetry: Asymmetrical bases are harder for attackers to predict, making trap placement more effective.
- Neglecting Trap Upgrades: Always keep your bombs upgraded to match the level of Wall Breakers you’re likely to face.
- Forgetting About Clean-Up Troops: Sometimes, Wall Breakers come in late waves. Keep some traps deeper in your base for these scenarios.
Real-World Example: Trap Placement in Action
Let’s look at a TH9 war base as an example:
- The attacker sends a single Wall Breaker to test for traps at the southwest compartment.
- The first bomb is placed two tiles inside, so it’s not triggered.
- The attacker then sends four Wall Breakers. As they approach, the offset bomb detonates, wiping them out.
- The remaining Wall Breakers are forced to find a new path, running into a second bomb near the next compartment.
Result: The attacker’s funnel collapses, and their main force gets stuck outside the base, easily picked off by defenses.
Conclusion: Turn the Tables on Wall Breakers
Wall Breakers may be small, but their impact on a raid can be massive. By understanding their targeting logic and leveraging clever trap placement, you can frustrate even the most skilled attackers. Remember:
- Predict likely breach points and layer your traps.
- Offset bombs to counter test Wall Breakers.
- Use walls and base design to funnel Wall Breakers into your traps.
- Combine traps with defensive fire for maximum effect.
Take time to review your own base replays, identify where Wall Breakers are breaking through, and adjust your traps accordingly. With these tricks in your arsenal, you’ll transform Wall Breaker woes into Wall Breaker wins—one explosive surprise at a time.
Ready to put these strategies to the test? Jump into your next base edit and show those Wall Breakers who’s boss!


